dandan62
 RHOCaR Member
-
Posts
358 -
Joined
-
Last visited
-
Days Won
6
Content Type
Profiles
Forums
Events
Store
Community Map
Everything posted by dandan62
-
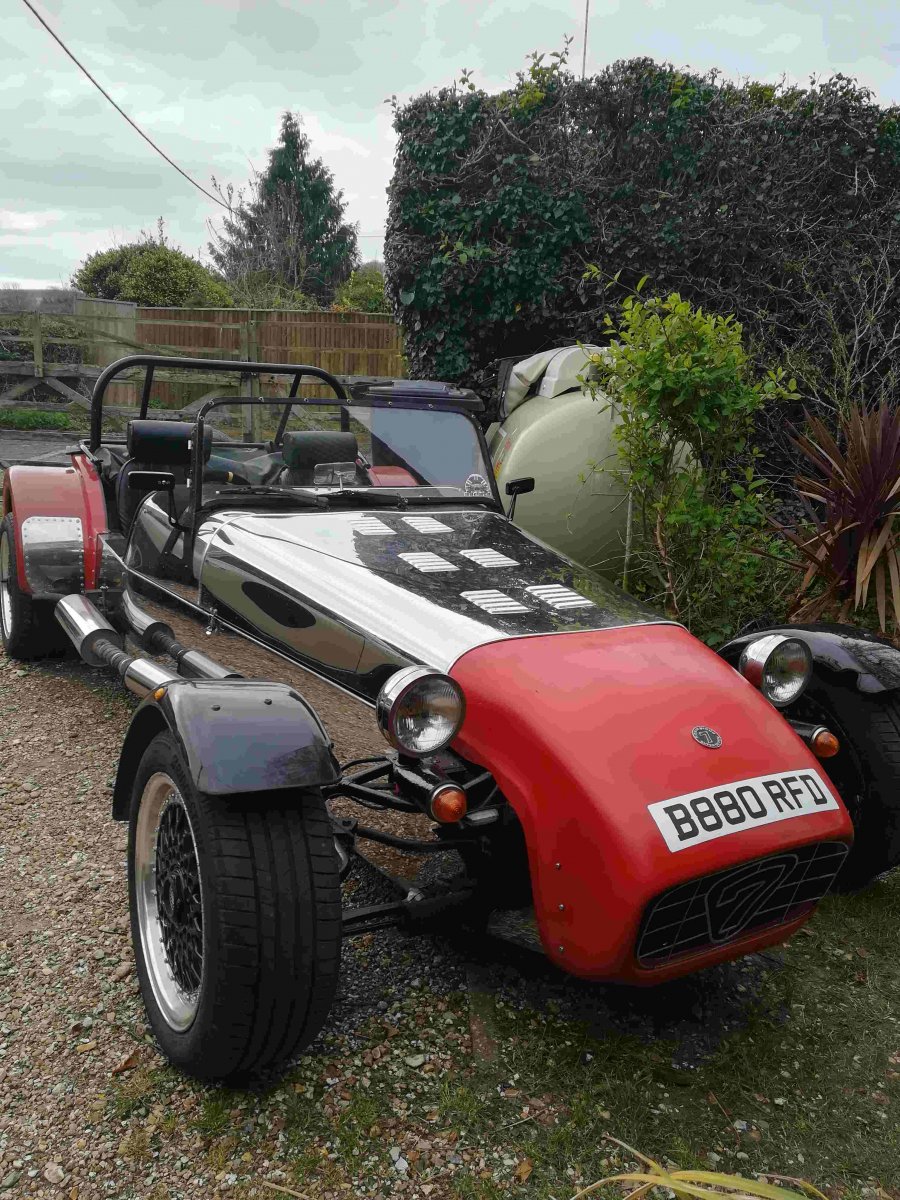
Rubbed down well. Base coats, clear coats, rub down, fine cutting polish and wax.
-
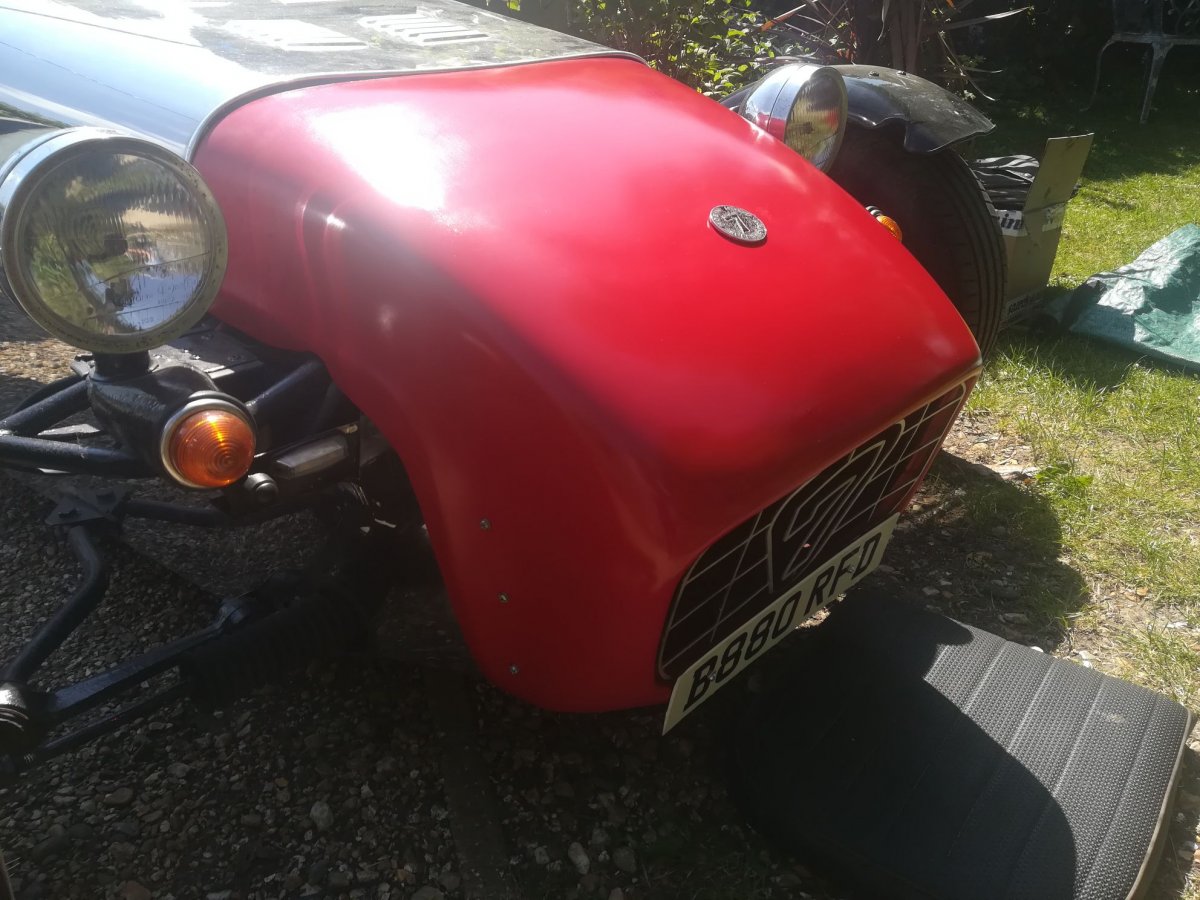
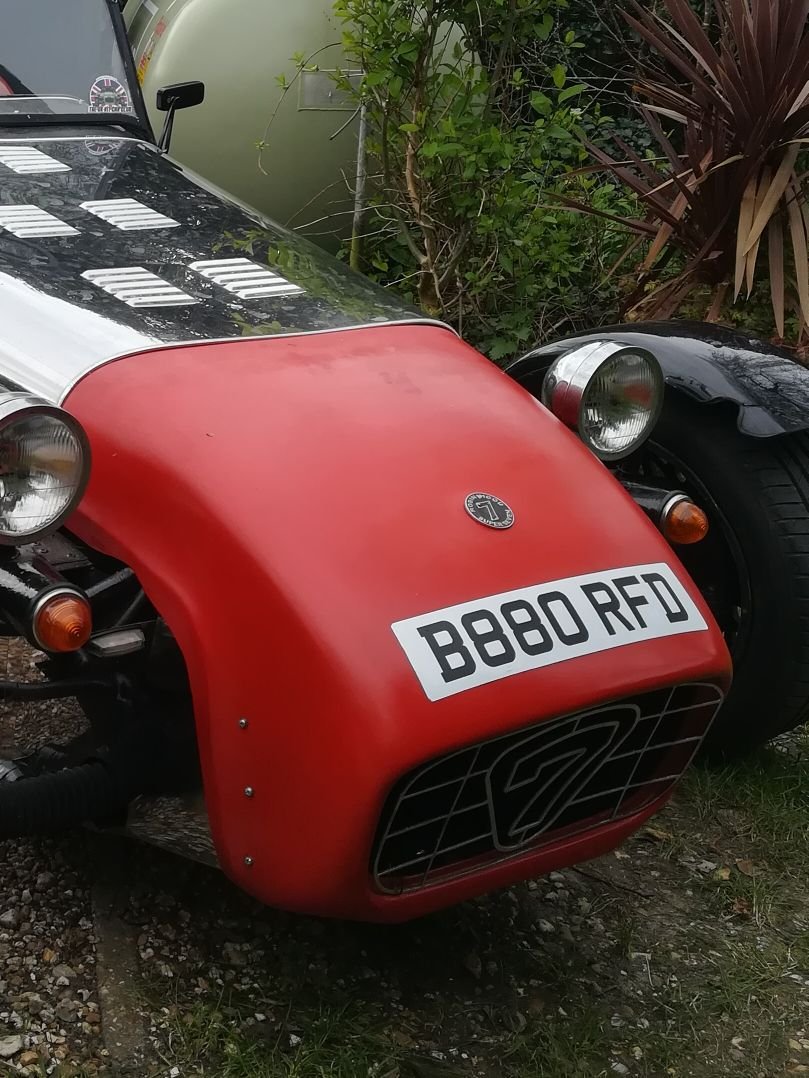
After and before. Happy with that. It wouldn't win any awards but its red and shiny which it wasn't before. Just wings to final polish and wax.

-
Indeed! Still like red though
-
It has been like that since I bought it 5 years ago. One advantage of the lockdown. Going to match the red with my road car so I know what I'm getting.
-
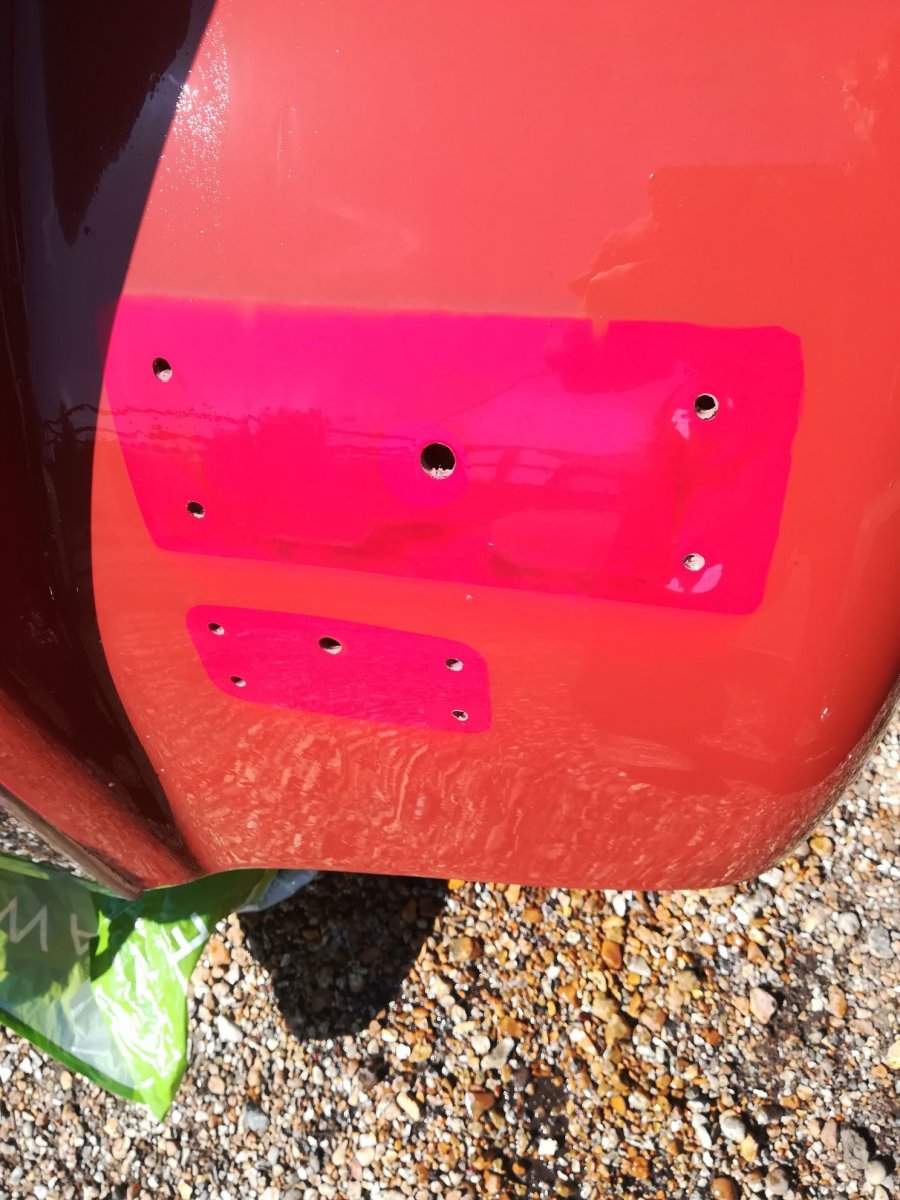
My old red panels are very faded as you can see when i removed the lights. My camera makes the original look pink but it is bright red. Long overdue!
-
Thanks. Just looked at the "pro" version. The top photo looks exactly like mine. The bottom photo looks completely different! Not entirely sure I trust the listing on that basis. When/if mine wears out I will look again. I do put a tiny bit of copper grease on mine. Makes it slide easier and hopefully stops a bit on wear. Using it and a flat bottomed steering wheel makes life so much easier getting in and out.
-
I bought this one from eBay last year. Still ok but i don't do many miles. I only paid £12 . At that price if i have to replace every couple of years that's fine. I needed a very slim one and this is a good size. You should be able to find one just by the picture.
-
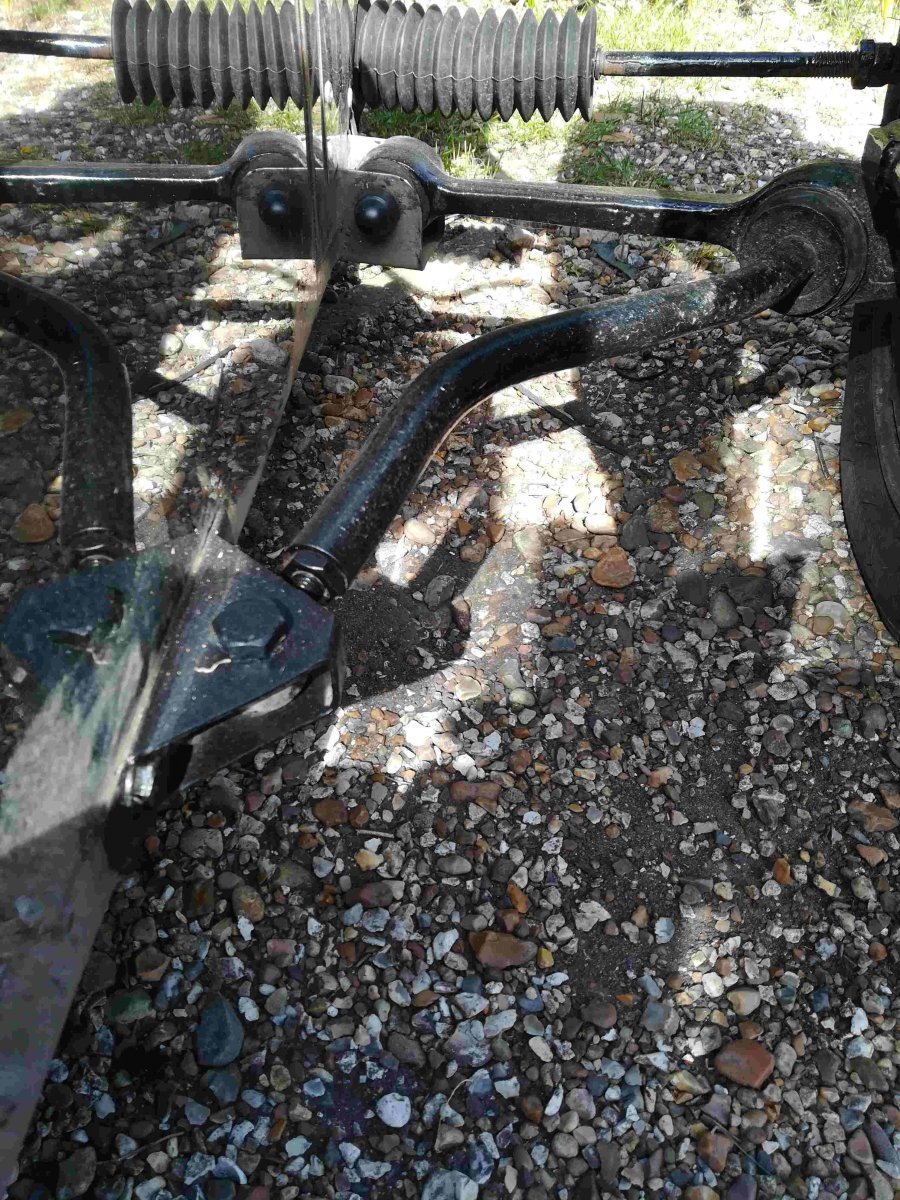
 I'm pretty sure the rose joint eye was m12. I used m8 to bolt the bracket. The box section was 2" x 1" . 2mm thick. I haven't done a huge mileage yet but it all seems solid without distorting.
 -
Much easier than starting from scratch. It seems to be quite a common method. You may find depending on the position of your engine mounts that they are just where you need to drill through for the brackets. I just got away with mine and in fact used the mounts to sandwich the inner angle iron which gives further support. All depends where your mounts are. There will be a way round it.
-
Hi. I had to pay a lical metal worshop to drill and thread the old antiroll bar. The brackets I fashioned from box section and used rose bearings to join. Make sure you use some angle iron inside the panel to strengthen where the brackets are attached. There are some drawings in the Dave Andrews link if you look for the link to front suspension info towards the bottom of the page. Here is a pic of what i ended up with. I'm no great mechanic. All done with an angle grinder!
-
Hi. Welcome to the club. I have just completed all the work on the front suspension you talk about so hope I can help a bit. Firstly the common opinion regarding coilovers seems to be to contact Dave at Dampertec. Lots of posts will mention him. He will know exactly what you need regarding lengths. I didn't! I'm a cheapskate and went for some hardly used ones for less money. Fully adjustable. I'm pretty sure the open length was 13". Springs...I went for 120lb. Original ones are 180 I believe. Far too stiff. I did the tie bar conversation first and just that made a huge difference. Lighter more positive steering. You won't feel the benefit of new coilovers until you do it. Its a different car with all that done. However I'm a cruiser not a racer so I don't explore the limits. Its just easier to driver and less bone shaking. I haven't changed the steering rack so cant help with that but did change boots and tie rods a few years ago. I seem to remember they were standard Sierra. I'm sure others will be along to add or correct anything. Hope this helps a bit. Also some good info here. http://www.dvandrews.co.uk
-
I bought this a few years ago now with no history. Last guy had it for about 10 years and had lost all info. It had about 3 owners before that but. I would love to track down anyone who remembers it. Just out of interest..not to complain about anything!
-
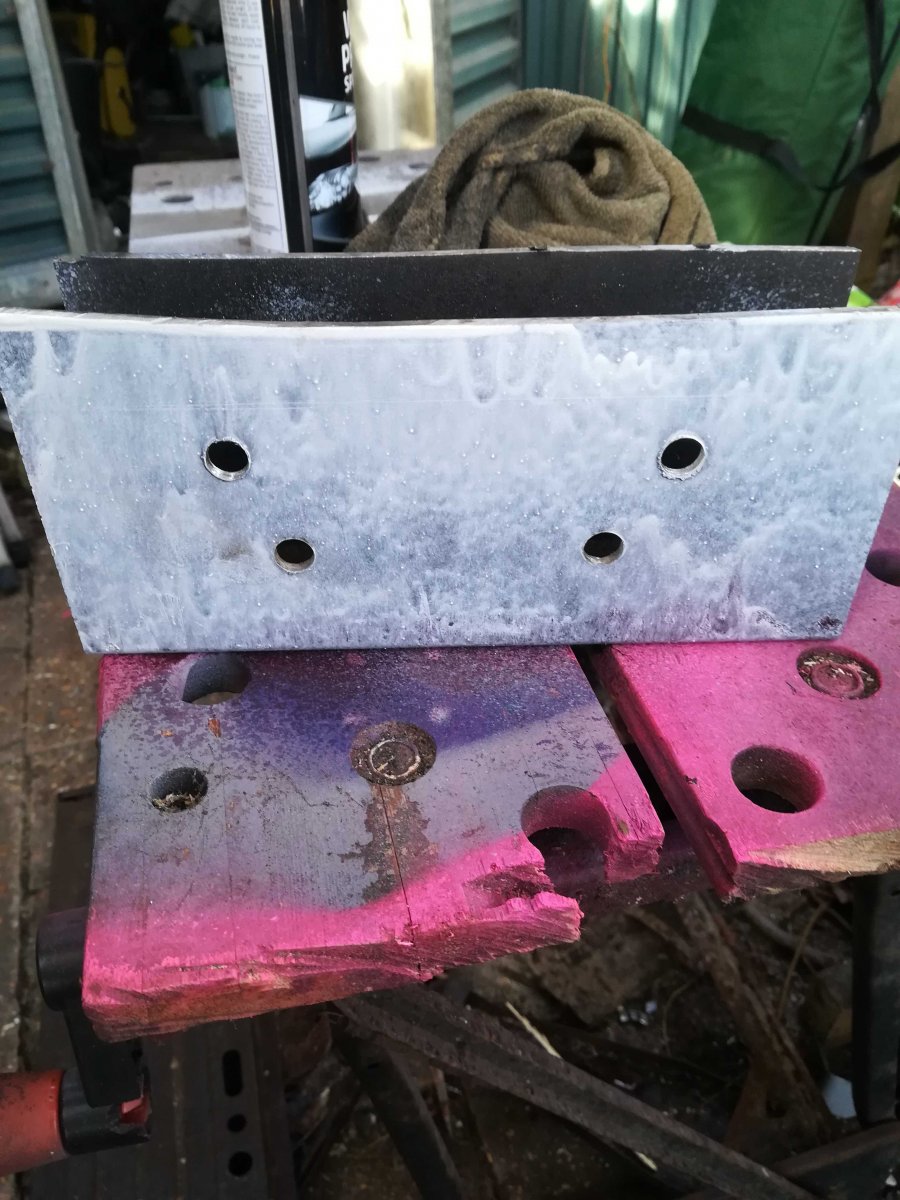
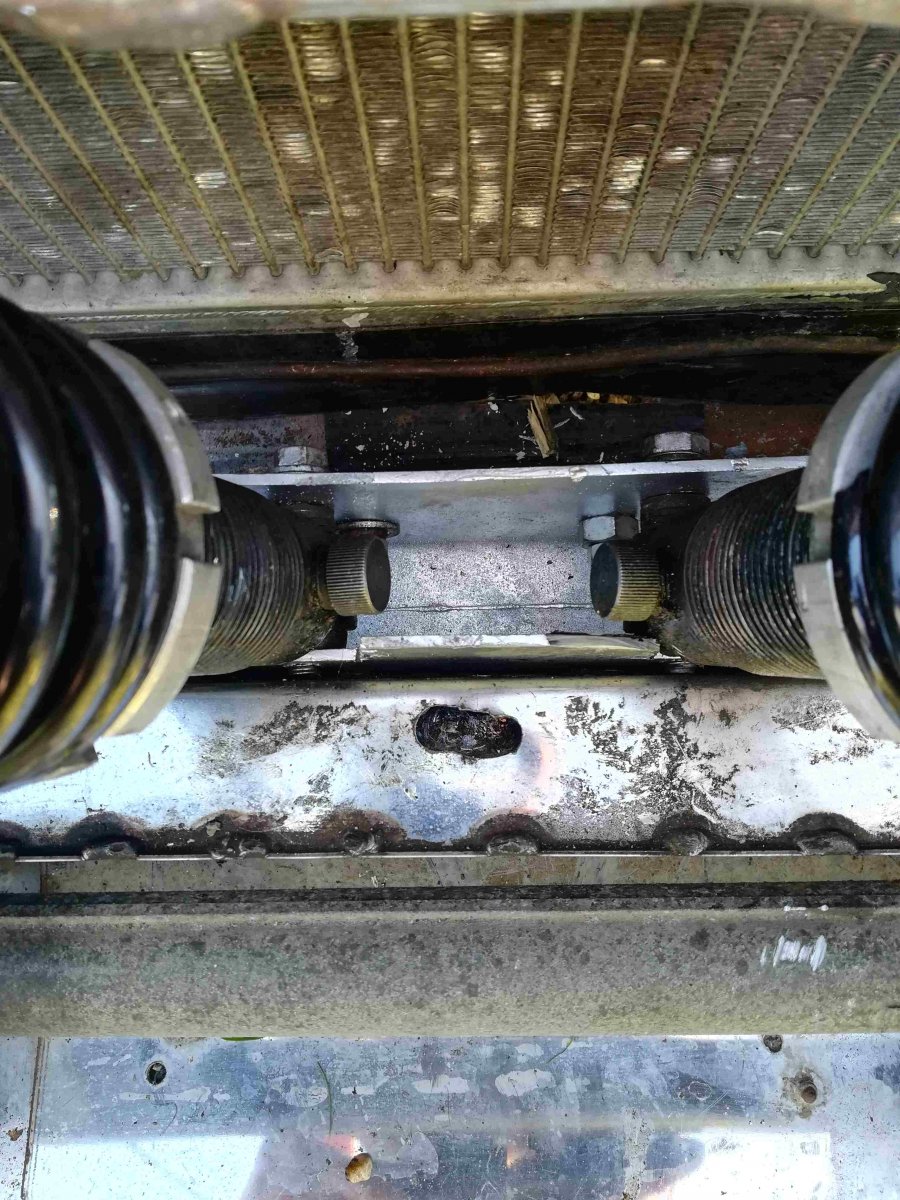
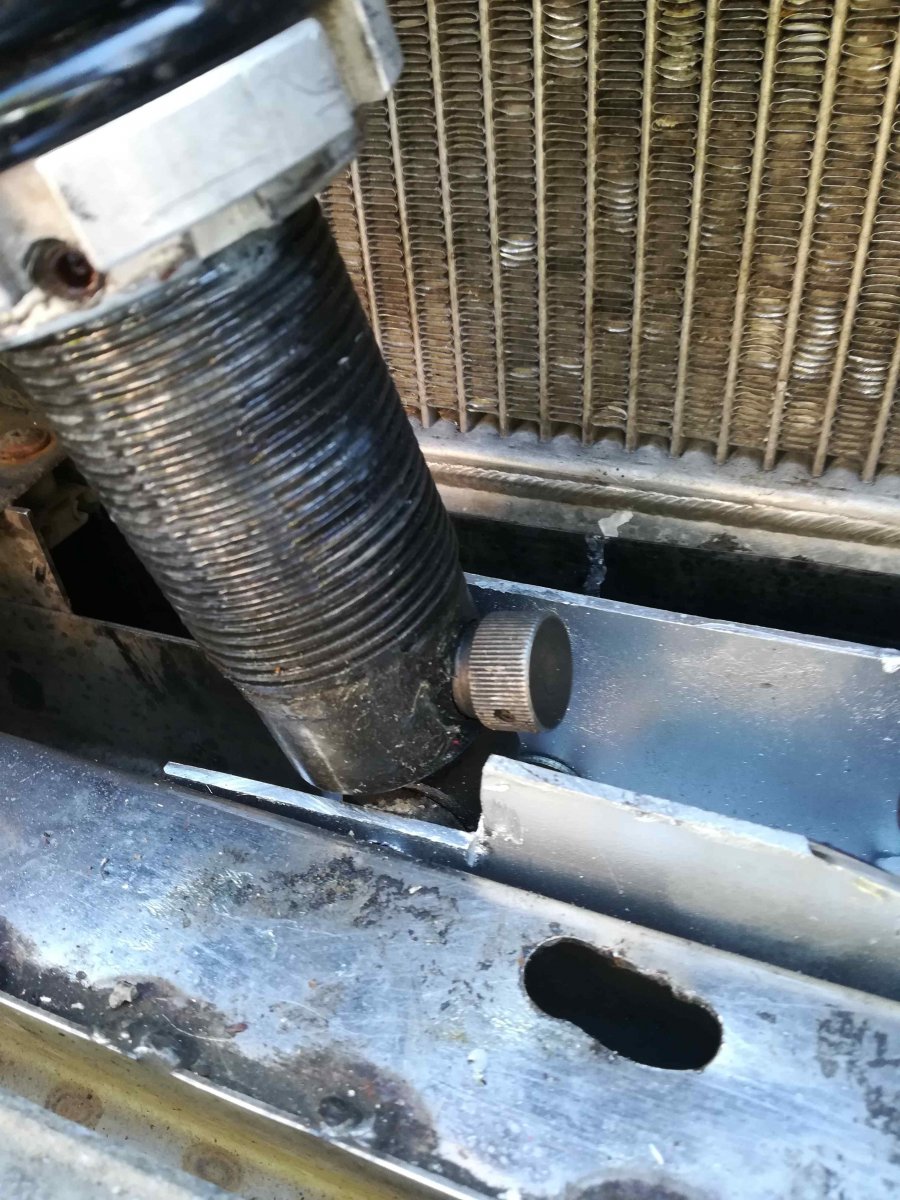
I had done all I could to increase my front clearance because the roads round here have some high crowns. I raised the engine a bit bur it wasn't enough. Here is my solution. There may be some worried intakes of breath from some but it has worked a treat. Nearly 2 inches more giving me nearly 5 inches. I fashioned a u shaped bracket that drops into the existing channel. Drilled holes to attach it to the existing lower coilover holes. Drilled higher holes to take the new coilover bolts.
-
Thanks. They look good.
-
Thanks. I'll go down that route
-
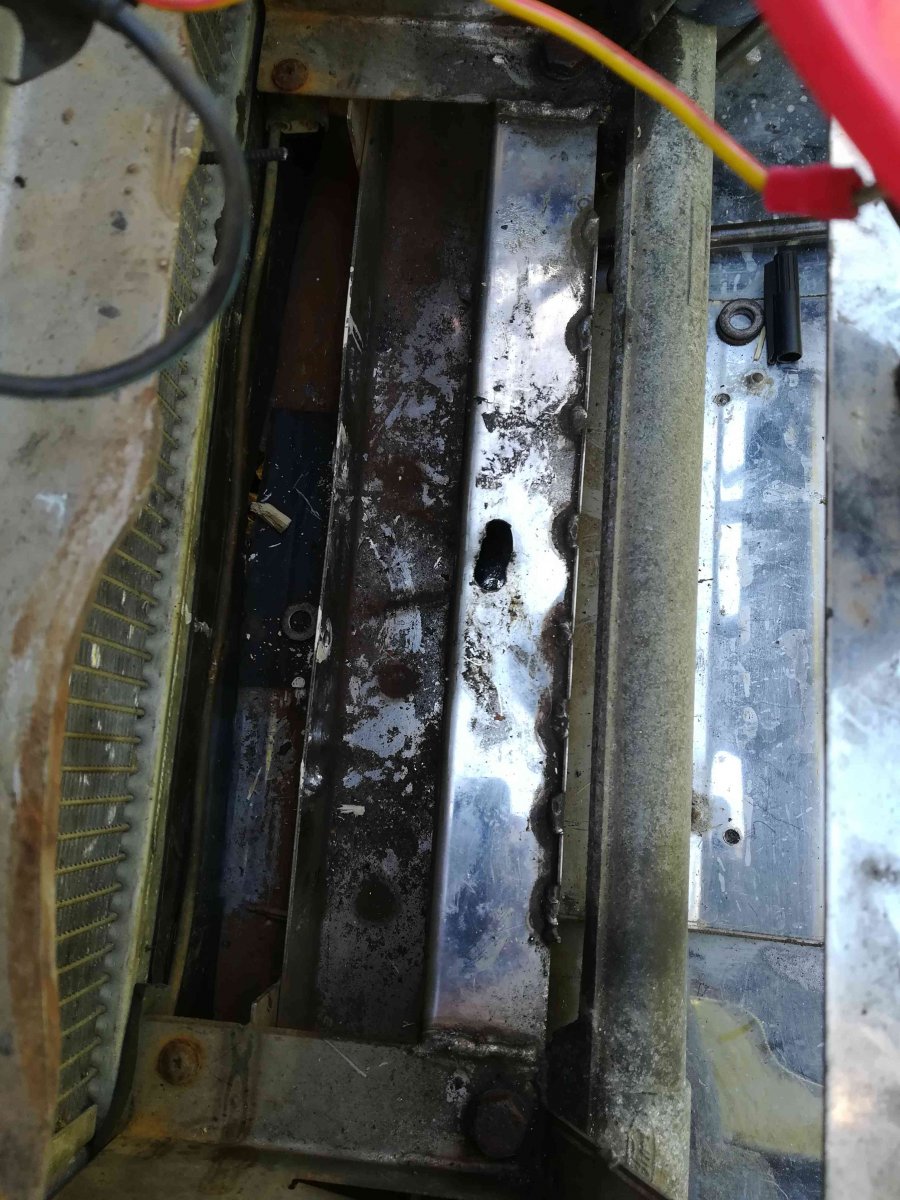
Hi. I only replaced the side door material a couple of years ago but have now cracked one of then carelessly. I used 3 mm petg as it was easy to cut and was recommended. Any other recommendations before I order some more? It does seem to scratch very easily. Anything better but still easy to cut?
-
Excellent. Have fun with it.
-
Another just popped up on eBay. Possibly worth a look. Not sure where it is. Item number 124106793887
-
Definitely marked as sold. Don't worry, they come up regularly. Maybe in the meantime find some local meetings and have a look at the various options so you can jump in quickly when something comes on the market.
-
Another will come along I'm sure.
-
Sadly it seems to have been sold?
-
http://www.dvandrews.co.uk/ A very useful source of info including some info on the tie bar conversation
-
A couple of bolts through with a bit of angle iron to strengthen on the inside. Only issue tends to depend on where the engine mount it. Sometimes a bit of fettling is required. But really don't let this put you off the car. We all enjoy doing these little improvements to our cars. It makes it feel your own.
-
I think it it was mild steel it would be painted so 90% sure its stainless. The tie bars replace the old heavy and over stiff sierra front anti roll bar which joins the front suspension under the car side to side. The conversation just improves things but i think many exist happily without it. I'm not super mechanical but managed the conversation myself.
-
Hi. Is it the black silver one on strickly kitcar? Looks good value to me. I am not one of the true experts on here but I know its important to check for any cracks in welds on the monocoque joints. You have obviously read about the importance of the grease nipples on the top front suspension. Check around the steel supports for cracks or deformation of the bolt holes. I have the earlier sierra based model. Expect heavy steering and stiff front suspension as it has not had the tie bar conversion..if its that car. Not a deal breaker at all but a fairly easy job to do which is well worth it. Hopefully others will chip in to add their greater knowledge. Good luck.