MarkBzero
 RHOCaR Member
-
Posts
2,235 -
Joined
-
Last visited
-
Days Won
49
Content Type
Profiles
Forums
Events
Store
Community Map
Everything posted by MarkBzero
-
Thanks Nick, appreciate your kind words from a engineering expert. It was not picked up at IVA but I did drilled a hole through the hub and dummy strut and fitted a high tensile bolt and nyloc I suspect this would still secure the dummy strut and meet Mr IVA requirements. That said, now you have mentioned it, I will order two new bolts better be safe than sorry.
-
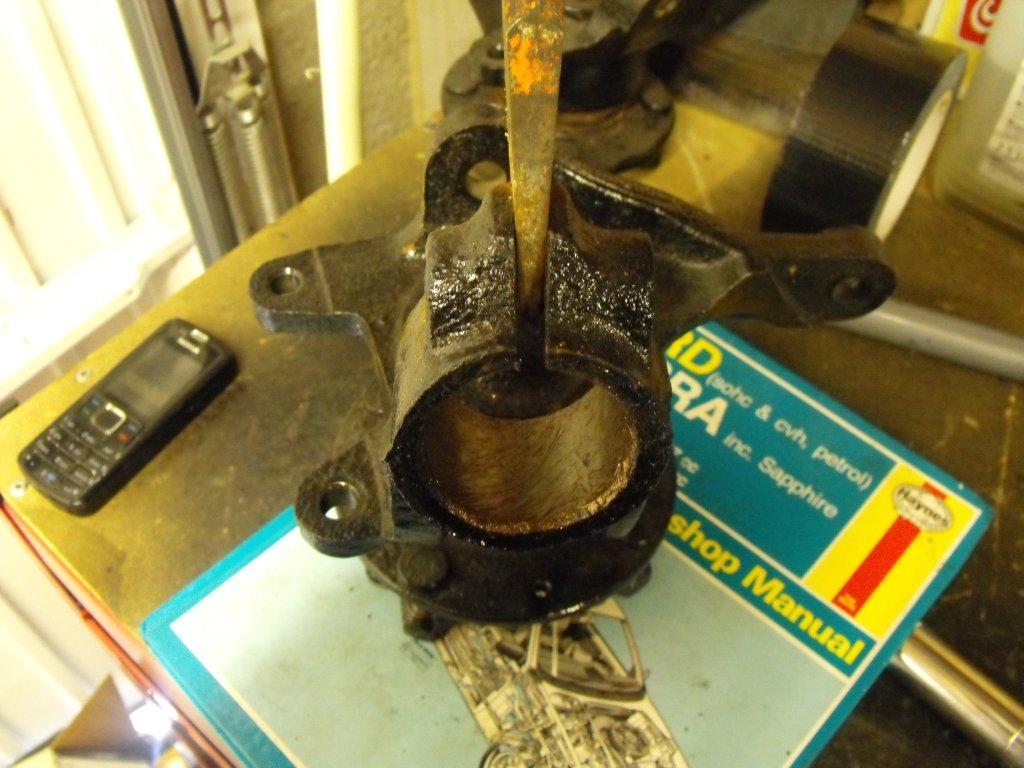
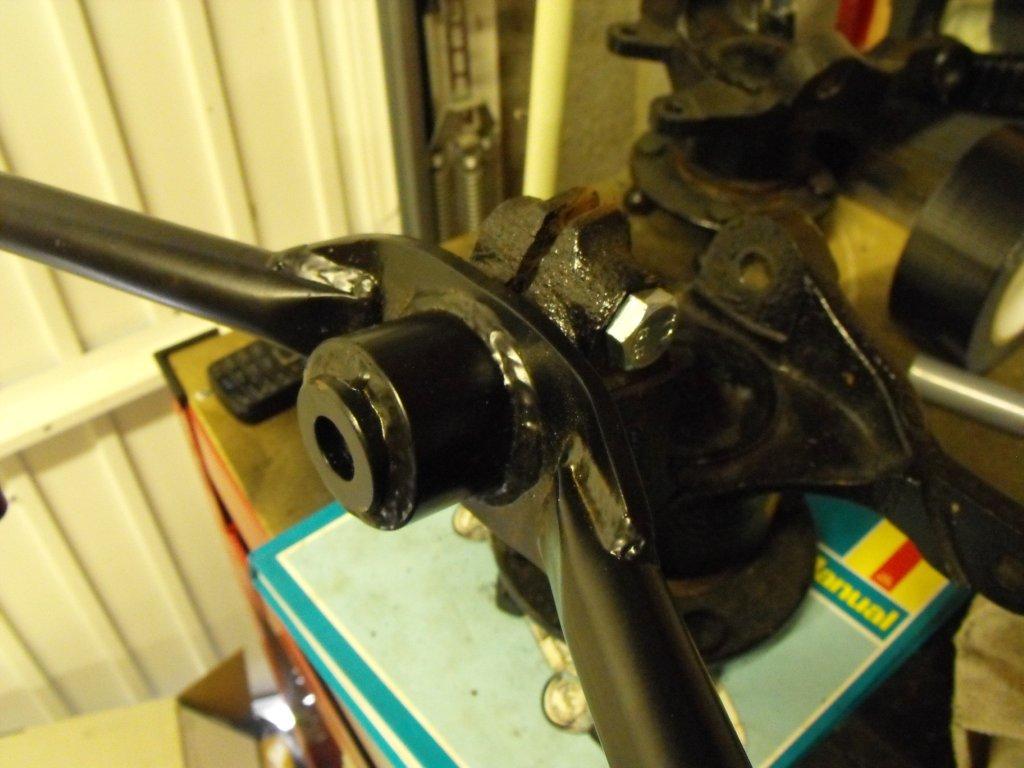
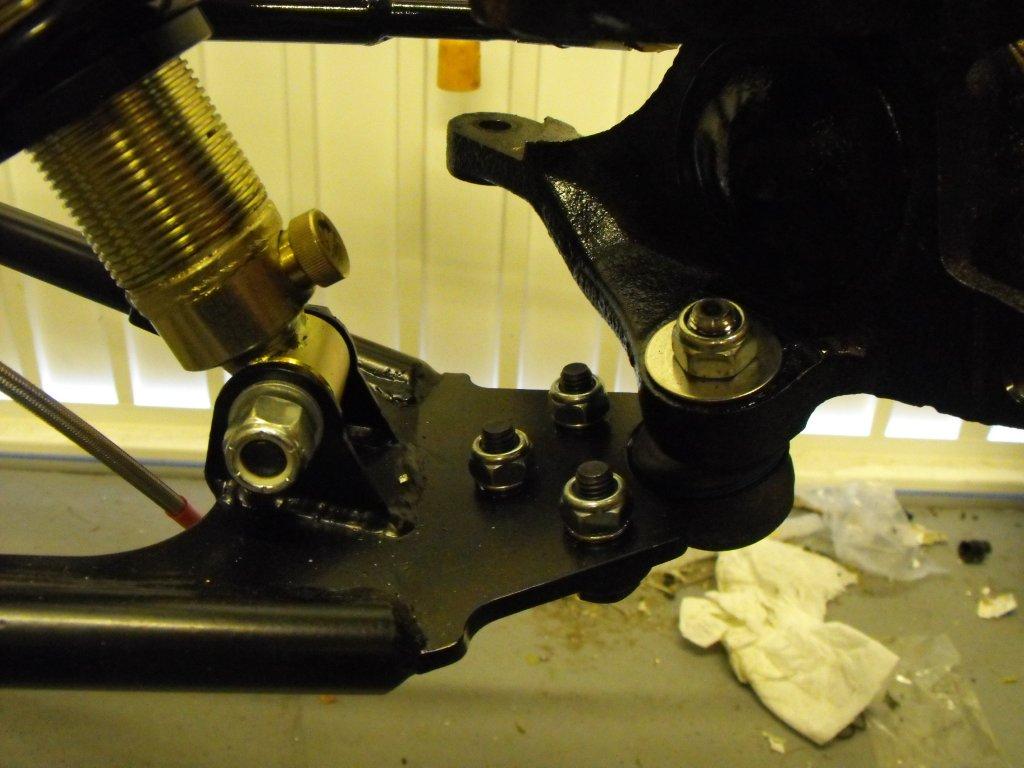
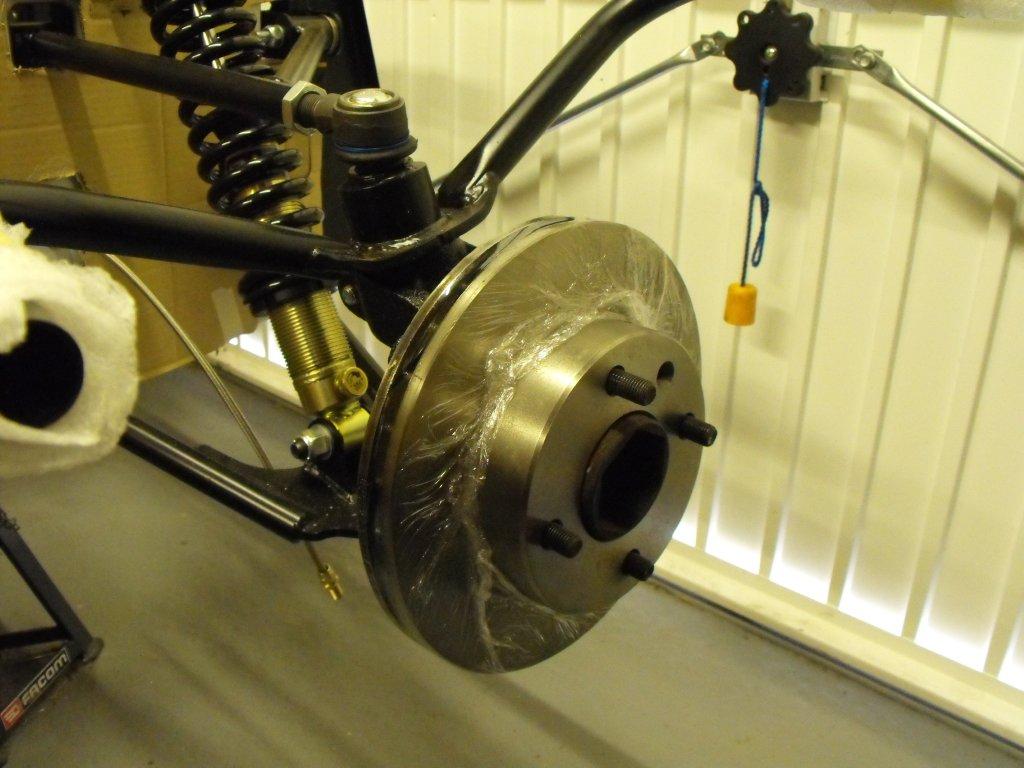
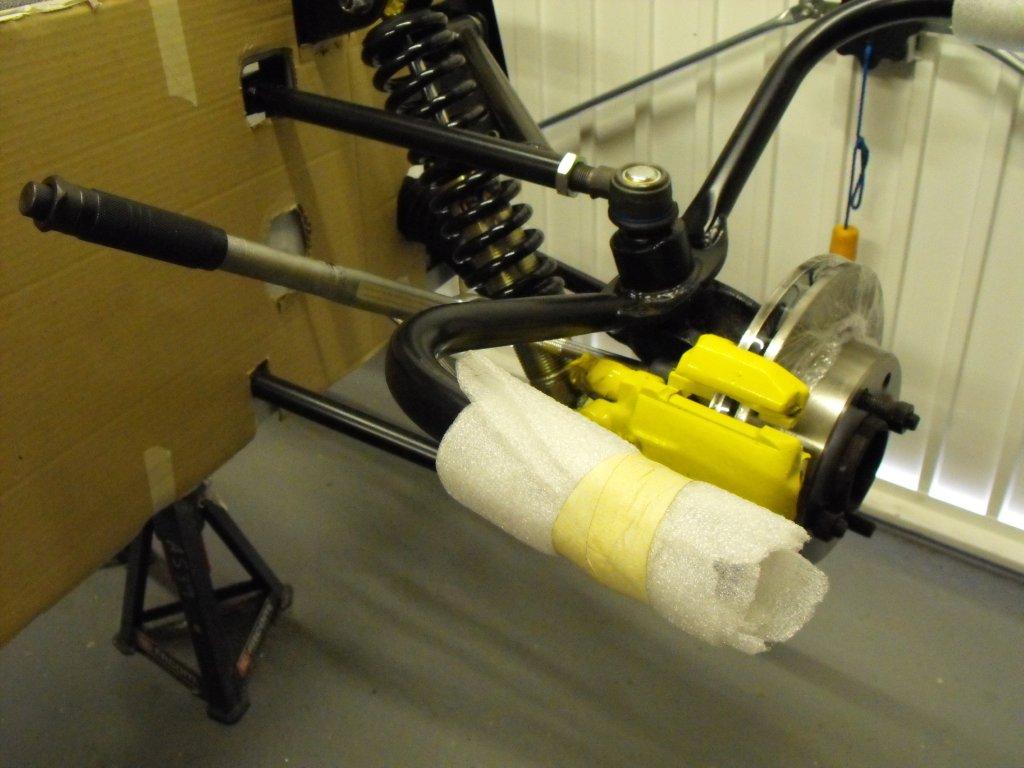
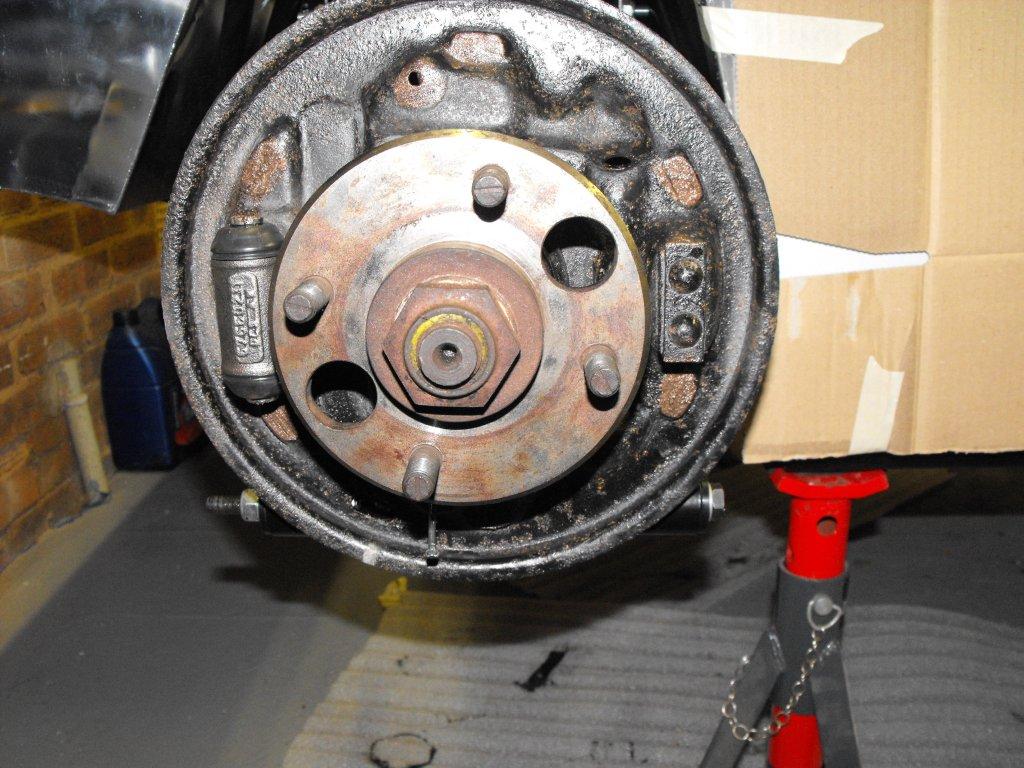
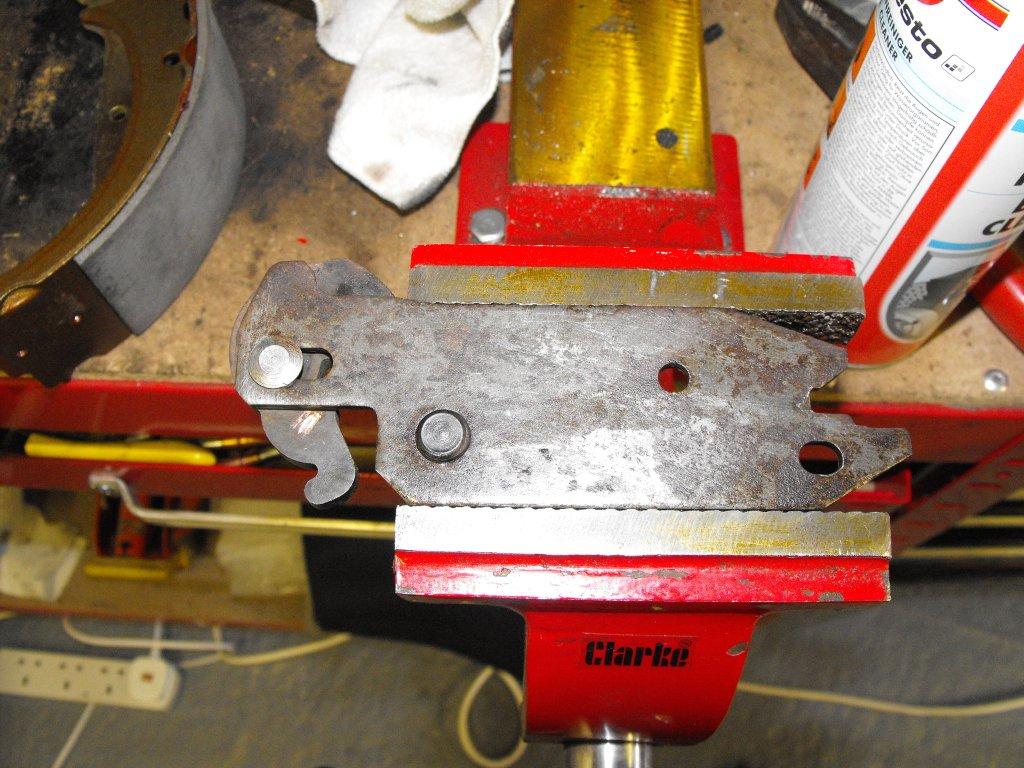
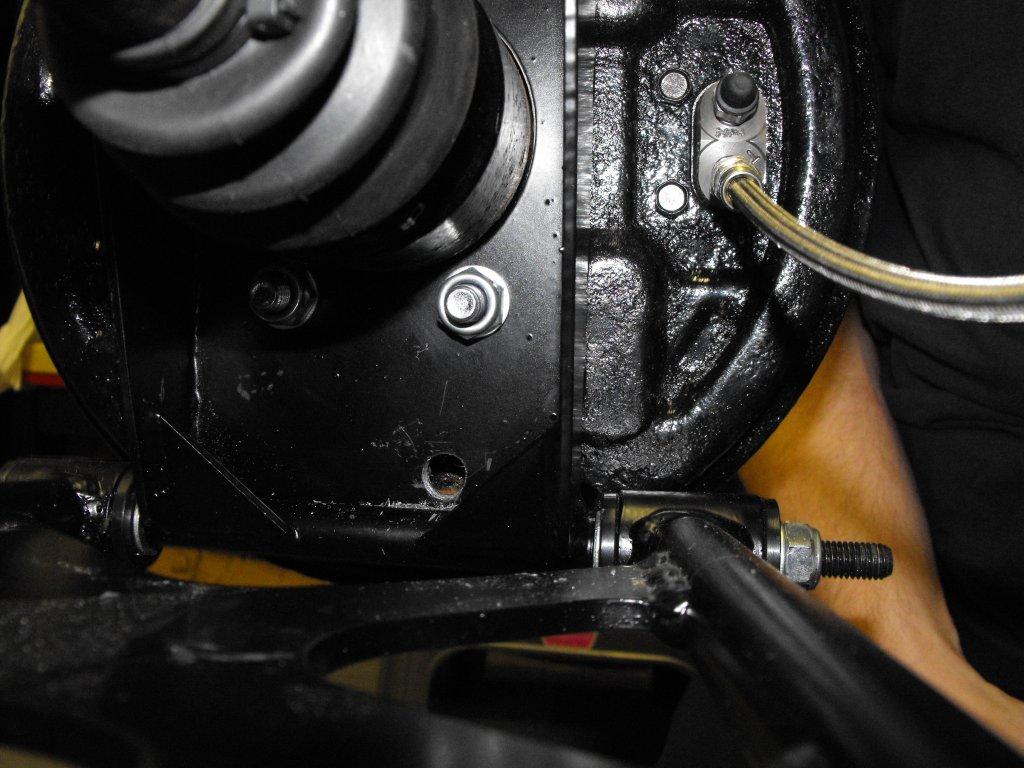
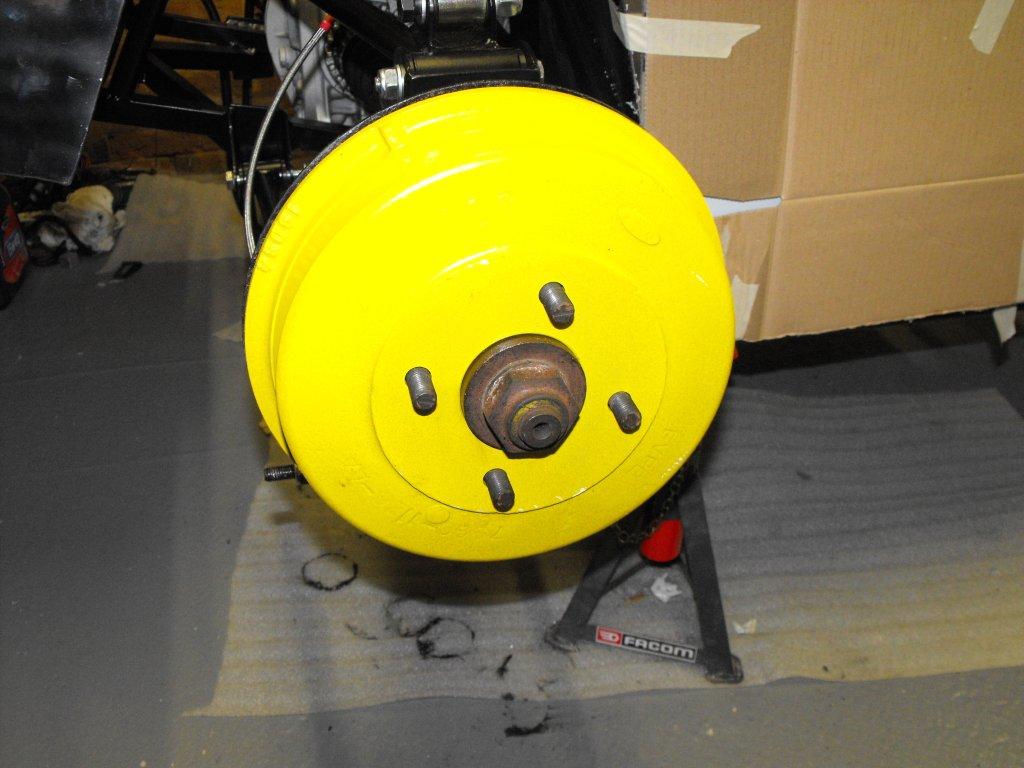
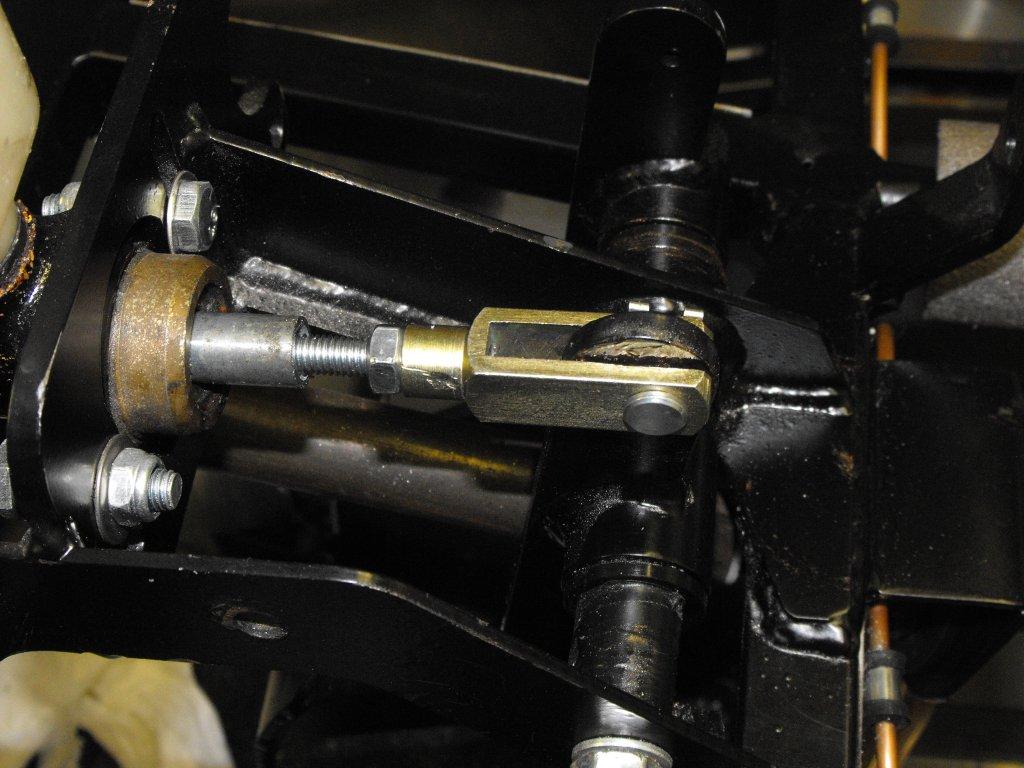
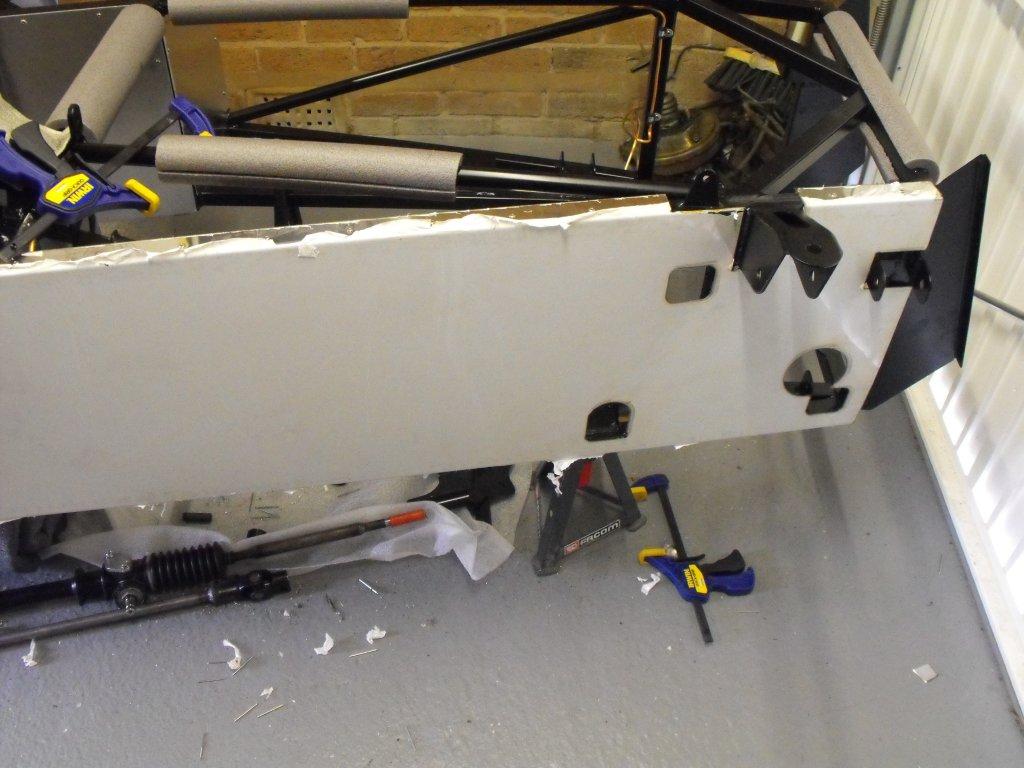
Next job was the front hubs and brakes. The was cleaned and painted, I did not change the bearings because they were ok on the Sierra. I aligned the mud guard bracket and hub flat on the desk was the easiest method. By measuring both sides of the bracket it was more or less even, then tighten the bolt. If the shock is very loose the hub is easily fitted using top and bottom ball joints. I then fitted the new disc's and re-conditioned brake caliper, using the correct bolts, stud lock and torque wrench. You may notice I have wrapped the disc's in clingfilm, to preserve the disc's whilst still building (don't want any rust) and covered the end of the mud guard bracket after whacking my head about tens times.

-
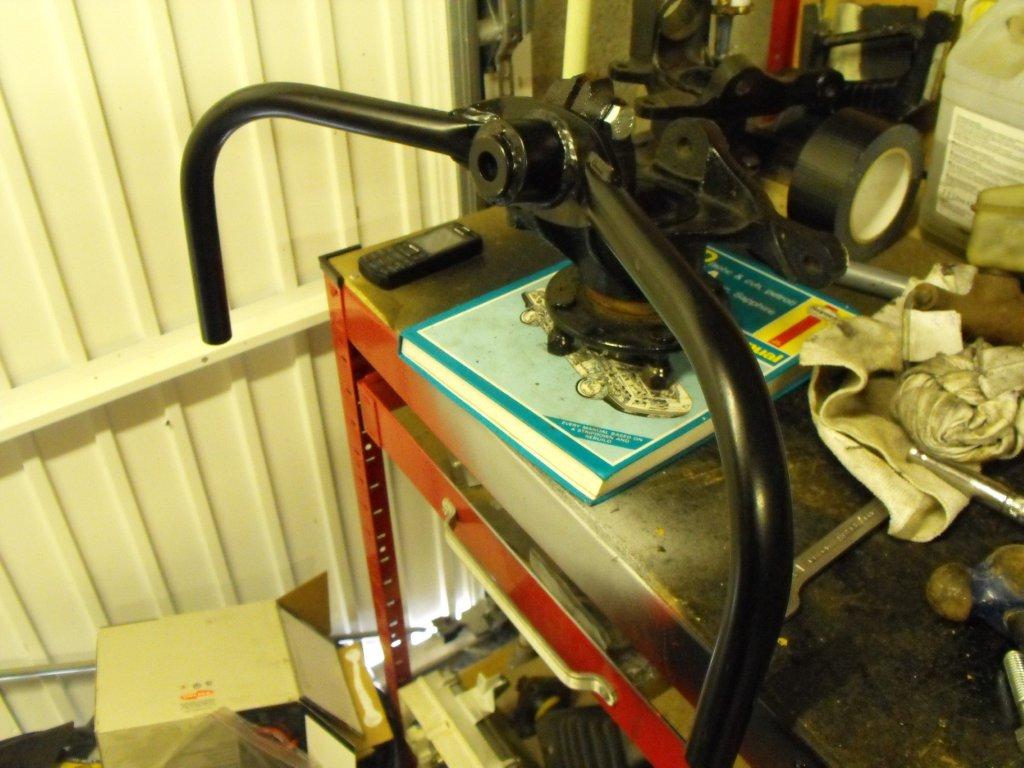
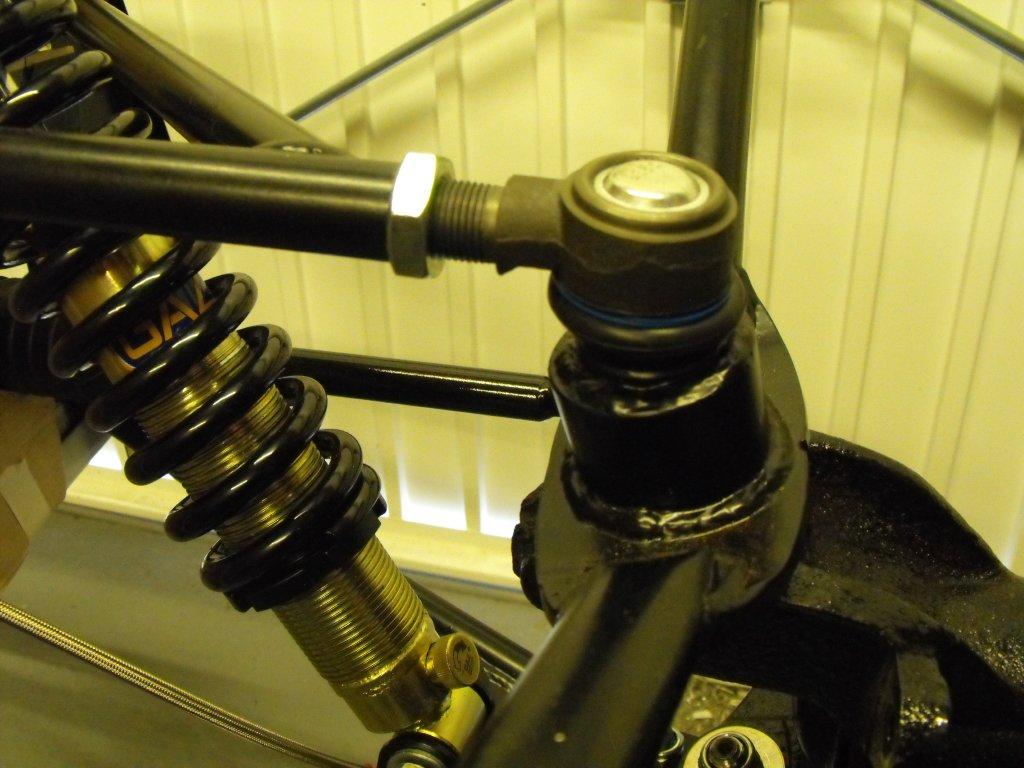
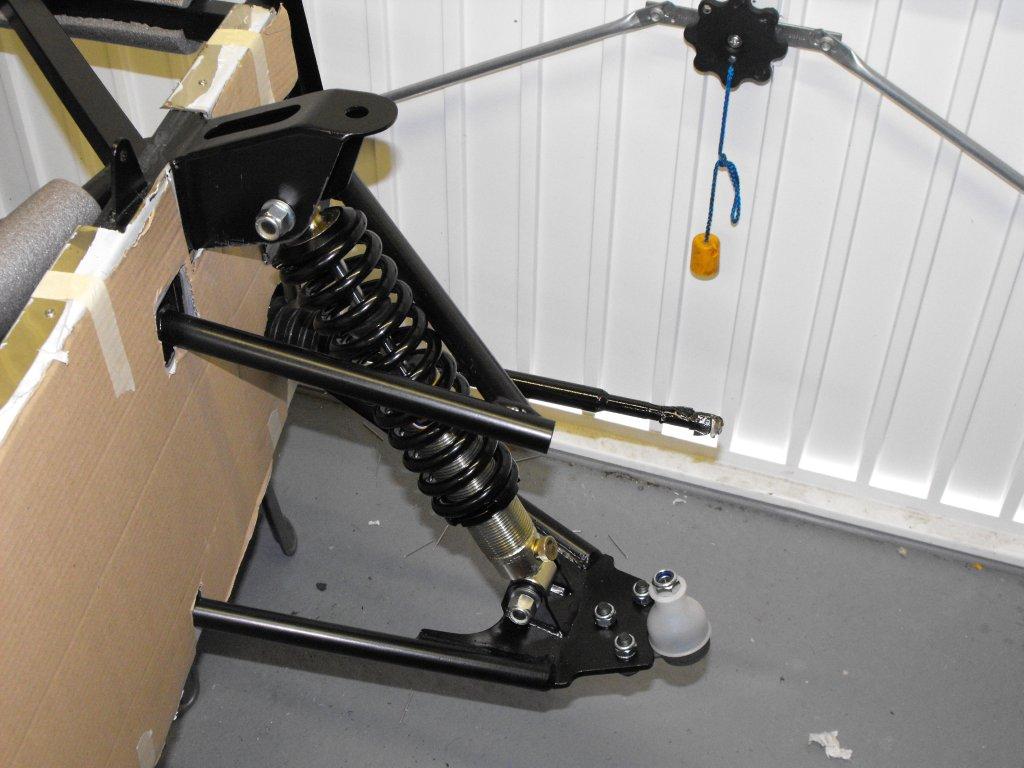
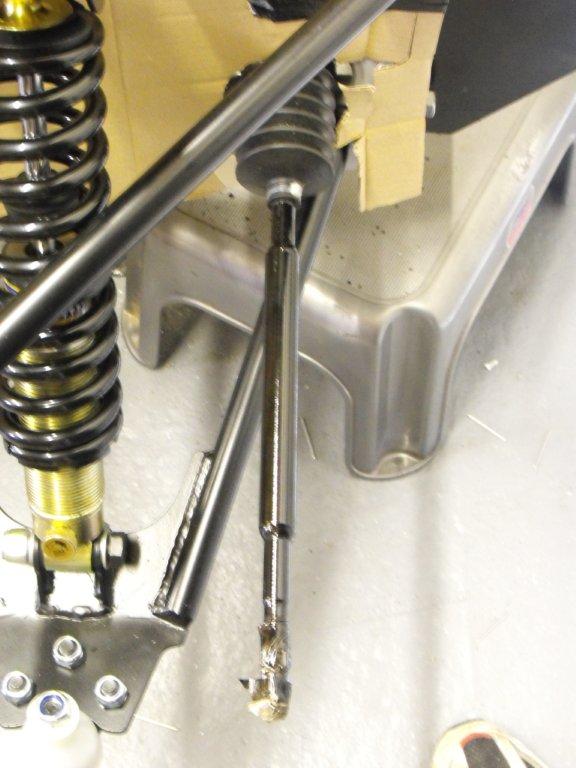
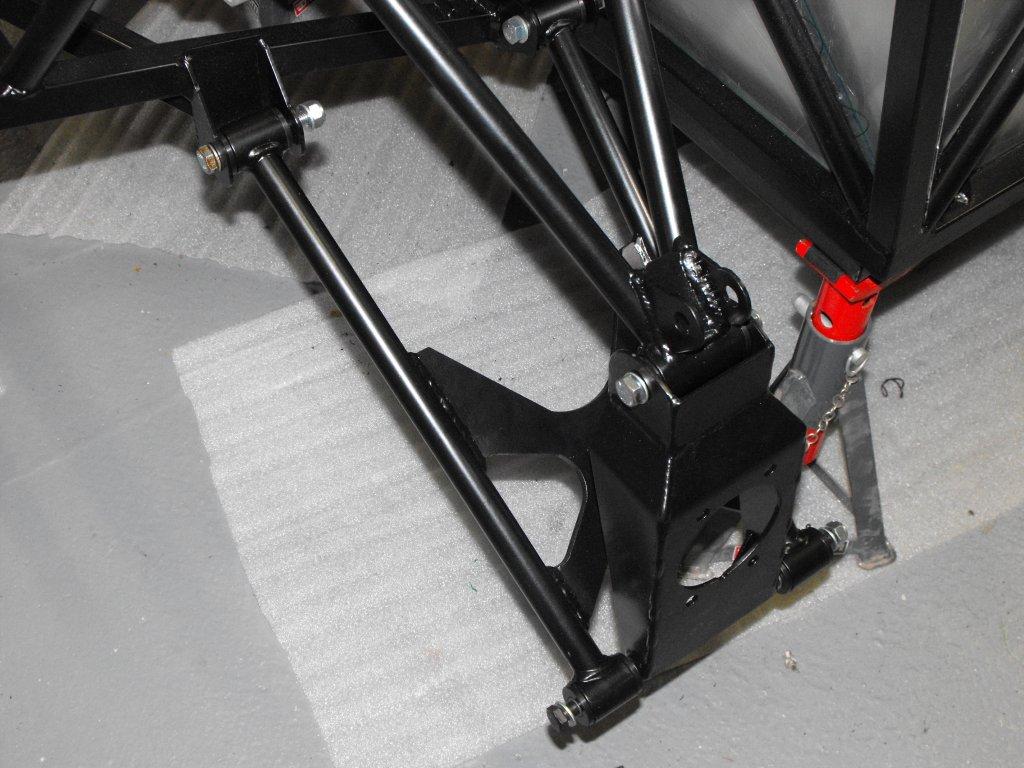
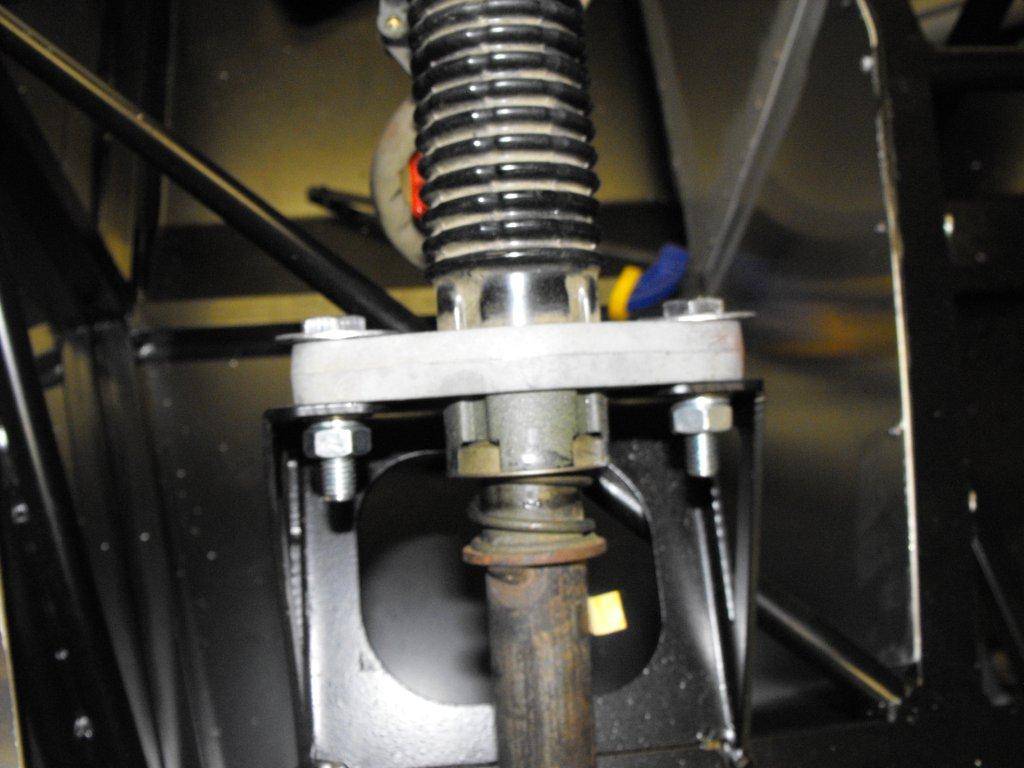
Front suspension was easy enough, four bolts through suspension arms (these are right and left hand) then fit the shocks and springs which was part of the original kit. Before fitting the top wishbone ball joint I would advised you run a tap through as the thread can be slightly distorted.
-
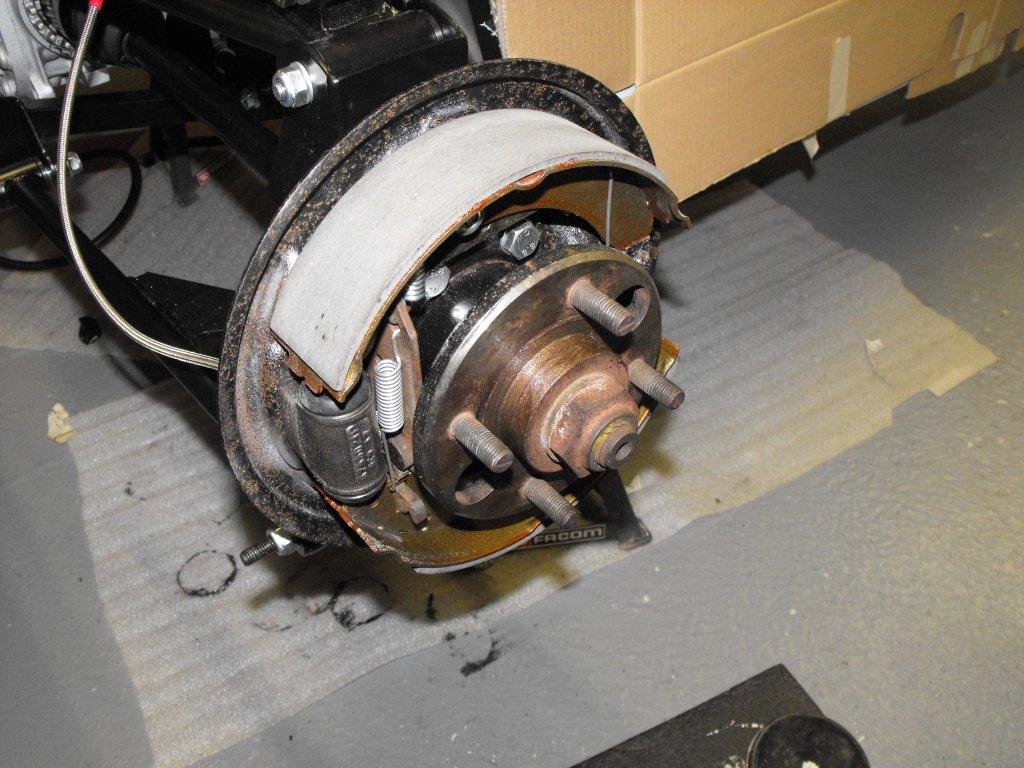
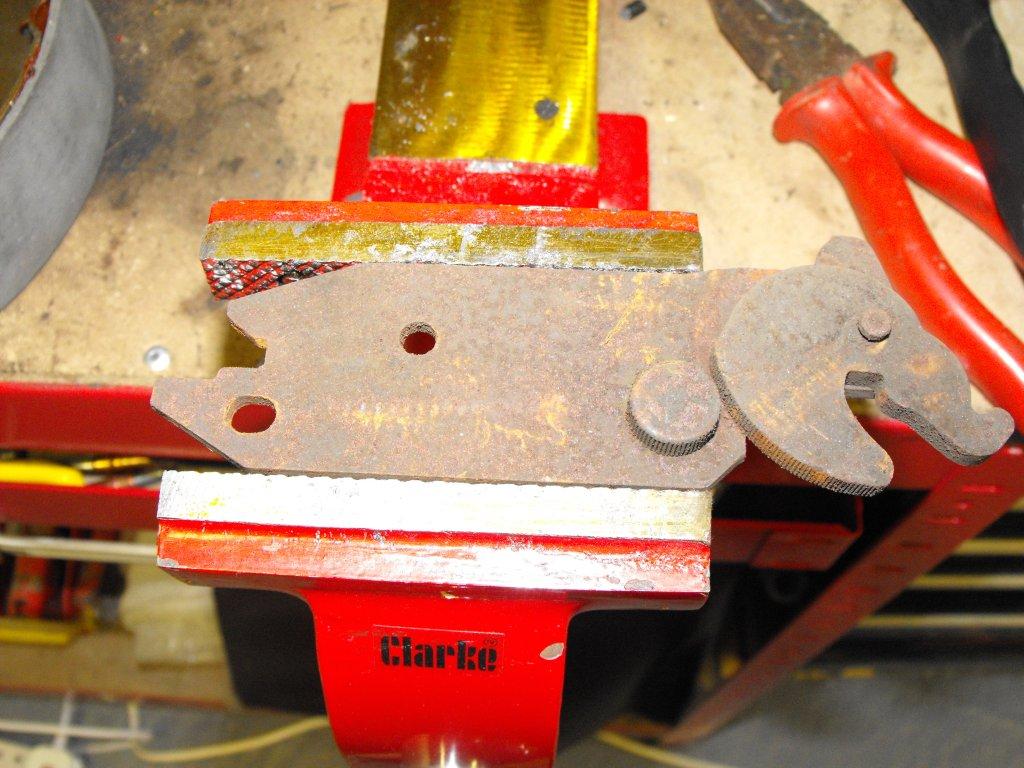
Now the focus was on the rear brakes. Although I cleaned the old back plates and used spray paint primer and top coat there was still some rust coming through. Not to worry I will probably upgrade to disc's in the future when I change the engine. I use the correct spacers as described somewhere else on the forum, then simply bolted the hub mount and back plates using new bolts. I applied a little copper grease to areas where the new shoes could touch and other metal parts. I did not like the condition of the old wheel cylinders so I fitted new wheel cylinder, shoes and spring kit. I could not locate a new auto-adjuster so I had to clean the old one. I ordered the GBS handbrake cable so this was a straight forward fit. I did not like the way it was routed near the drive shafts so I fitted some temporary brackets to hold the handbrake cable. To fit the anti-rattle pin to the shoes, I had to drill a hole through the hub mount, not ideal but worked. Then the newly painted drums completed the task.
-
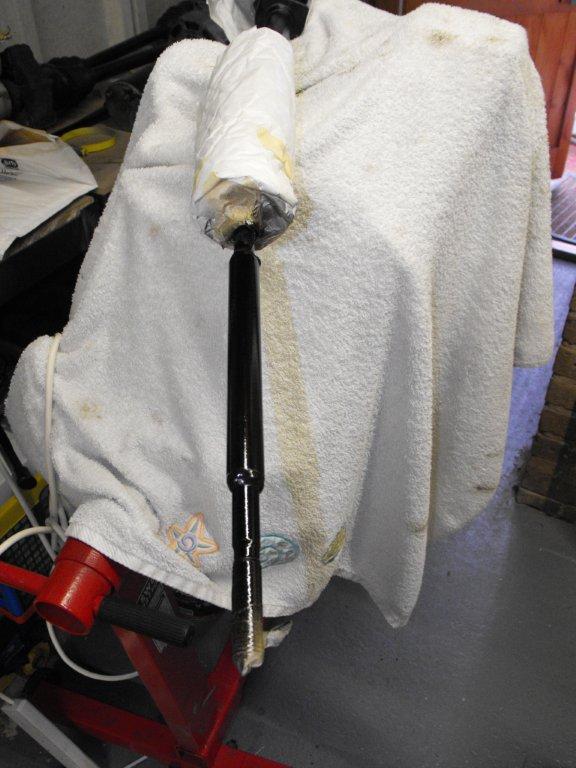
Both drive shafts were cleaned and packed with new grease and new boots, using universal gaiter kit available on ebay for £24 for two. A really tight fit and I would advise you to wear gloves because when the rubber boot is passed over the cone a few times and starts to spread the lube it can fight you all the way. I didn't take any photos of this stage because I did not want the camera to slip out of my hands. I did not experience any issues with drive-shafts length, I suspect pure luck.
-
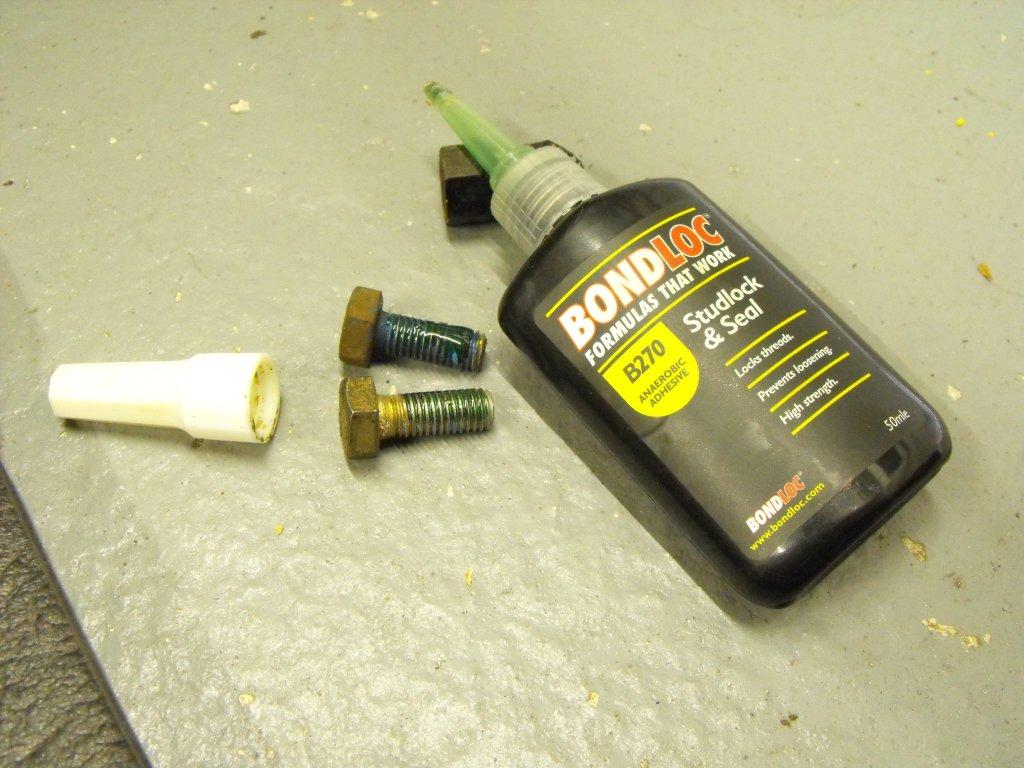
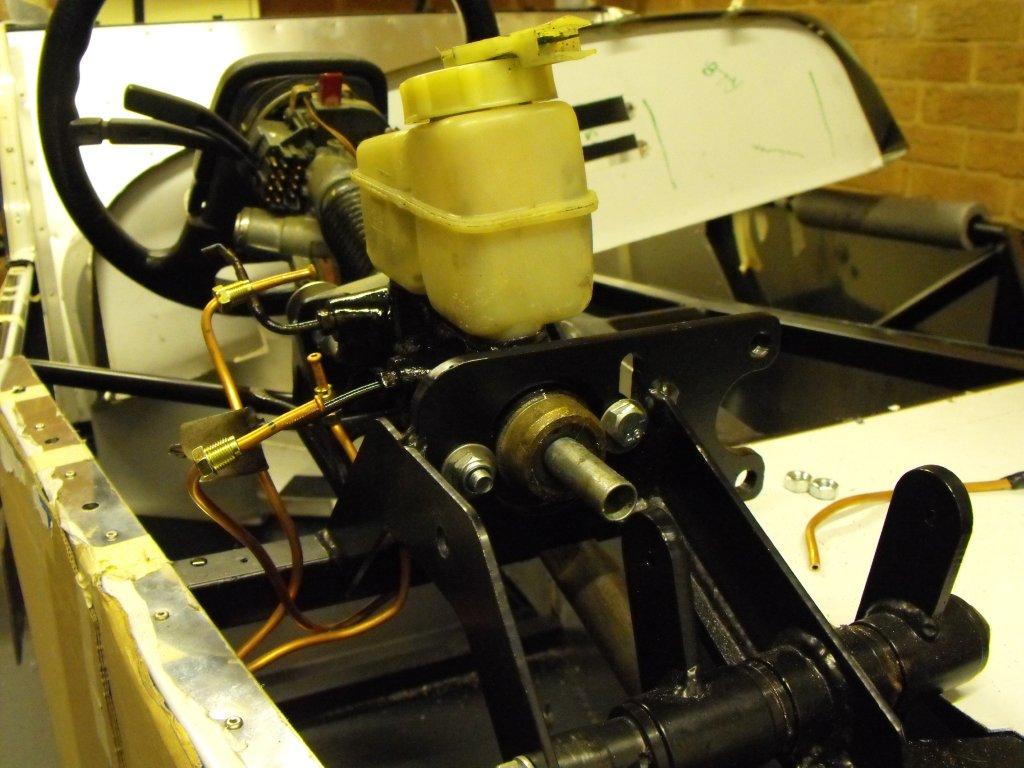
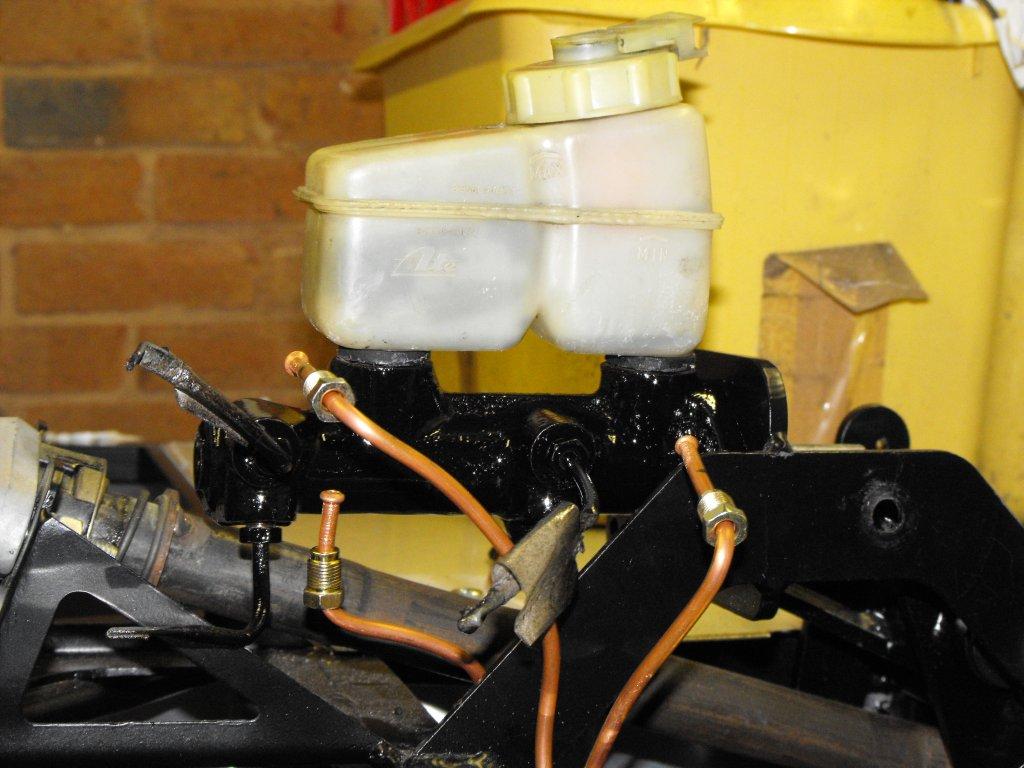
After ordering three seal kits I finally managed to match the right one for the brake master cylinder. I also cleaned the surface rust and gave it a few coats of black paint to protect it from the elements. I used some new high tensile bolts (don't under estimate the cost of new nuts, washers and bolts, can be very expensive). Fitted a shorten bolt and forked end, I left this too long until the brakes were fitted and bled to give some room for adjustment. I had to make a dummy spacer (plastic pipe and PVC tape) until I ordered new tube to ensure the brake pedal was fitted in the right place, inline with the brake master cylinder. Next job fit the rear and front brakes.
-
Well spotted! Anyway nothing wrong with Farley's rusks, we always have some spare with fostering under 5's (banana are the best). I'll bring some to the Rhocar tent and I bet they will all be gone.
-
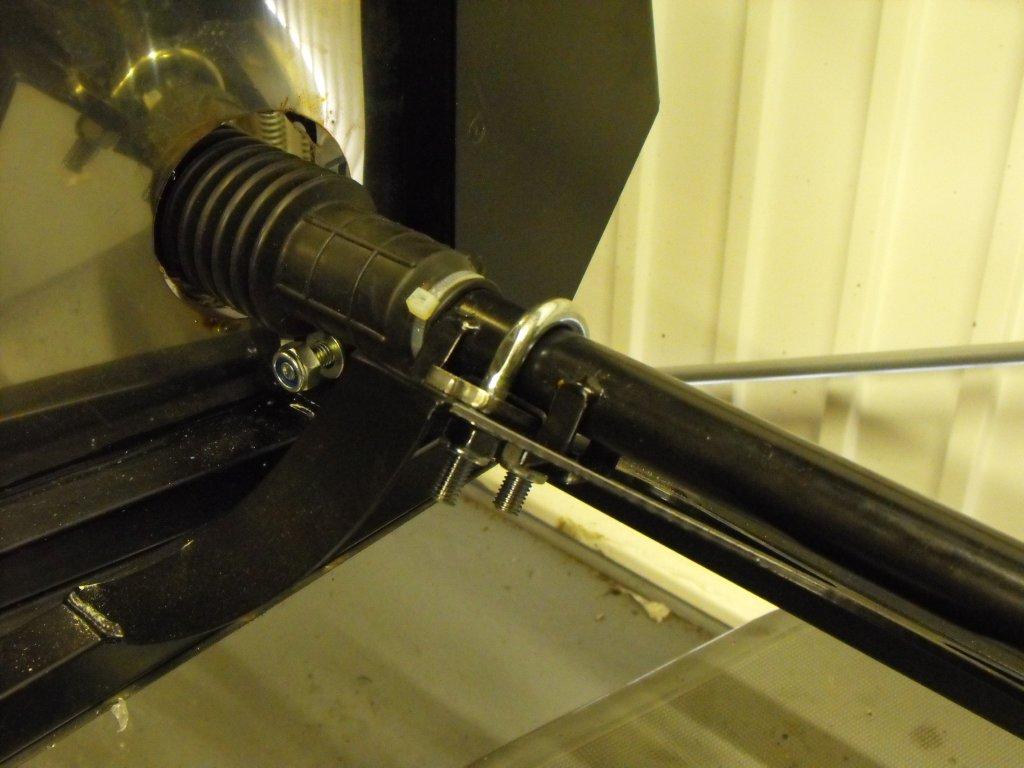
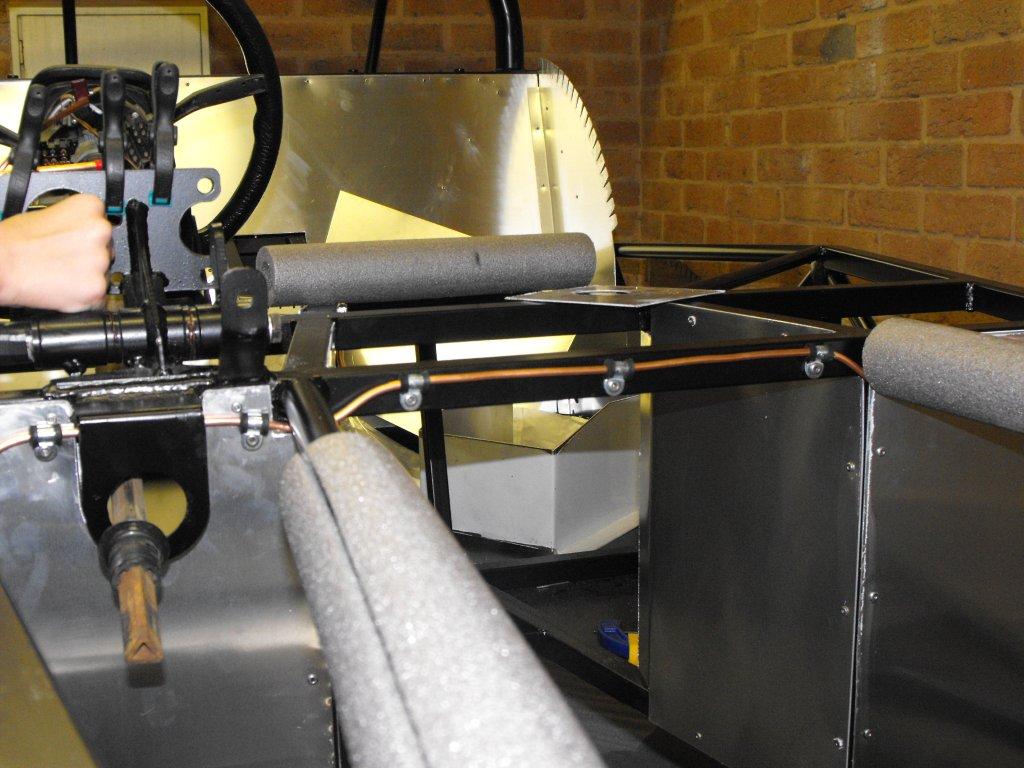
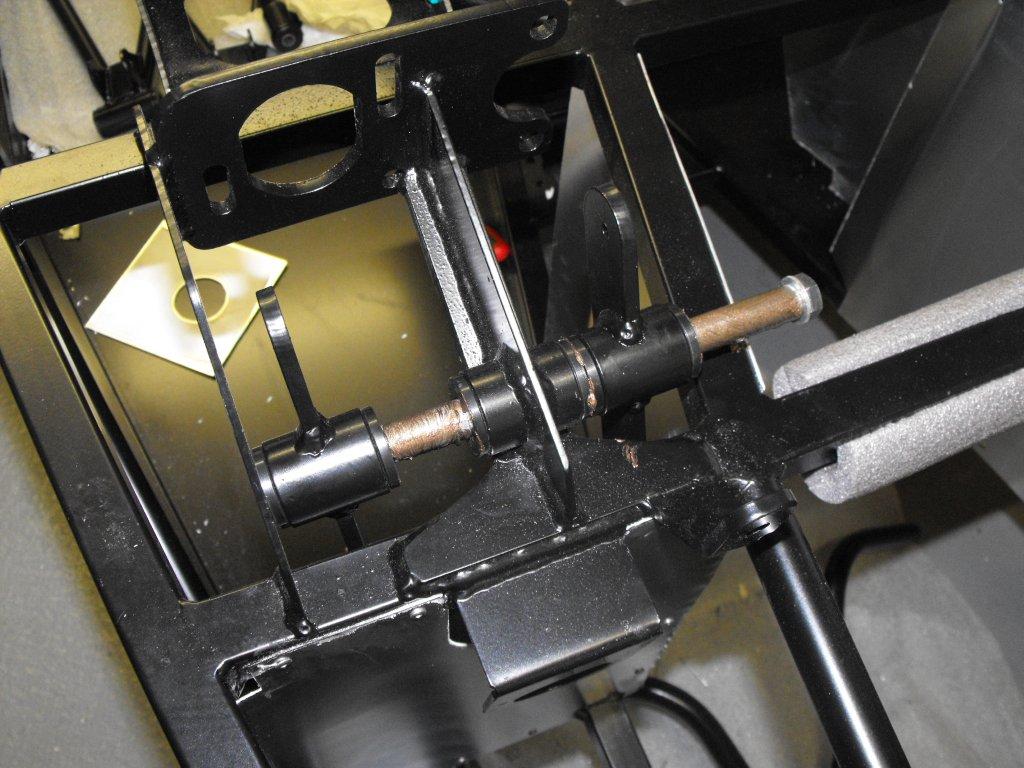
Fitting the GBS supplied steering rack. First I had spray the unit to prevent rust in the future and protect from the elements. Used a U bolt with new nylocs and don't forget to fit the plate and the other side a clamp and rubber bush. This was very tight to fit, and again i used high tensile bolts. Be careful with the steering rack gaiters, some people have failed IVA because they were rubbing on the side panel.
-
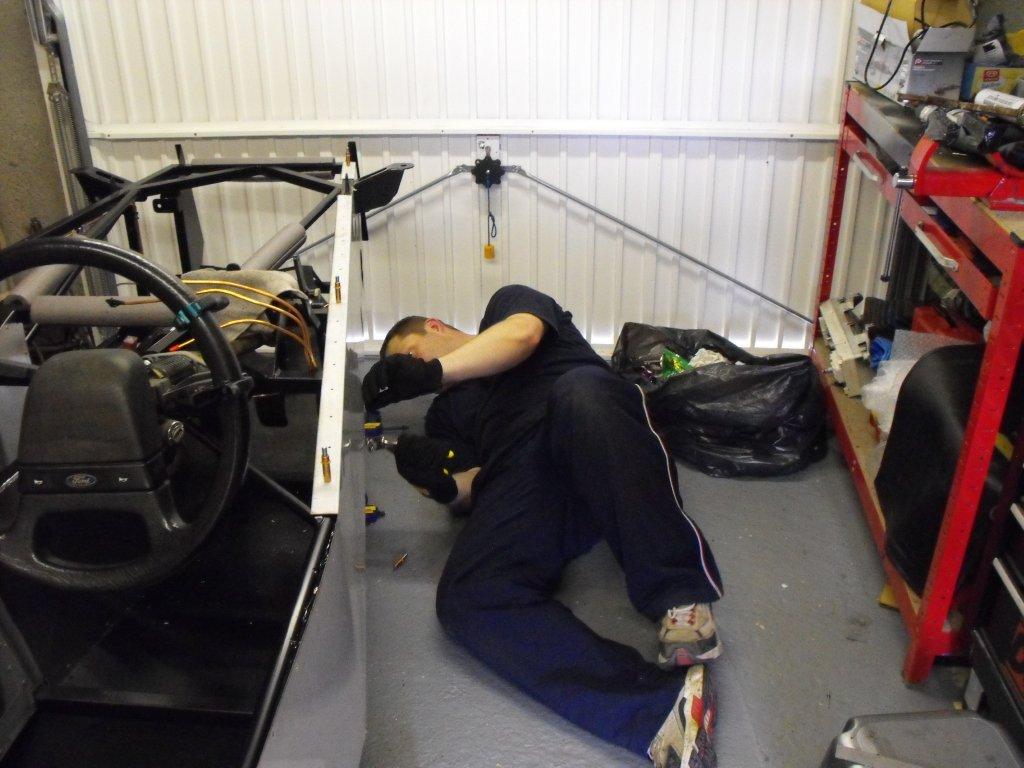
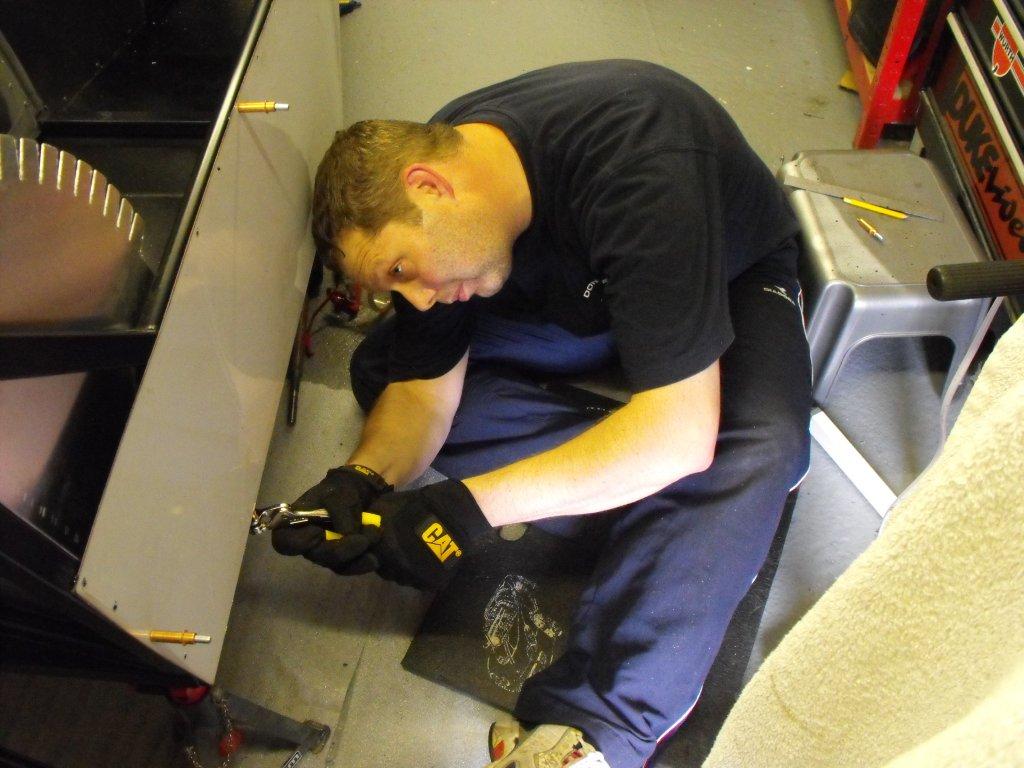
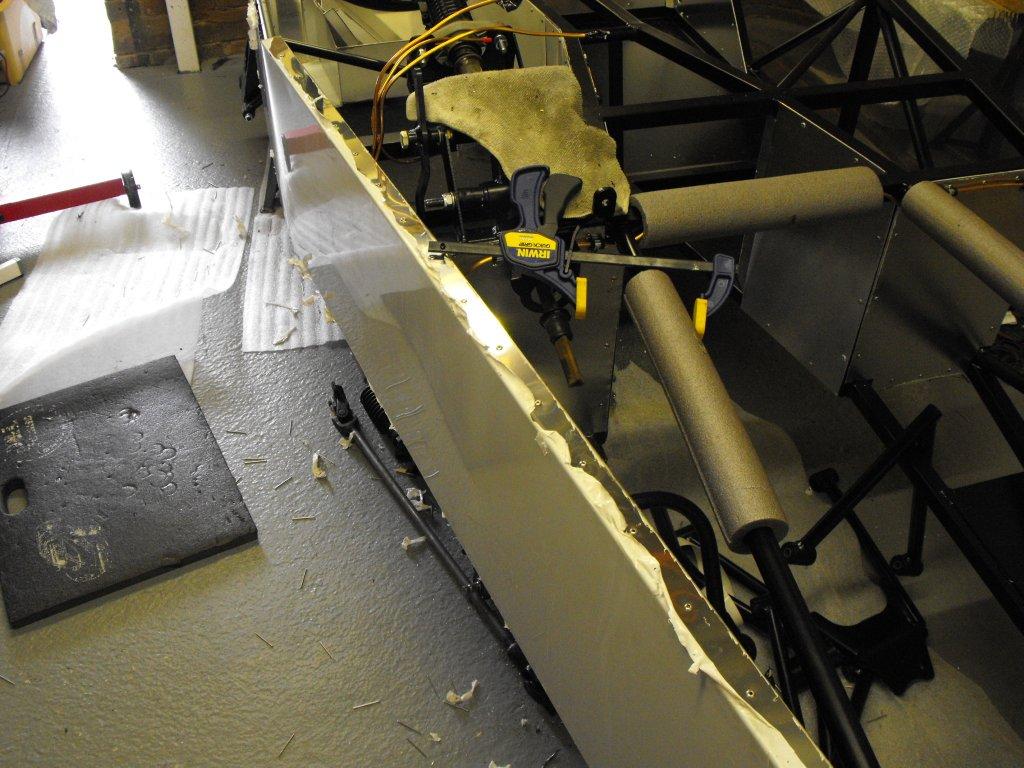
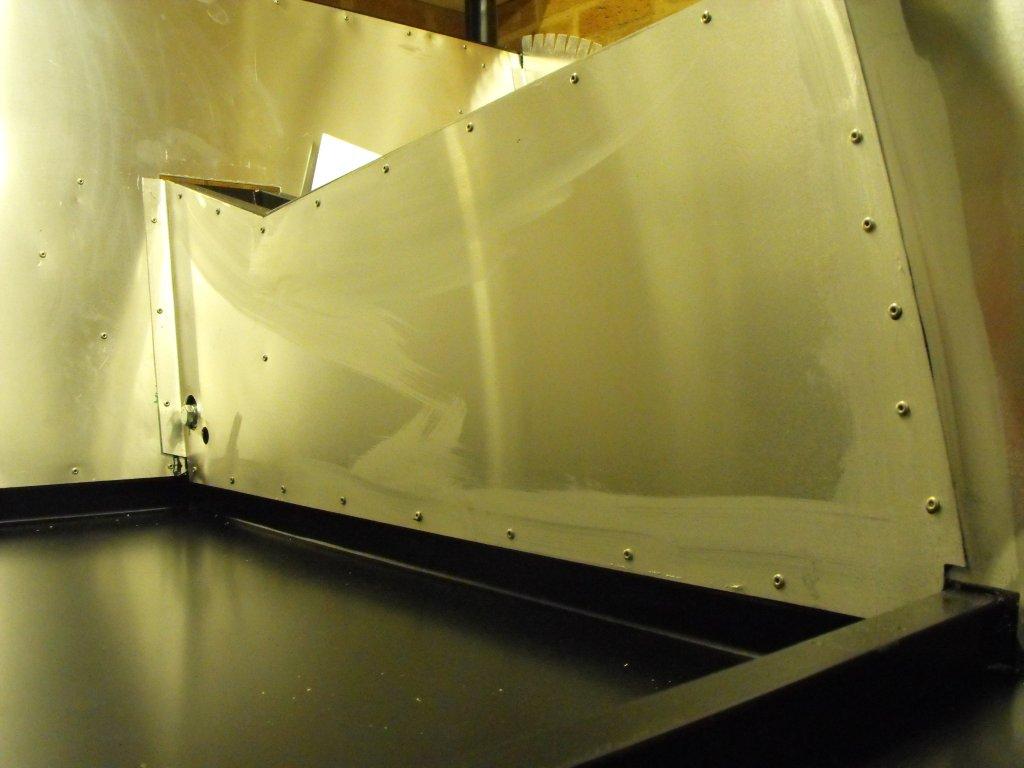
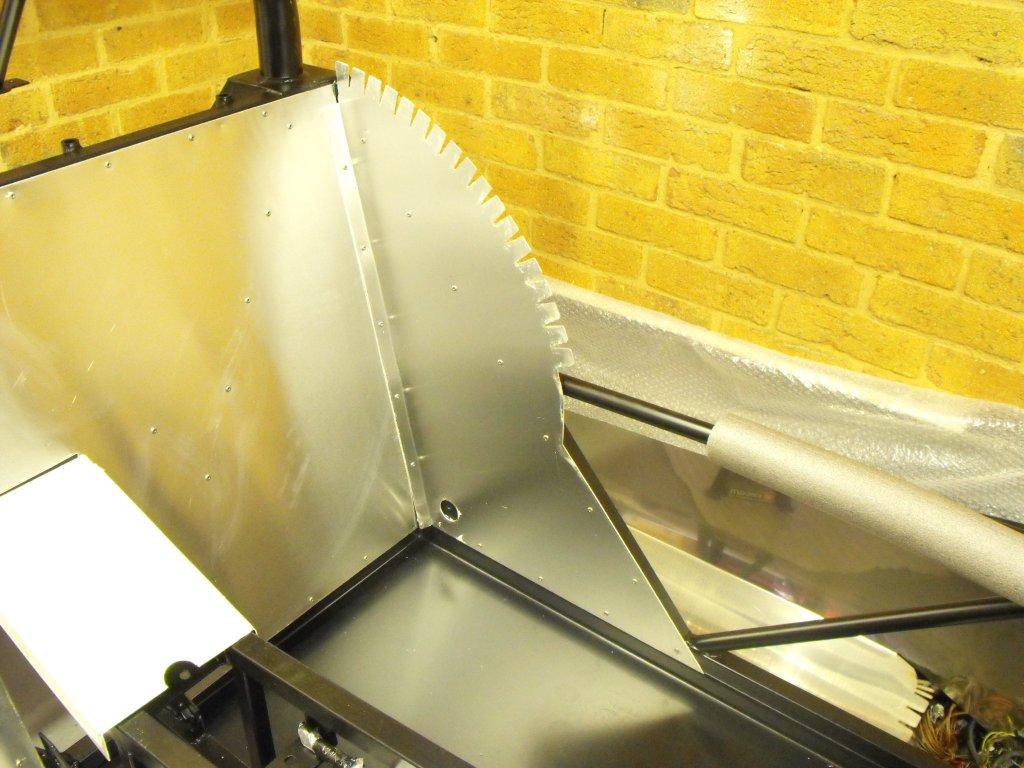
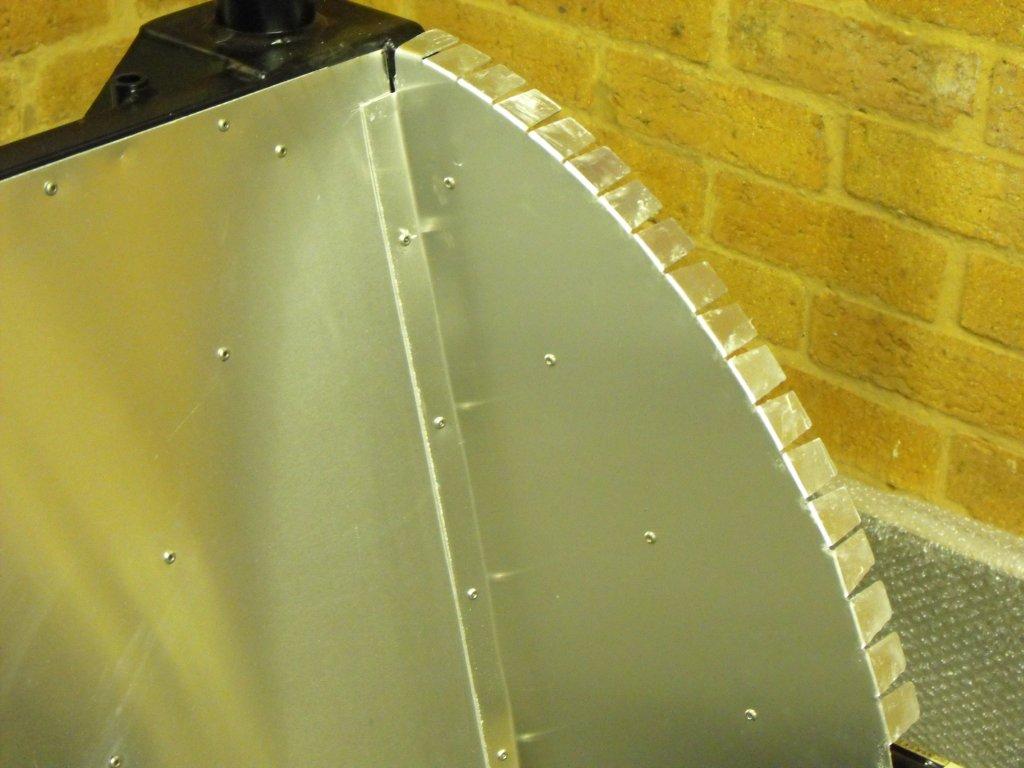
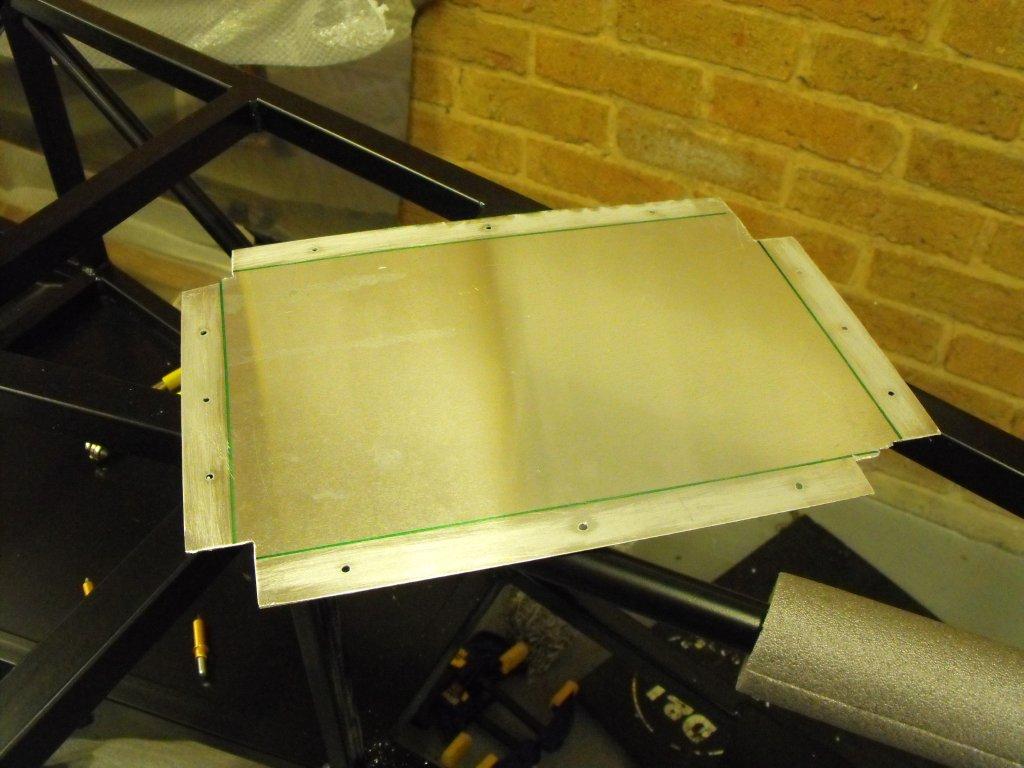
I had to decide if I fit the side panels now or after building the front suspension. After ready other forum comments I went for fitting them now. First of all I used the grinder to remove all the sharp edges left by GBS cutting process. Starting to regret having stainless steel panels a bit. First fit was held together with clamps and planks of wood. I then measured and marked the hold for the rivets, which I drilled off the car and again with the grinder removed the sharp bits. The cleco's provide the stability need to drill other holes before I started to rivet the panel, I use a small bead of adhesive where I thought water or road debris could collect. I then covered the panel with cardboard to protect it from the odd bump or son wielding a large tool.
-
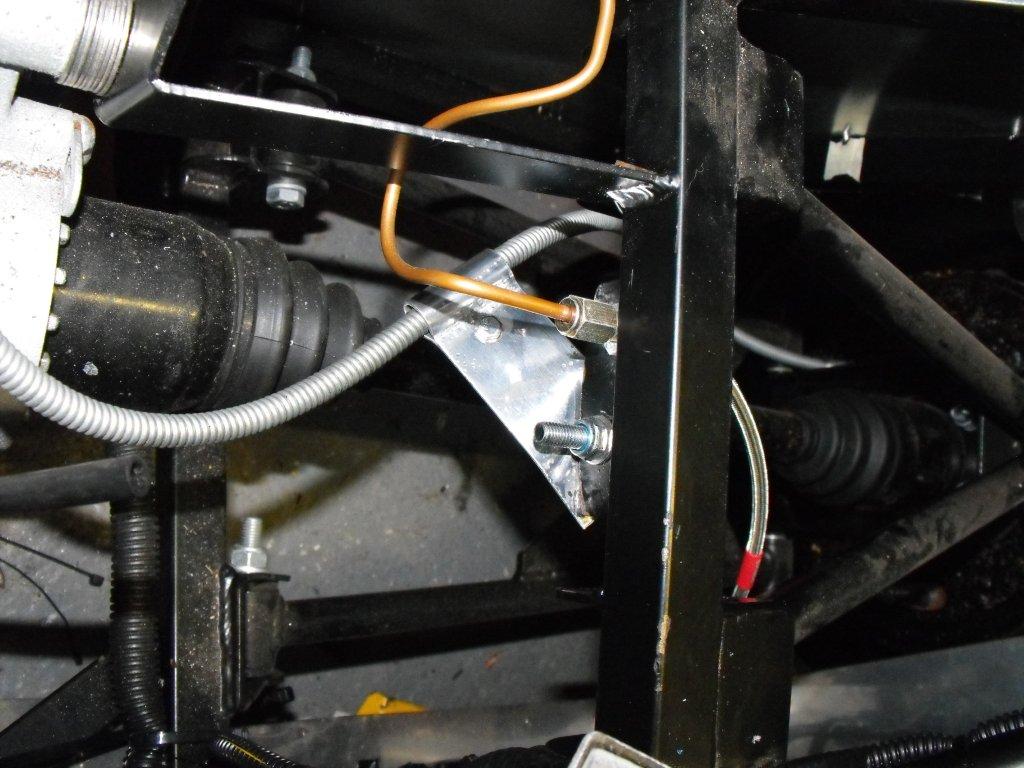
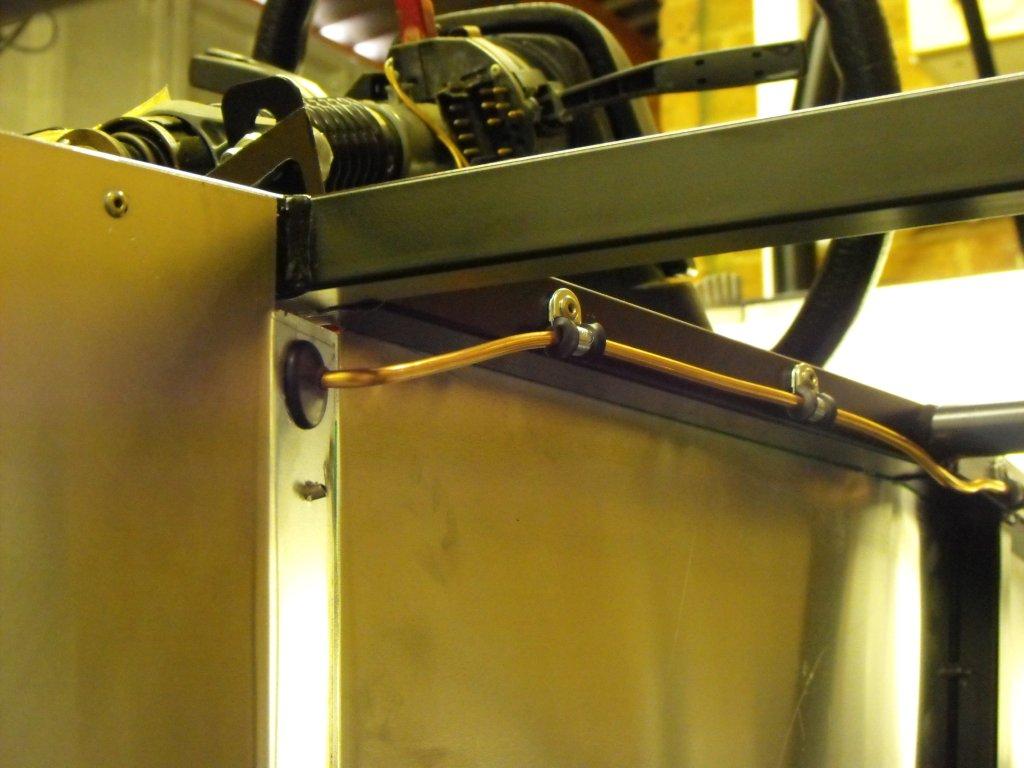
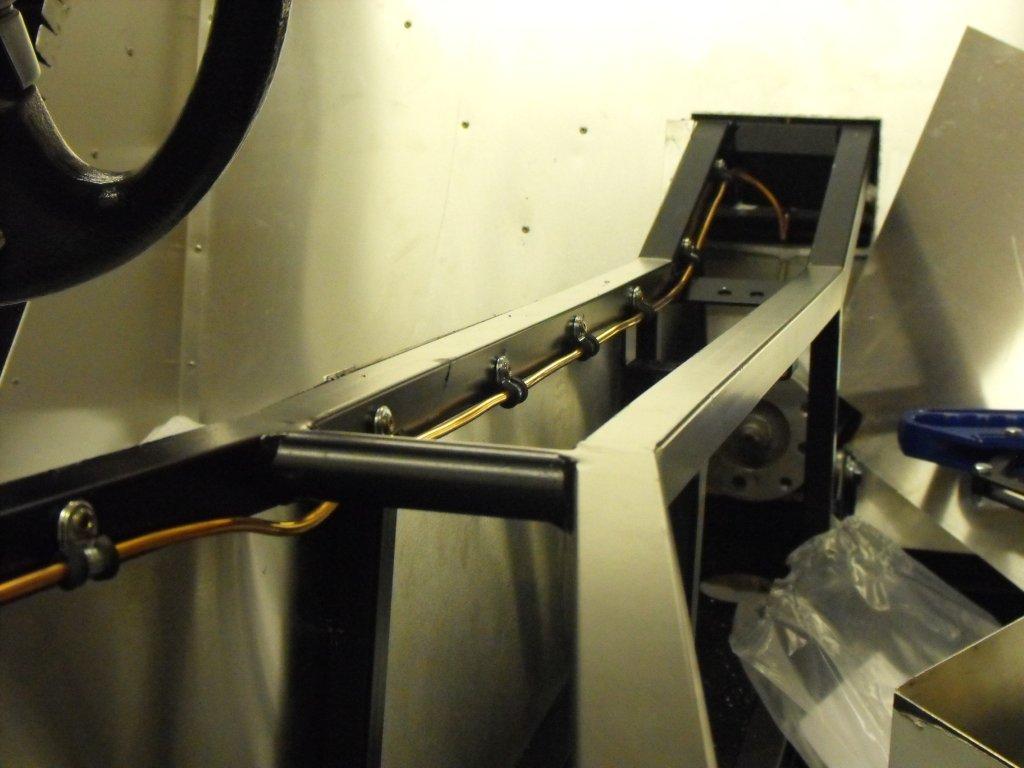
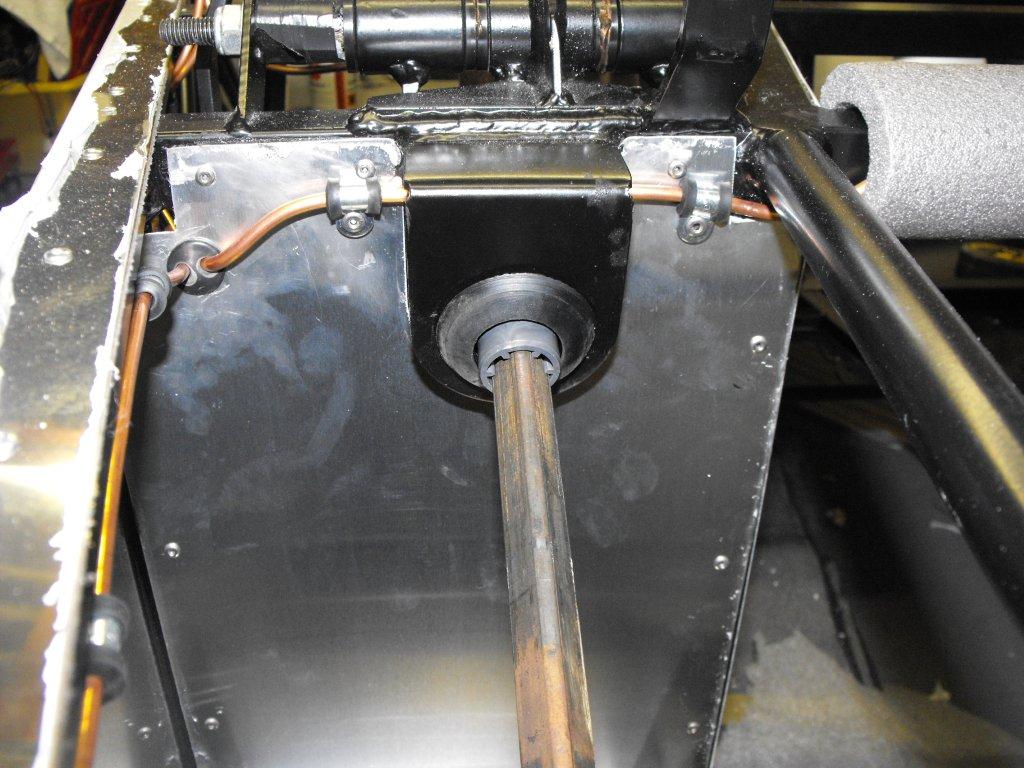
The back brake pipe was fed through a grommet in the side panel, secured inside the tunnel with more p clips. I decided to use a pressure switch for the brake lights and this was fitted at the rear, as GBS recommendations. From the 4 way union I had to make to pipes to fit to chassis and the rear brake flexi's. I'll show more when I fit the rear brakes.
-
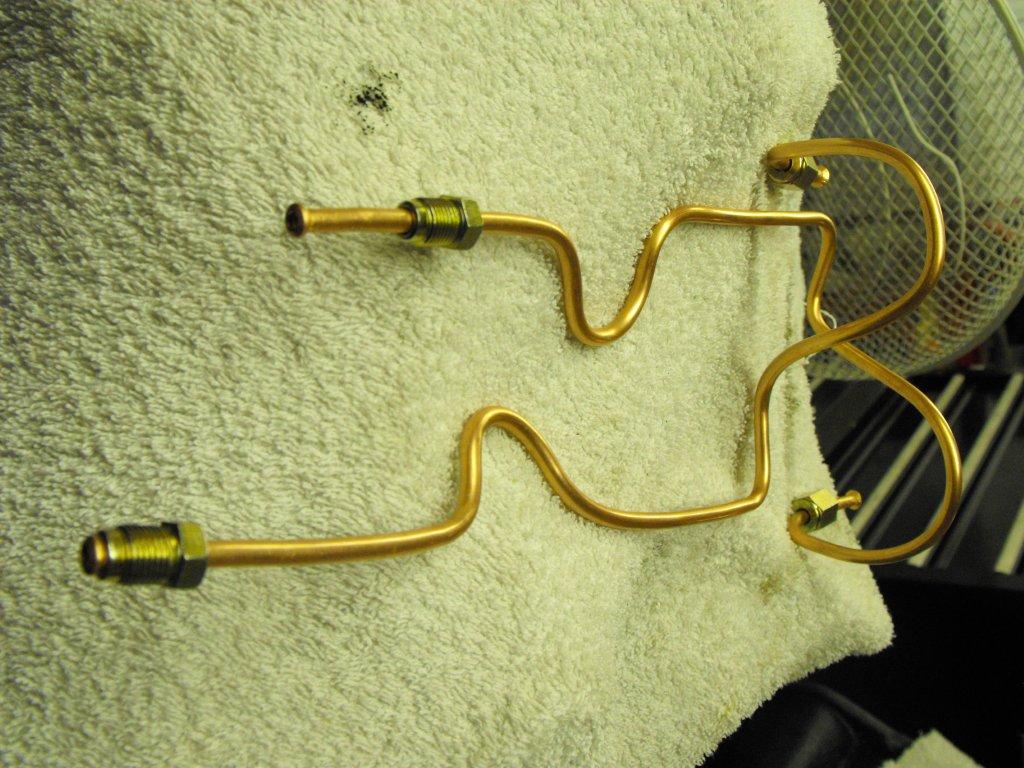
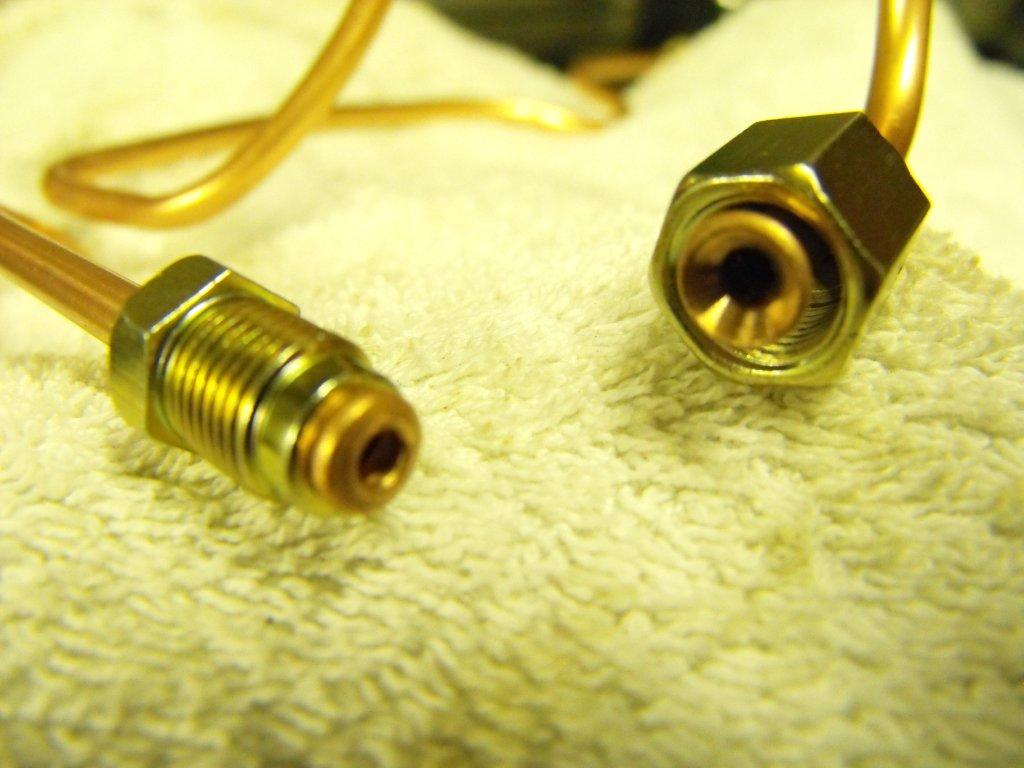
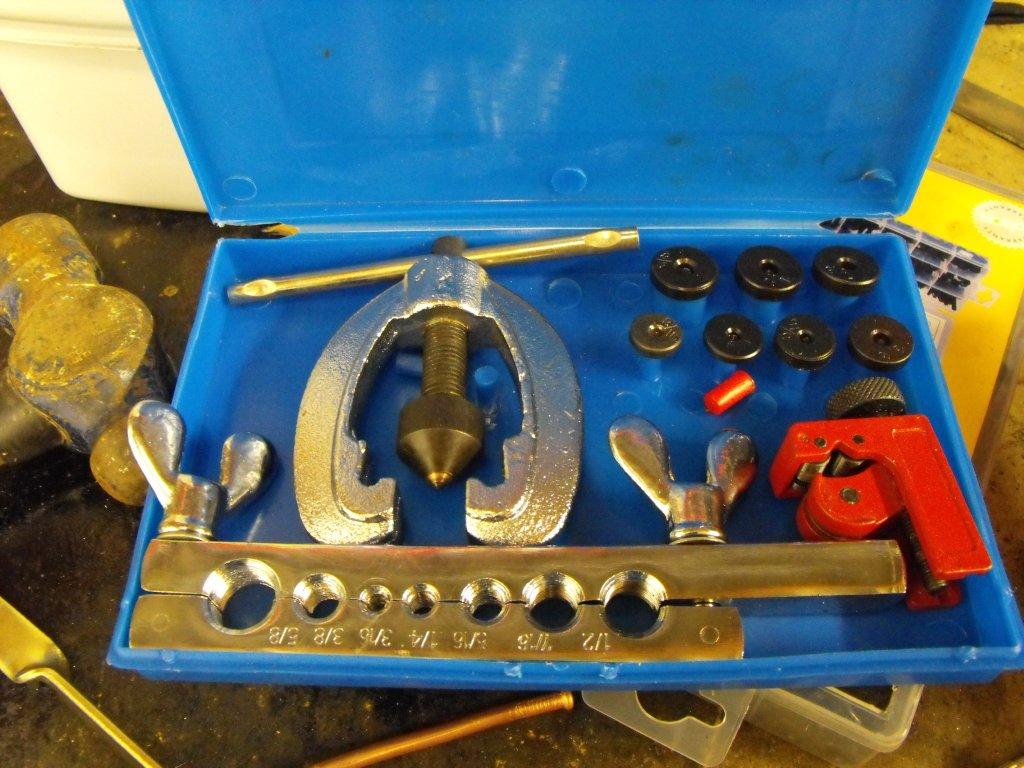
Before I get to excited with progress and fit too many panels I started routing the brake pipes. Brand pipe and new flaring kit, I made a few test pieces to make sure the kit was producing clean ends and remind me on its operation (over 10 years since I used a similar brake pipe forming kit. Started from the master cylinder, still waiting for seal kit so I left a more then enough brake pipe. Two front pipe went through a grommet along the chassis and down to the side panel where I would fix the flexi-pipe later. Again until I fit the side panels I just left a piece on pipe, I used rubber lined p clips and stainless rivets. I right angle drill chuck was a life saver, and worth every penny. I'll come back to the front brakes later.
-
Hi Dan, Black beanie and poloshirt with yellow car. I would be interested in hoodie let me know the costs please.
-
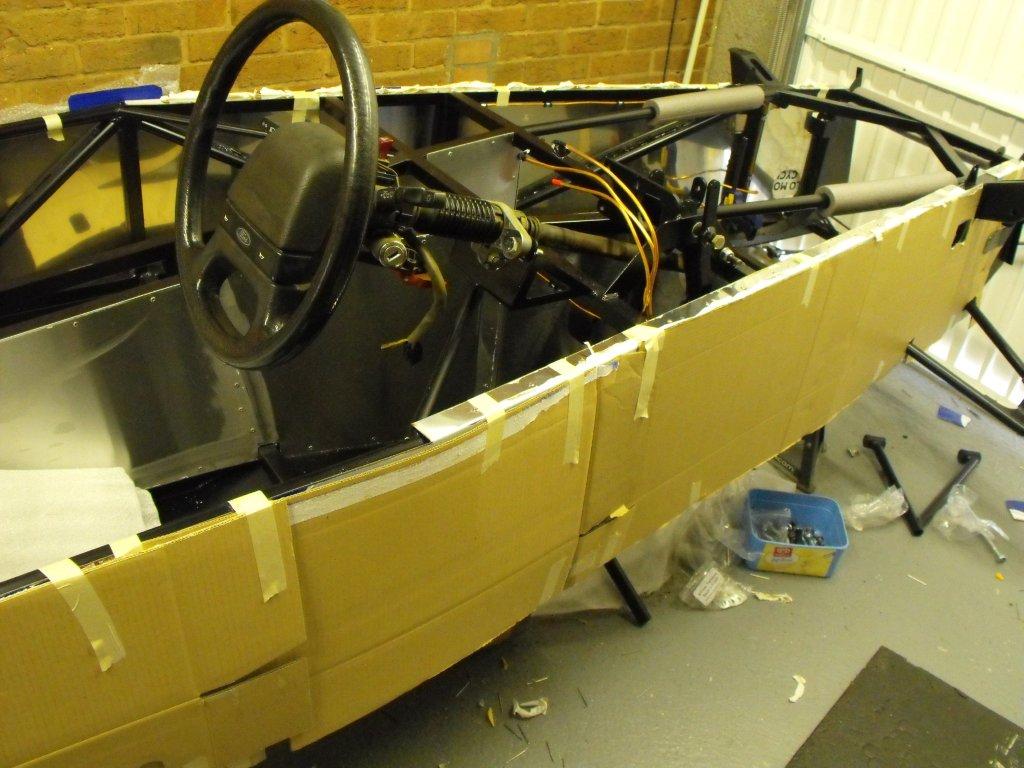
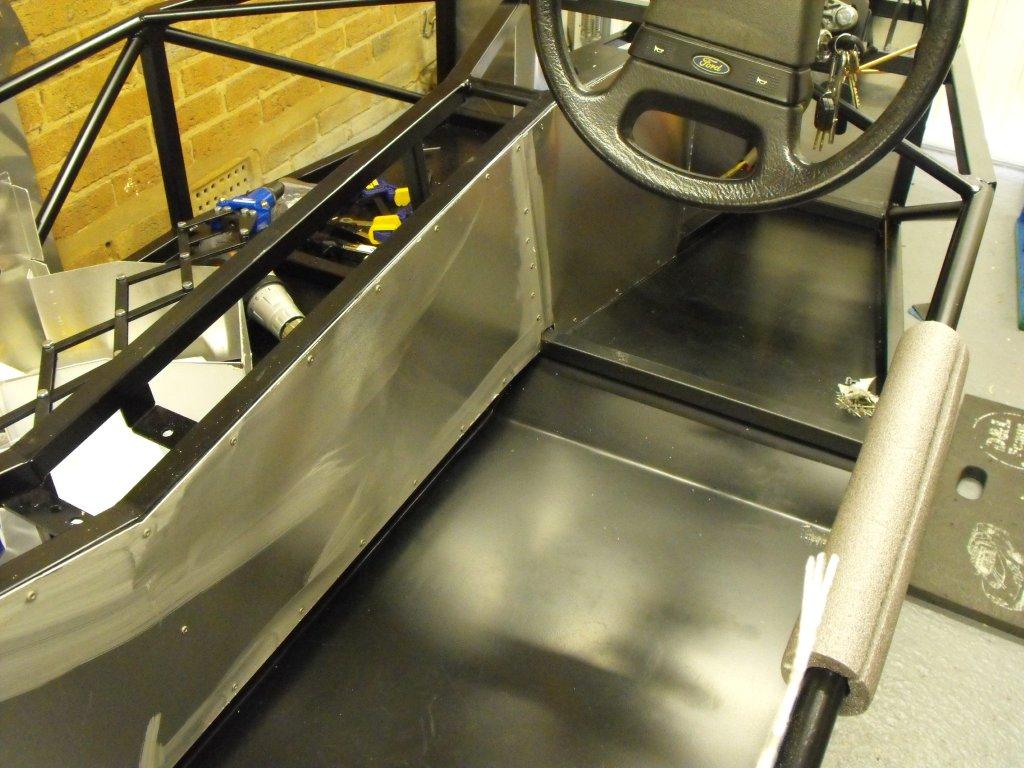
I then fitted the pedals, lost of grease. These have been adjust since the photo's were taken and I used some flat washers to move the clutch pedal. Dependent on what I was wearing shoes/boots I kept pushing the clutch when braking. When I test fitted the pedal box I thought it would be easier to fit the pivot bolt from the other side. I had to make a spacer to stop the threaded part of the bolt touching a bush.
-
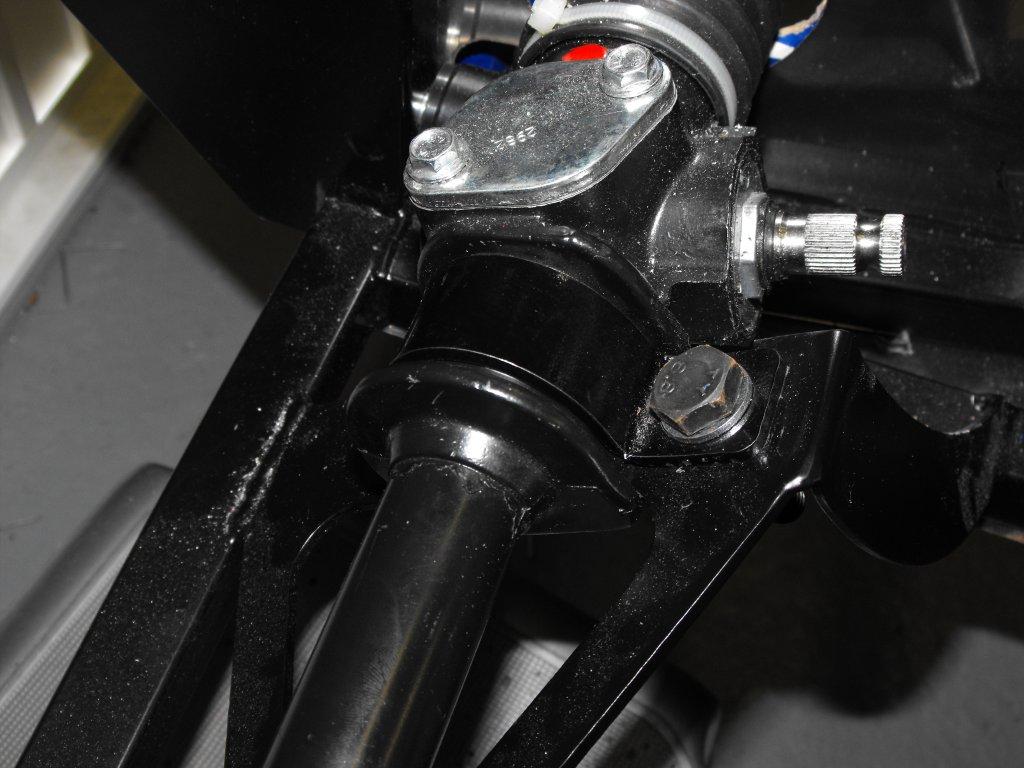
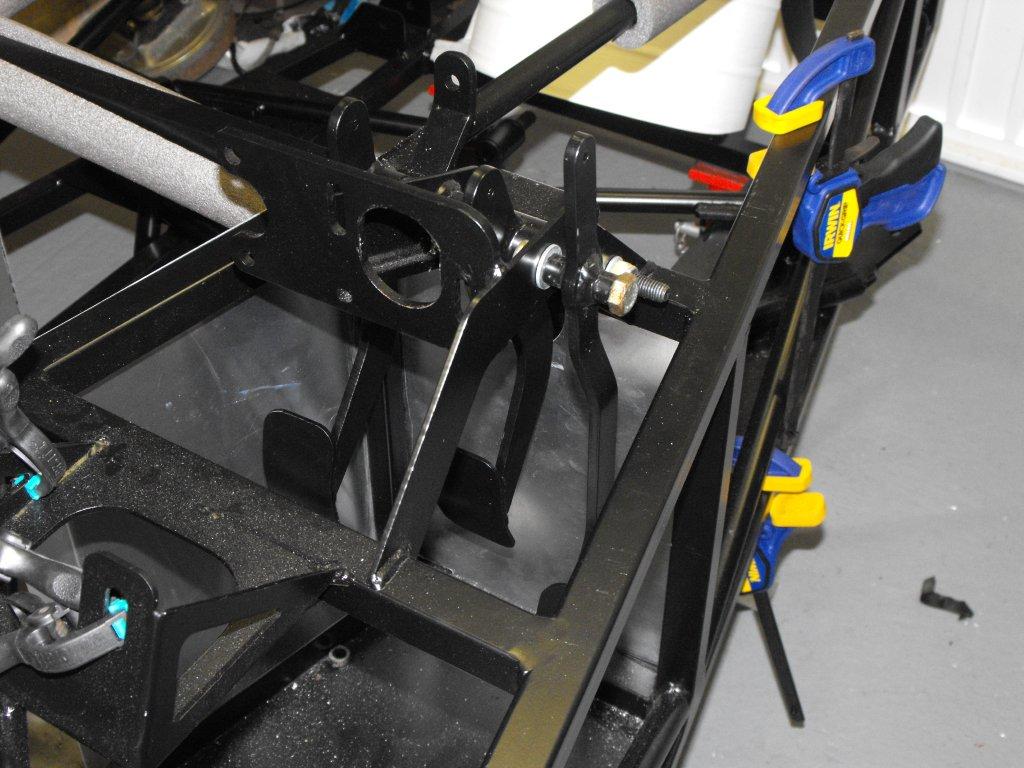
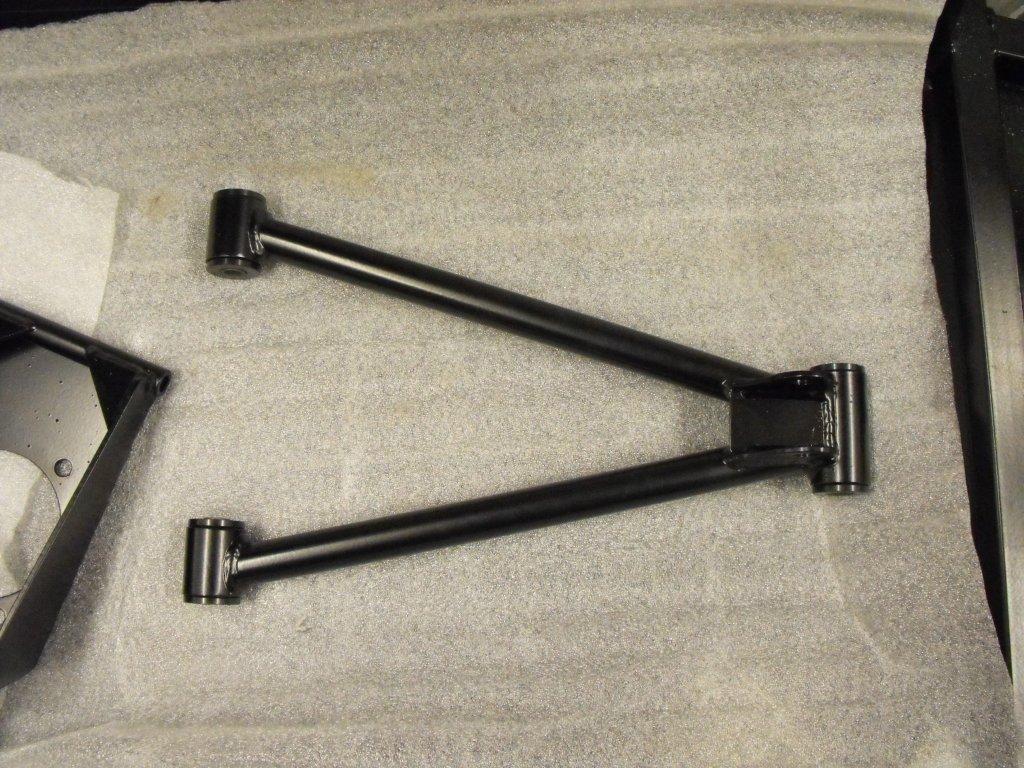
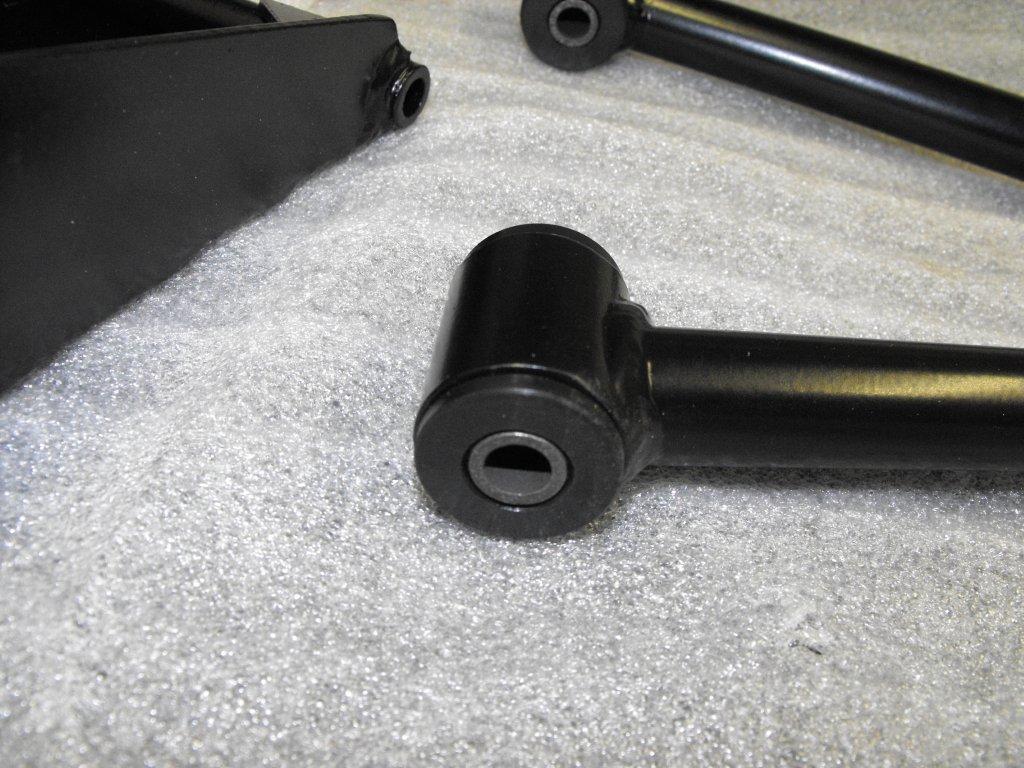
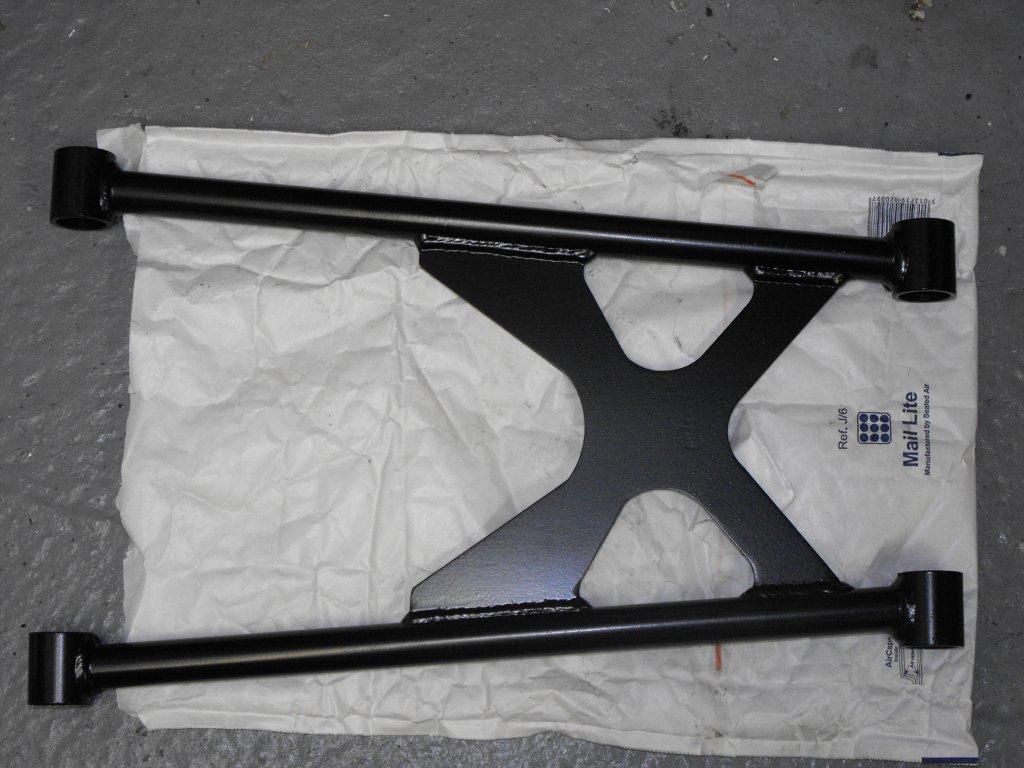
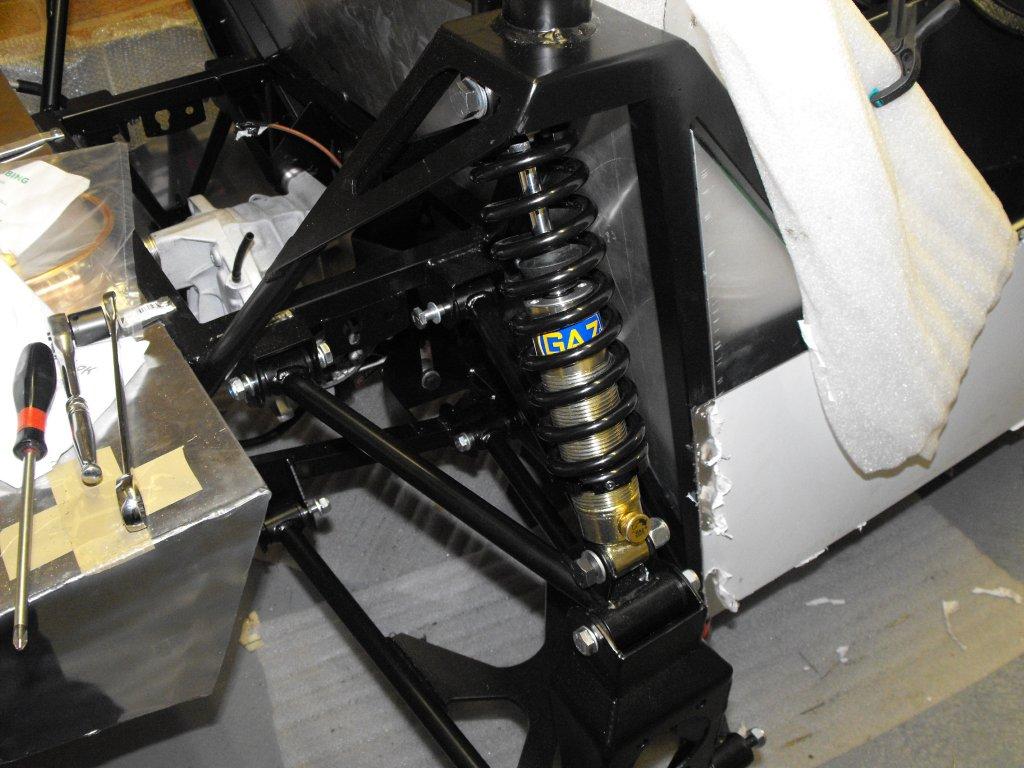
Rear suspension was straight forward with the exception of fitting them on the wrong side and wonder why nothing would align. Spoke to GBS and search this forum, supposedly there was a batch that had a indicator notch on the wrong side. I squeezed the bush in using my vice and then put the inserts in most were OK and some I had to file down a few millimeters. It was the same for the bottom arm. Next I had to fit the hub carrier, again there is a right and left side and yes first attempt was wrong. Why won't the bolt holes align? Where's the build manual? Next task was to fit the shock absorbers, GBS supplied. Very easy and quick, all with new high tensile bolts.
-
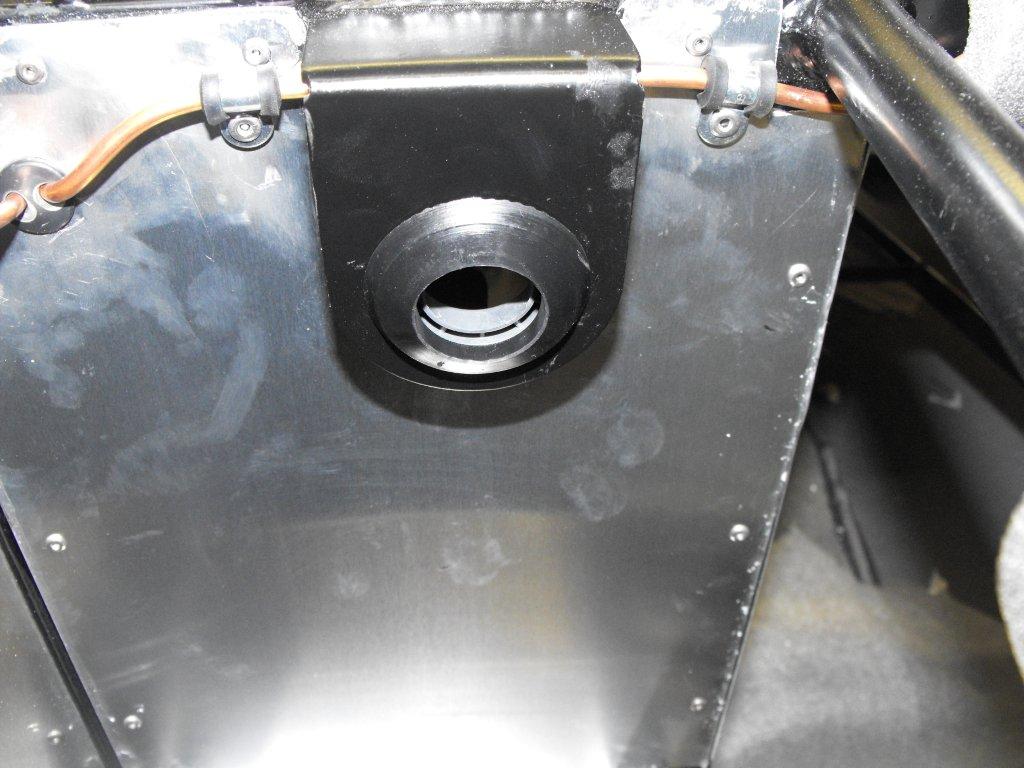
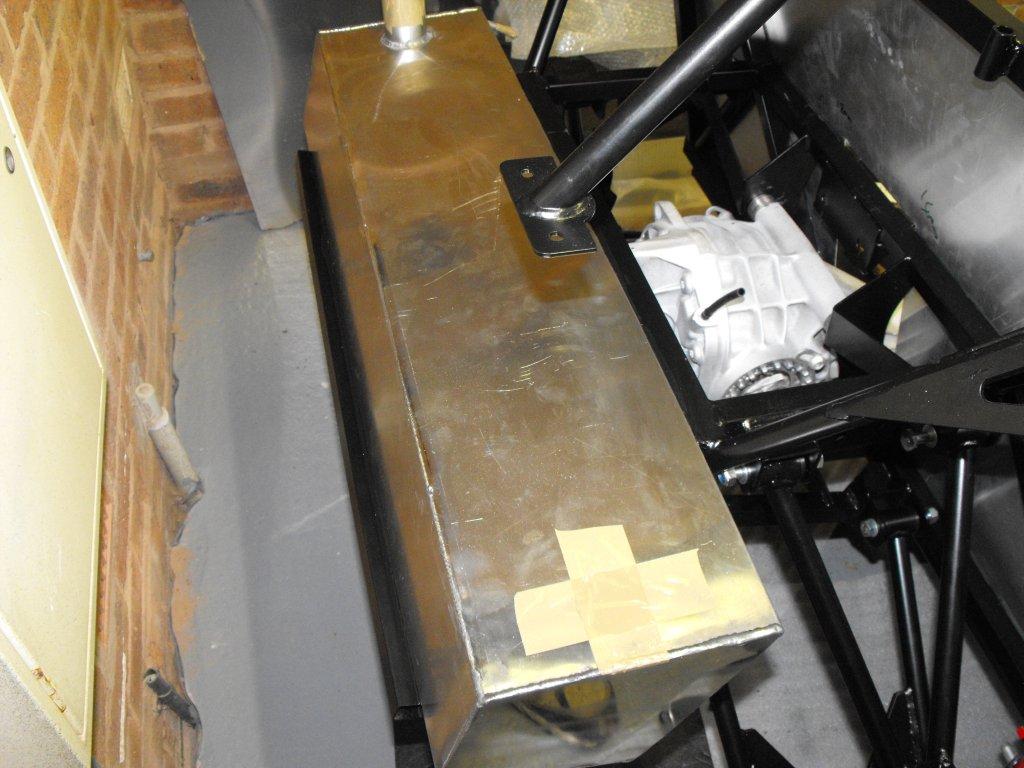
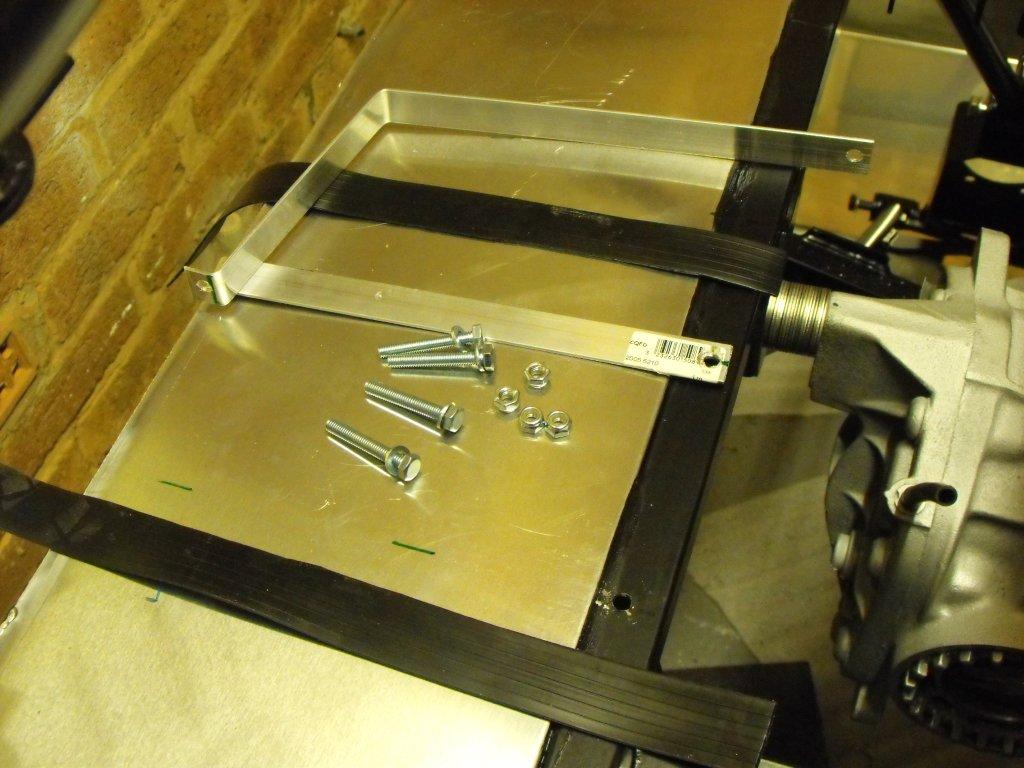
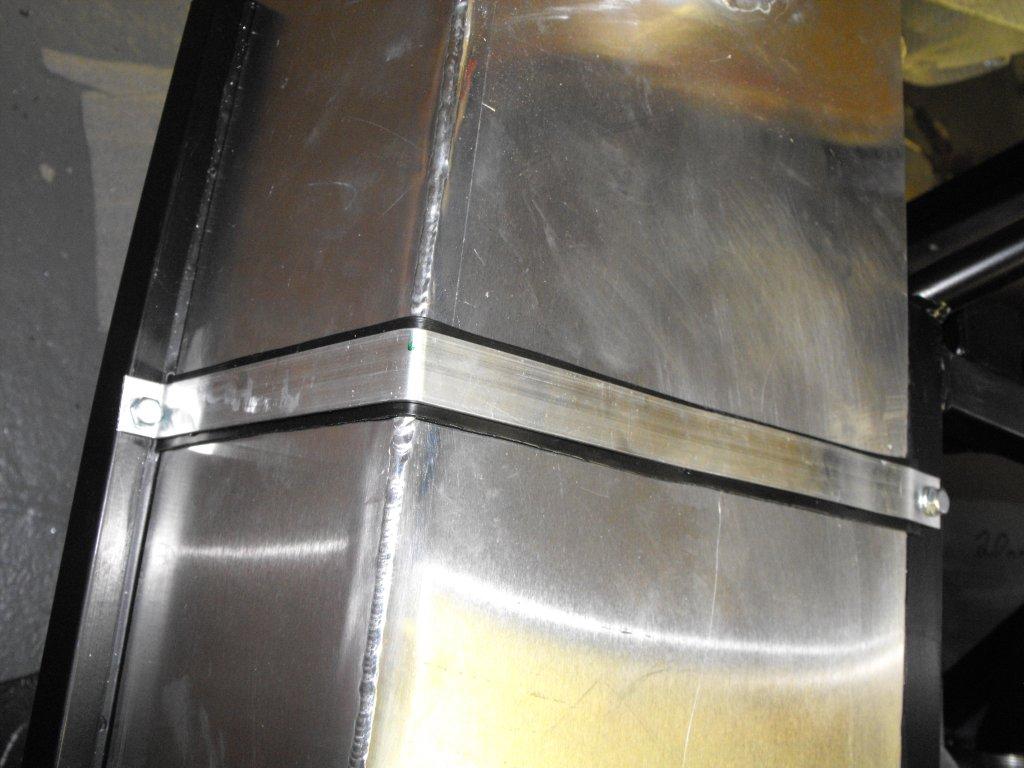
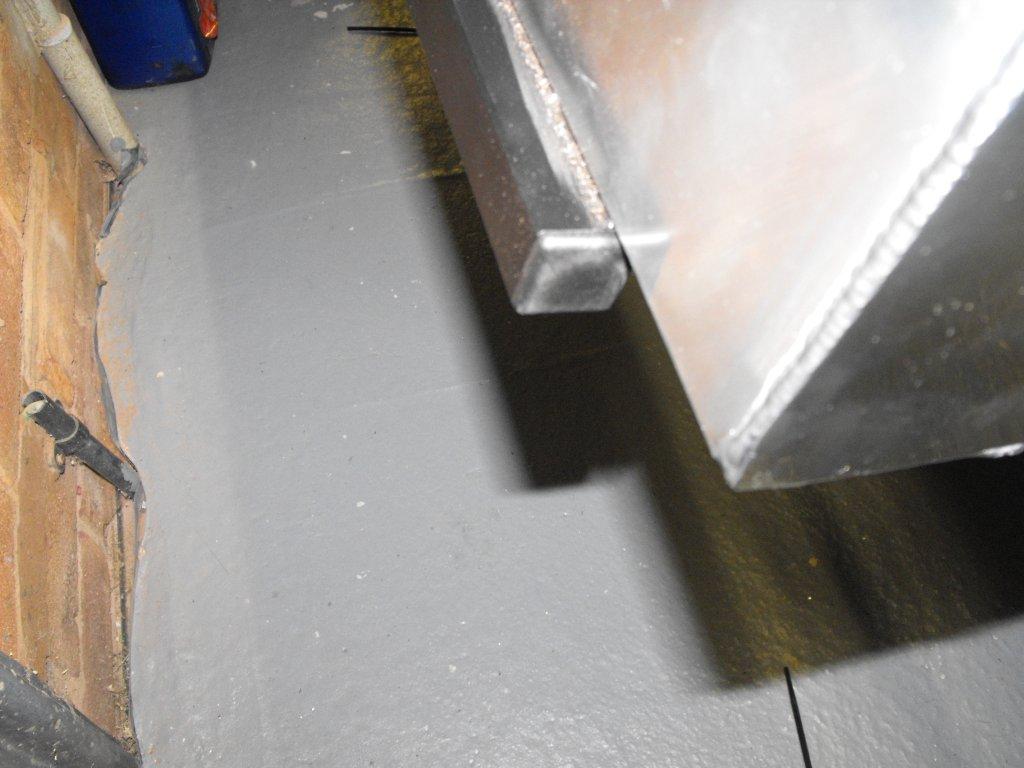
Bored of marking, drilling and riveting so I chose to work on something else. Fuel tank; Not a challenging task just had to mark the half-way position down the length of the tank and align up with half-way point on the chassis, simple! GBS told me use adhesive only but that's boring I wanted to build a kit car. So in true kit car style I completely over engineered some fuel tank straps. I used some adhesive to join the straps to a piece of rubber, and then drill the bottom hole and top but decided to fit riv-nuts to the cross member at the top. All aligned a little more black 'n' nasty adhesive and the job was finsihed. One thing, not really related to the fuel tank but very near I fitted some black square tube end caps to stop rain getting into the chassis.
-
If I remember the next job was to fit driver side inner panels. Very easy no difficult bends and good old cleco's. Most of may drill bits was now worn and pretty much useless, so I invested in a couple packs of 3.2 mm and 4.2 mm cobalt drill bits. They were exceptionally good, stay ed sharp for much longer.
-
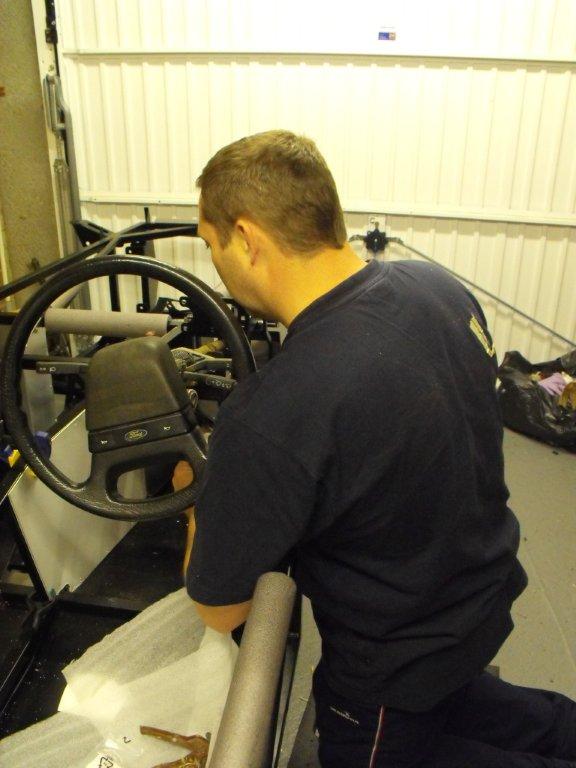
I wanted a brum brum moment so I quickly fitted the steering column, only two high tensile bolts and washers so I won't insult anybody's intelligence. Bottom steering bush was worn so I replace it. Then I sat in the driving seat and went for a drive.
-
Hi D, You can have my mirror after the re-test for the price of postage.
-
Thanks Bob, great idea where were you 12 months ago?
-
Hi Jason, Please include me, don't know vehicle reg yet waiting for IVA re-test date.
-
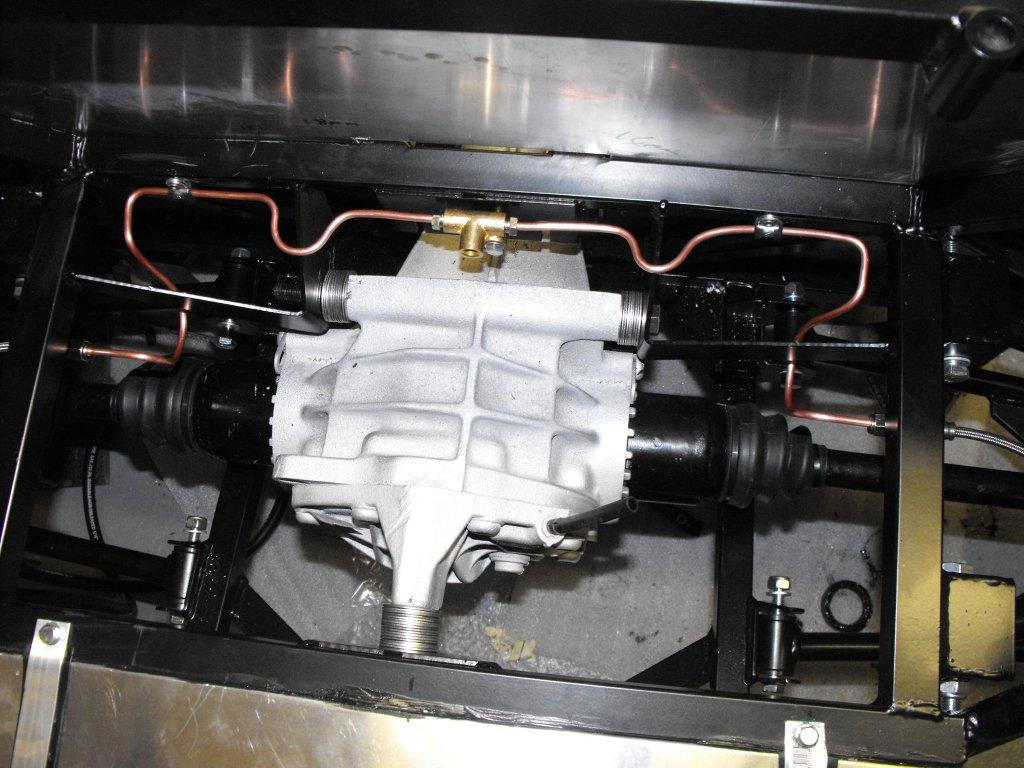
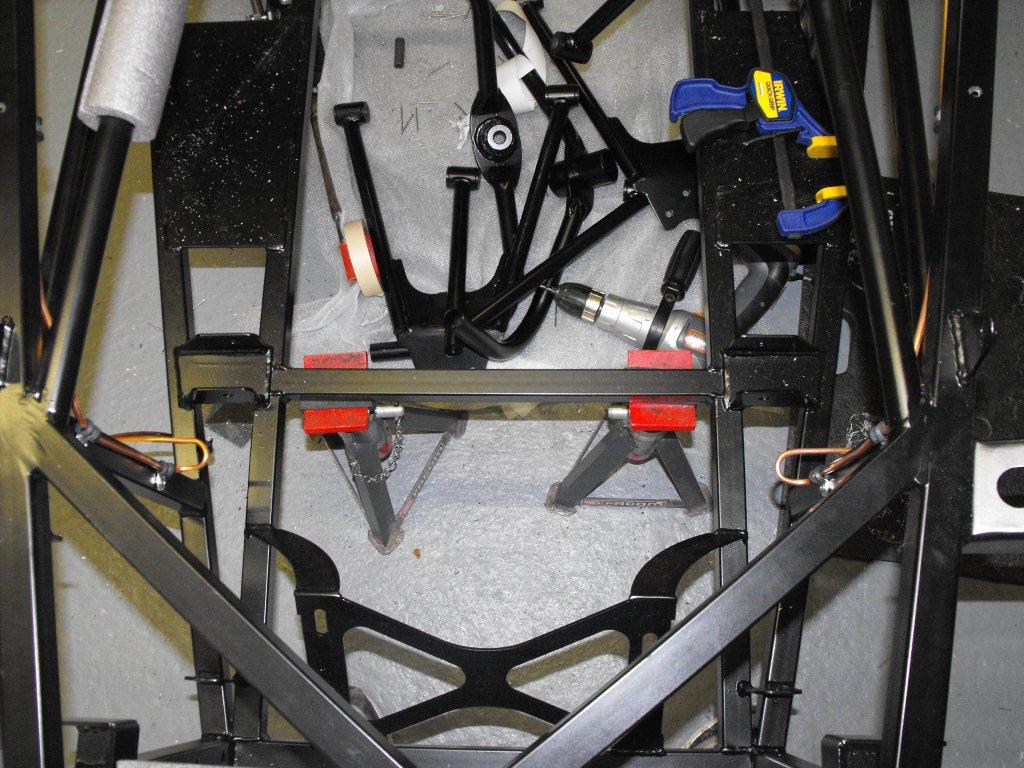
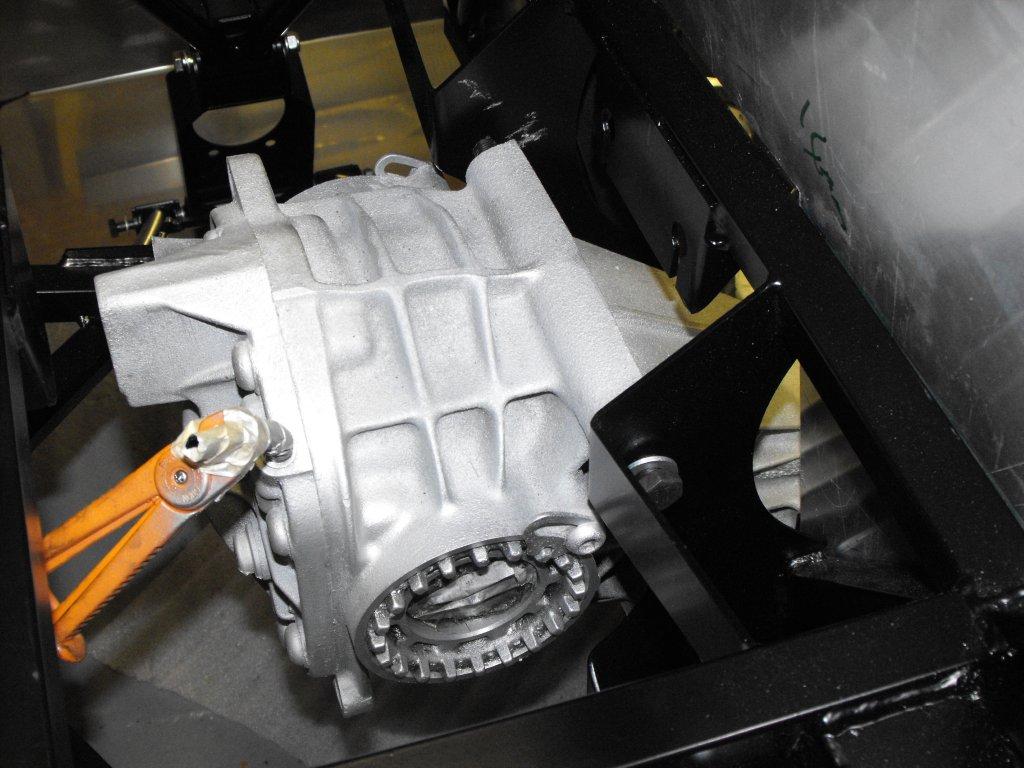
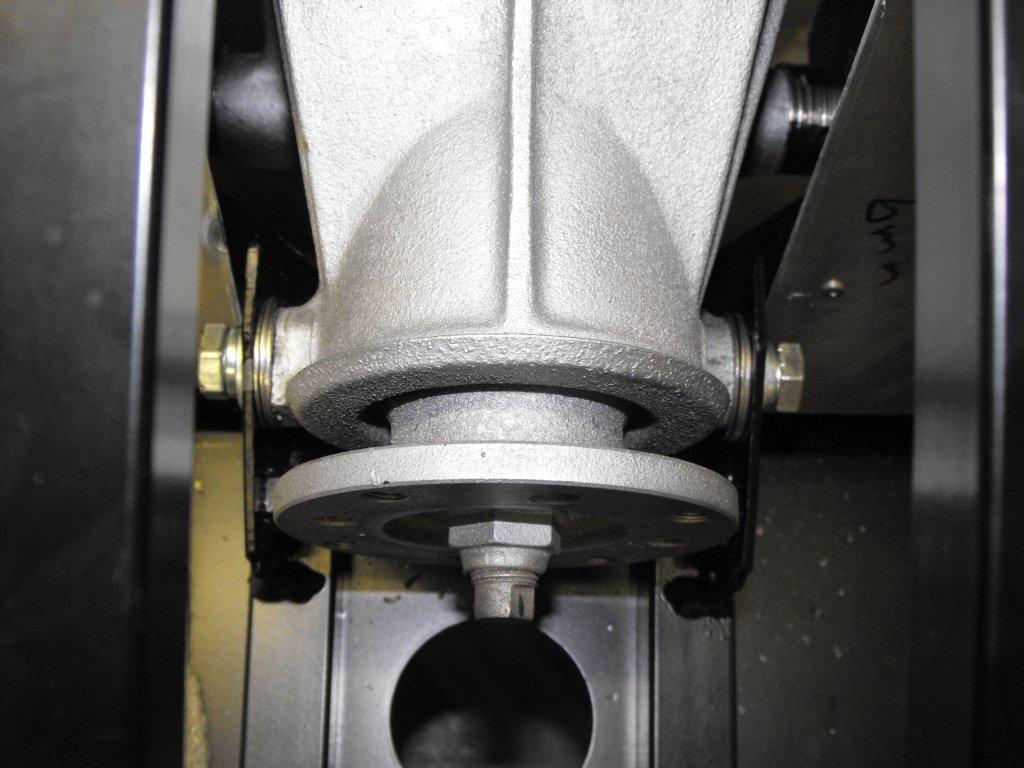
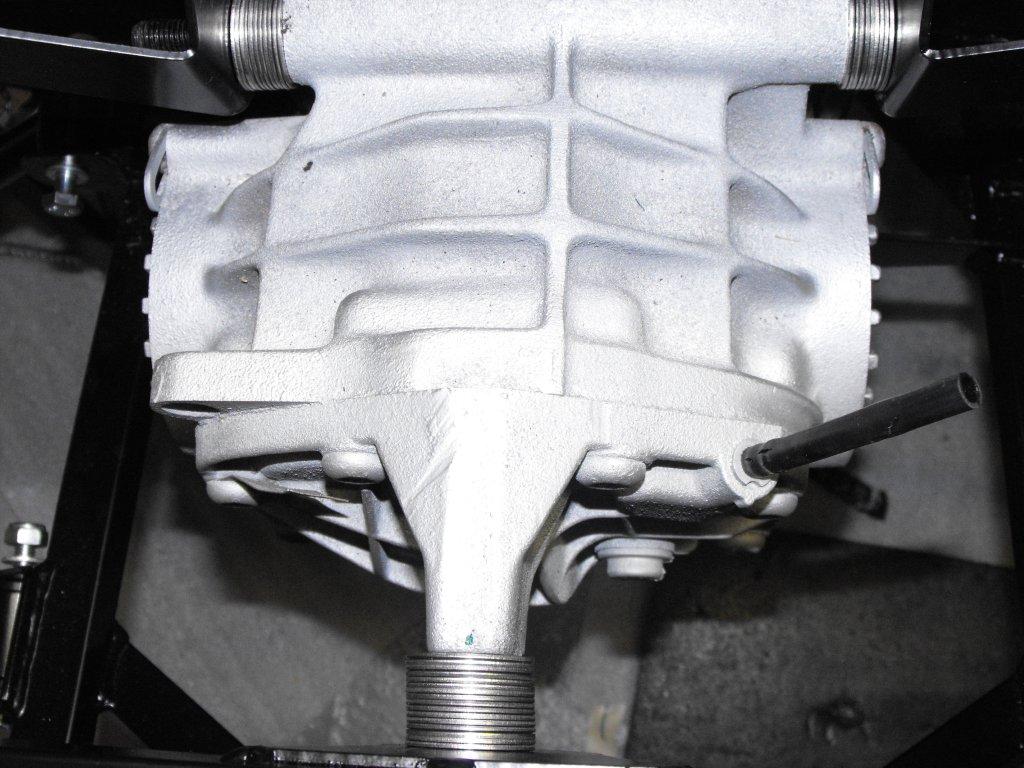
Before I could fit any of the tunnel panels I needed to fit the differential. It was challenging with only one pair of hands, trying to align the bolt holes and balance the stainless steel flat washers between the fixed chassis and moving diff. In the end I had to support the weight on a trolley jack and use an old seatbelt fitted around my neck and the diff, this gave me a bit of wiggle room. Happy there was no photographic evidence of this. The flat washers allowed me to adjust the diff to ensure it was central. I had all intentions to replace with steel tube cut to the exact size, but in true kit car style its a job that can wait for later a winter mod in 2020. In most of the build I used high tensile bolts and thread lock where required.
-
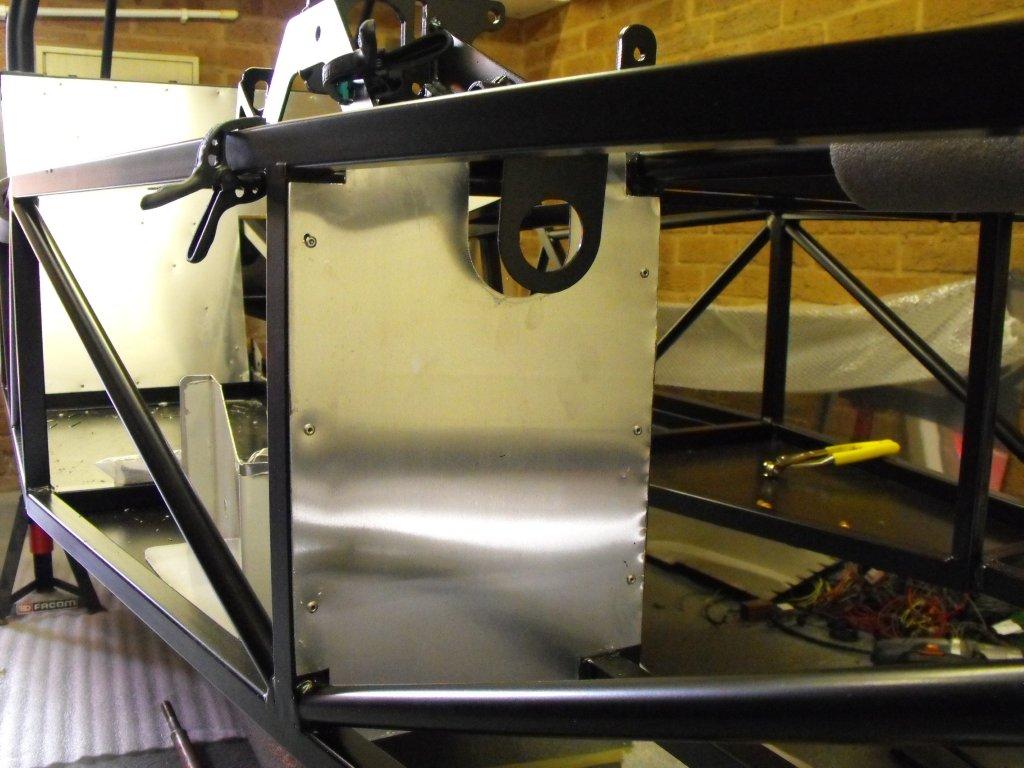
Next job was to fit the inside quarter panels (that's what I am calling them). A simple job but I found the holes for the lower seat belt fixture was in the wrong place so I had to elongate the hole slightly. Simple rivets and adhesive task, the sharp edges managed to cut me a few times - where did I put my work gloves! I had to bend the top tabs by hand using a pair of mole grips, took some time but I was happy with the final edge.
-
Next I started on the panels in the foot-well area, fitting was the same as the back panel. Dry fit, a little tweak here and there mainly to miss the welds and to remove sharps bits from GBS cutter. I use some emery cloth to key the edges, before using the black adhesive/sealant (this stuff got every where). From advice on the forum I fitted the two panels by the gearbox bell housing on the outside of the chassis to give more room for the pedals and feet. Still tight and I have to remember not to wear big boots.
-
I have spent hours thinking about which way to put this panel on, well it was at least 4 cups of tea and a trip to B&Q for some more files, oh I might have had a hotdog from the Salmonella trailer. At least with the stainless steel panels they can only go on one way!