All Activity
- Past hour
-
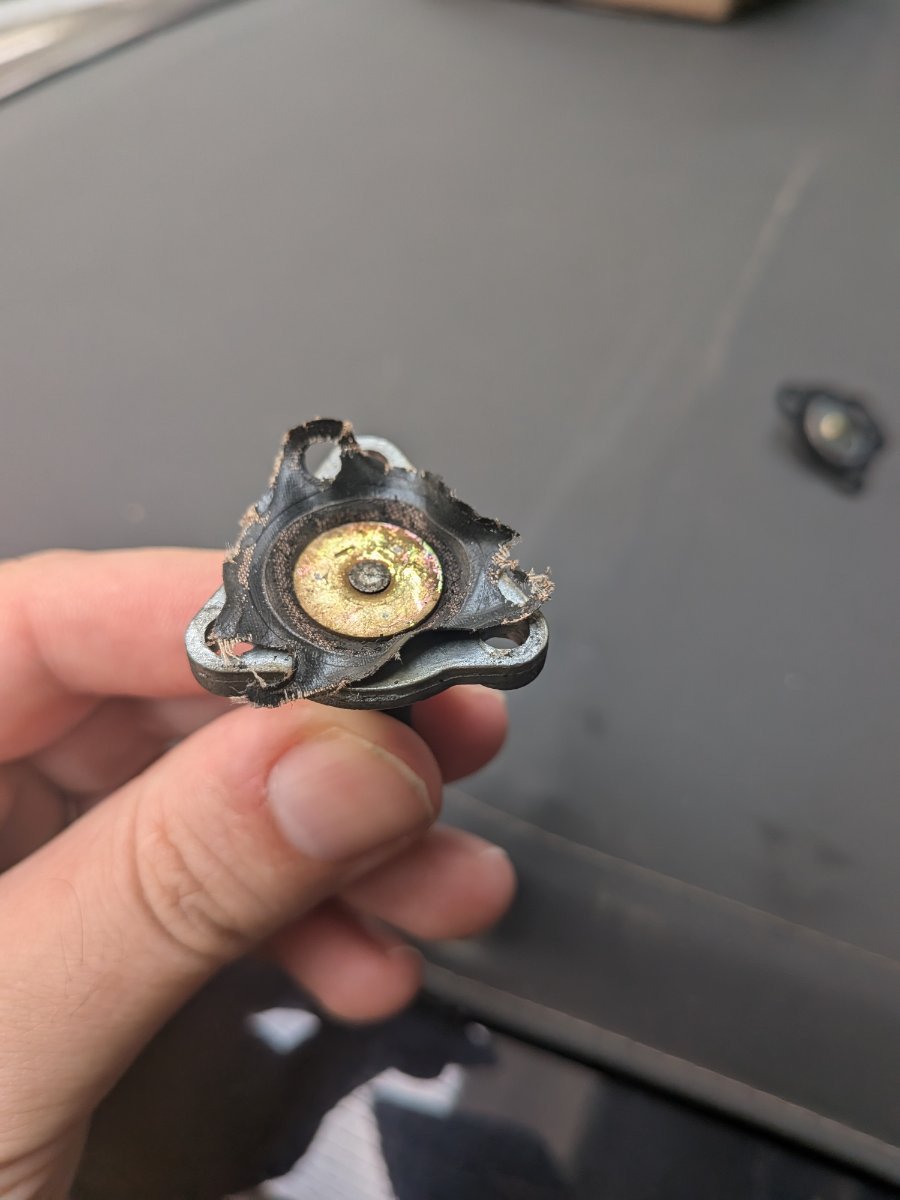
I have replaced one but it had a screw as opposed to riveted in center plate.
- Today
-
Good question - I've only ever replaced them as a complete item but I'm guessing they must come apart somehow. Who did you buy the service kit from - can they help ?
-

-
Hi everyone, I'm sorry if this maybe a stupid question, but I'm quite new to kit cars and carbs. I'm actually doing some maintenance on my 2B and I ordered the service kit for the Weber 38 DGAS, everything seems to be ok, but they gave me a diaphragm to change on the power valve and I'm a bit stuck, I don't know how to replace it, we tried about everything but the thing seems to be completely stuck as a whole thing. I already found the entire replacement and it's on the way, but I'm just curious if there was a way or they simply gave me the wrong replacement part. Thank you
-
 Takianos joined the community
 - Yesterday
-
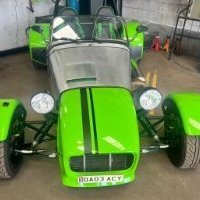
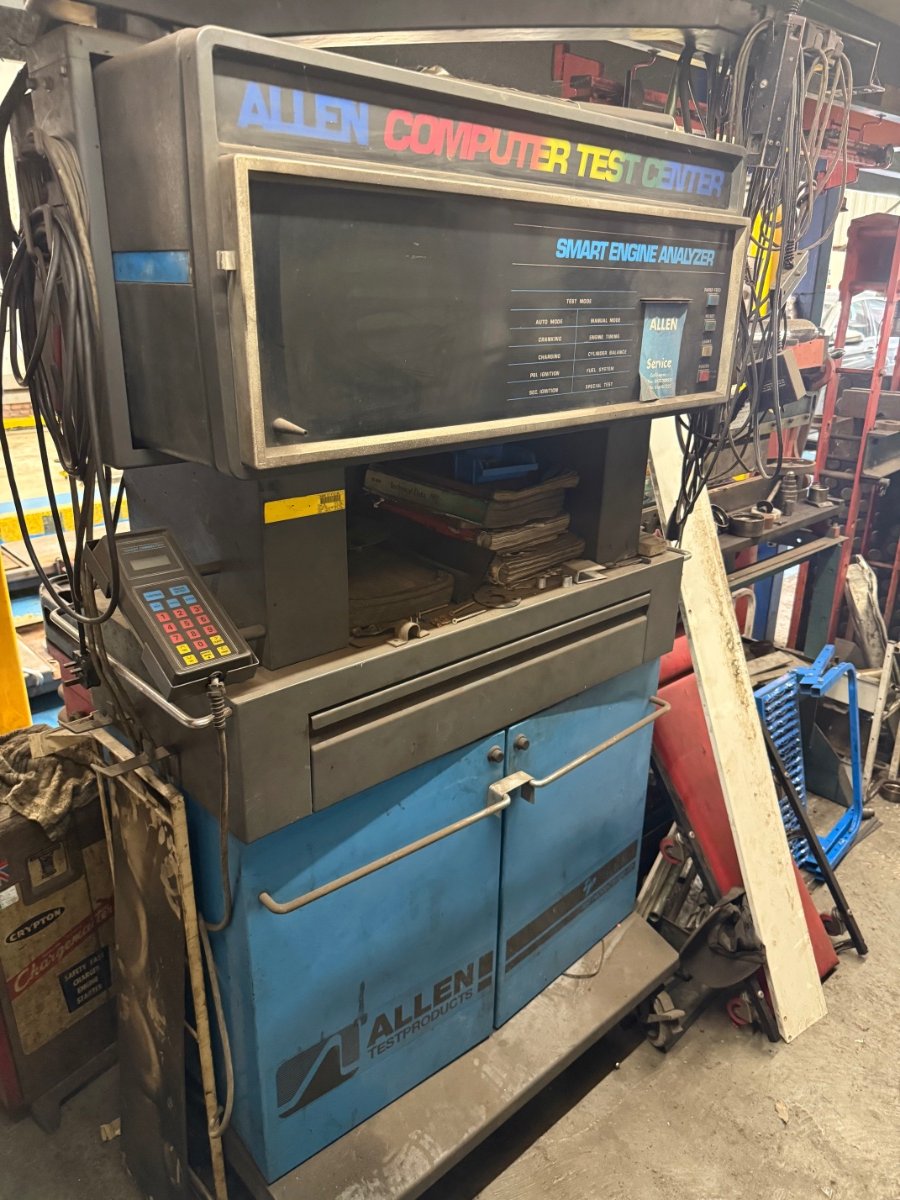
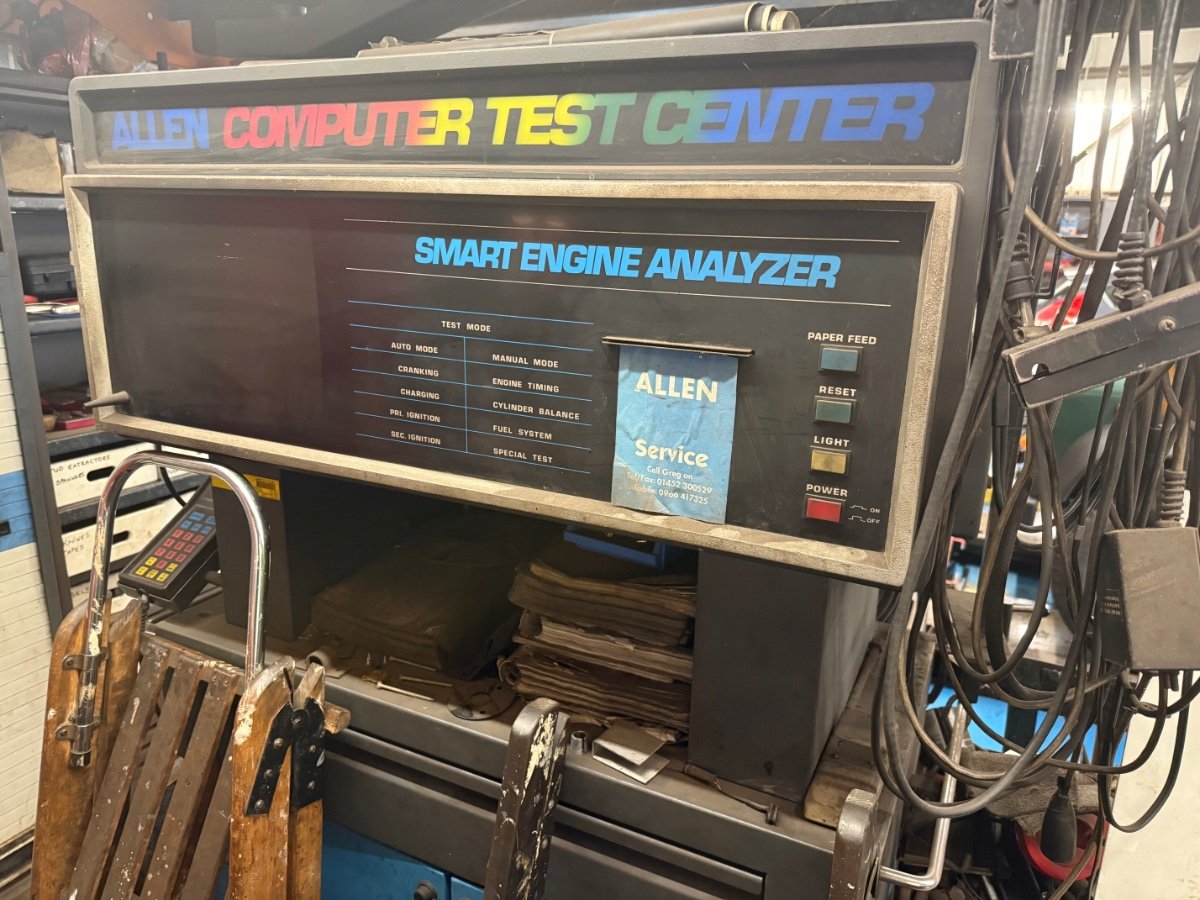
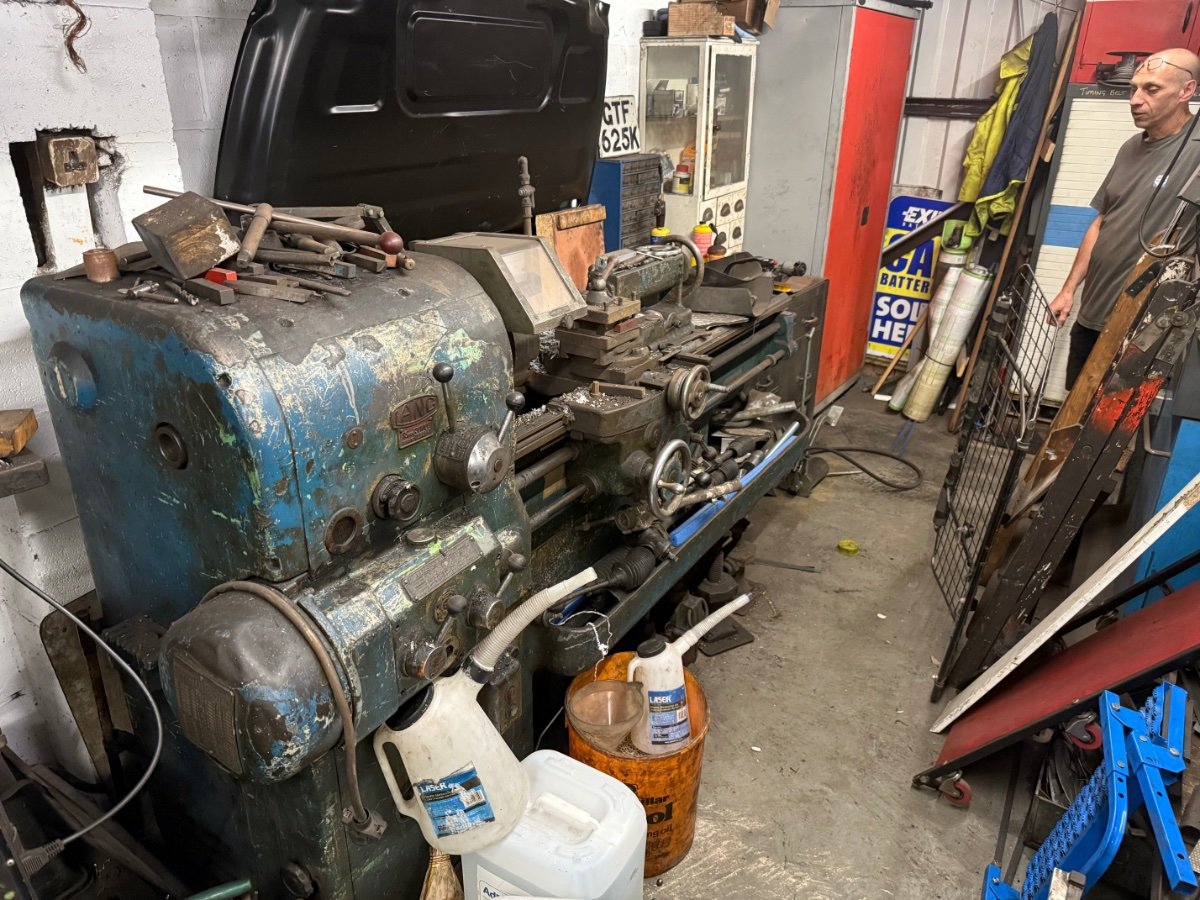
Ax part of an garage acquisition I have this available £250 open to offers
-
- Last week
-
He is also a member on here. Forum name is ivorbigun.
-
A guy called Ivan Sandford on the Facebook group, Robin hood Owners Group makes 3d printed Sierra cowels which look very good if you need to replace it.
-
Thanks @AndyW. I finally made time to have a look today. I have had a good look at all the cables from the steering column and many are listed as "main", "dipped", "indicators" but I see nothing that looks like a side light cable. In order for me to actually get to the connector directly attached to the column, I'm going to have to break the plastic/carbon cover over the steering wheel column as the way it was put together was in two parts and glued. I have been trying to avoid doing that but I may have no choice...
-
How are you trying to tune it, To tune my zetec supercharged silvertop it has to go to rolling road, unless you are extremely skilled and then you could maybe do it on the road but very dangerous, What issues are you having ?
-
With a Spitfire and Hurricane (or 2 Hurricane?) flypast to boot
-
A cracking day at the Show. A nice drive down, minimal queuing to get in (Normally a problem). And a great Club Stand near the castle looking over the rest of the cars, and, of course, perfect weather. And with 6 cars we managed to fill the stand, which is a first (although we actually had room at the back for another six cars if necessary). And we were right near an exit so we didn't have to queue to get out. This Show continues to be popular, a huge number of cars turned up, lots of food trucks, entertainment...., a really good family day out. Thanks to Steve, Andy, Wayne (& family), Jim (+1) & Trevor for their support.
-
Sold
-
My youngest son (12) has decided to come with me tomorrow car is all packed just need a pork pie and a dash of petroleum good to go ! See you all tomorrow
-
see you there.
-
Sorted, have just bought a ticket, see you tomorrow morning.
- Earlier
-
-
According to my maths there should plenty of room on the stand for you and your car Trev. Hopefully see you there
-
If I can rearrange a couple of things I might be able to attend. If I'm successful, is there still a space on the Club stand available? Thanks, Trev.
-
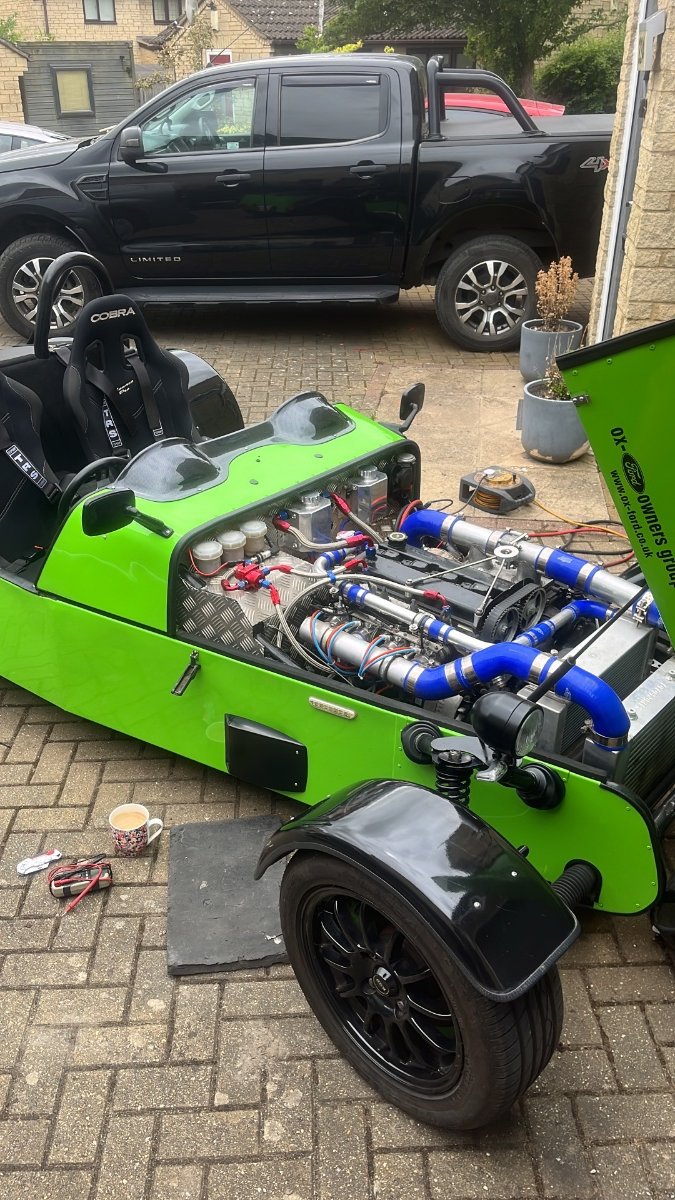
If it was me I would have kicked that cup of tea over within seconds of putting it down There is a good chance that the engine had it's compression reduced in some way - head spacer, thicker head gasket or similar when the supercharger was fitted. If so you would really need to put it back to standard if you removed the supercharger. I would imagine it would be easy to re-map the ecu but I don't know enough to help there - hopefully someone else can give you some info. on that. It might be worth explaining exactly what problems you're having with it and seeing if anybody knows of any easy fixes ............. if there ever are such things.
-
Hi new member here although i was a member s few years ago in hoping i can get sone advice I recently bought myself another robin hood its fitted with a 2 litre zetec which has a supercharger fitted im having a lot of trouble tuning it its fitted with a microsquirt ecu is it a simple enoigh job to remove the supercharger and remap the microsquirt ? And use it as an efi ?
-
.thumb.jpg.6b9408849dab95be7b7901904c235fa7.jpg) nigelt changed their profile photo
nigelt changed their profile photo -
Good reminder. I’ll bring some stickers and flyers.
-
Just had a look myself and think I'm in the same boat as Jim - I'd have to go past Kimbolton to the meeting point. Not only that but I've got 120+ miles and a good couple of hours drive so it won't take much of a hold up to spoil my timekeeping - I'll see you there (I hope). Are you planning on taking anything club-wise Al ? I've got a folding table that I "acquired" and may be quite useful which I'll stick in boot.


.thumb.jpeg.421a94eb7659e4981873a5021583a657.jpeg)