Graham B
-
Posts
825 -
Joined
-
Last visited
-
Days Won
1
Content Type
Profiles
Forums
Events
Store
Community Map
Everything posted by Graham B
-
OOps..
-
The " PLUS" was a package of bits RHE sold as extras in 2001. I still have all the old documentation, included the brochures ! Nothing to do with mild steel or stainless. Just an additional cost load of extras RHE made available -- I bought them and called my "2B Project" a 2B plus to the DVLA.

-
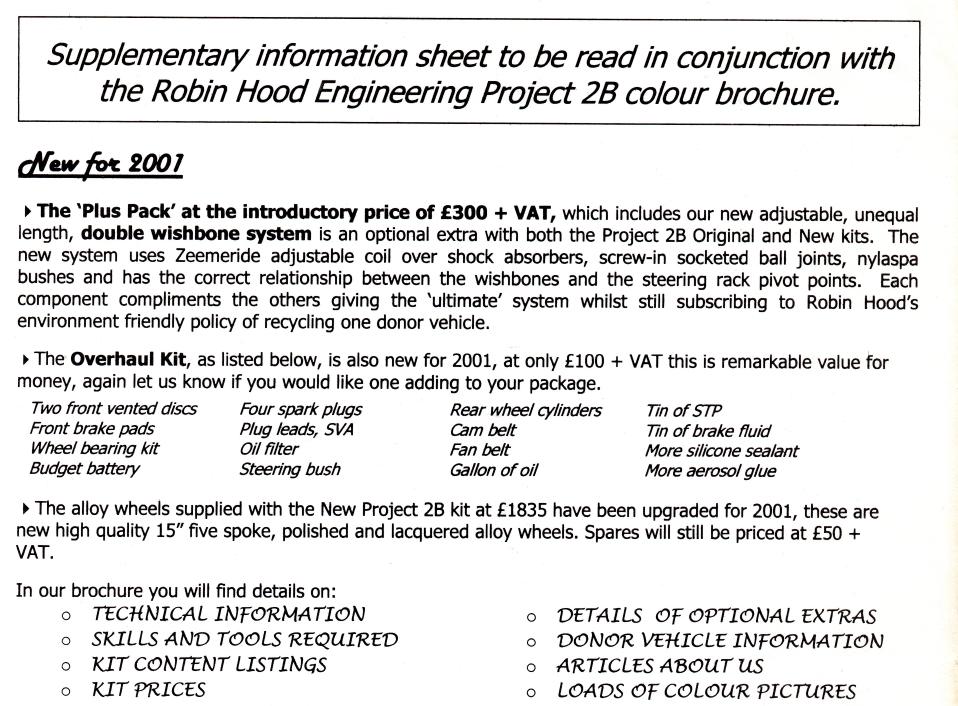
My 2L DOHC ended up with a shortened sump. -(original picture) just cut straight across the bottom where the web is and welded a plate on. The bonnet need ed a bulge - missus baking tin with smooth corners inverted - The top of the front of the engine touched the bonnet , just used it as another bonnet rest...
-
Colourful.
-
As the adapter was so long, putting the wheel In my chest, I cut it back and made an adapter for the wheel I was using from 10 mm plate.
-
Thanks Bob.....
-
It needed doing !!!!! All for less than £100 , dearest part was the aluminium hinge ... purchased 4 ft long...
-
Might as well add mine... boxed inside right down to the diff casing...
-
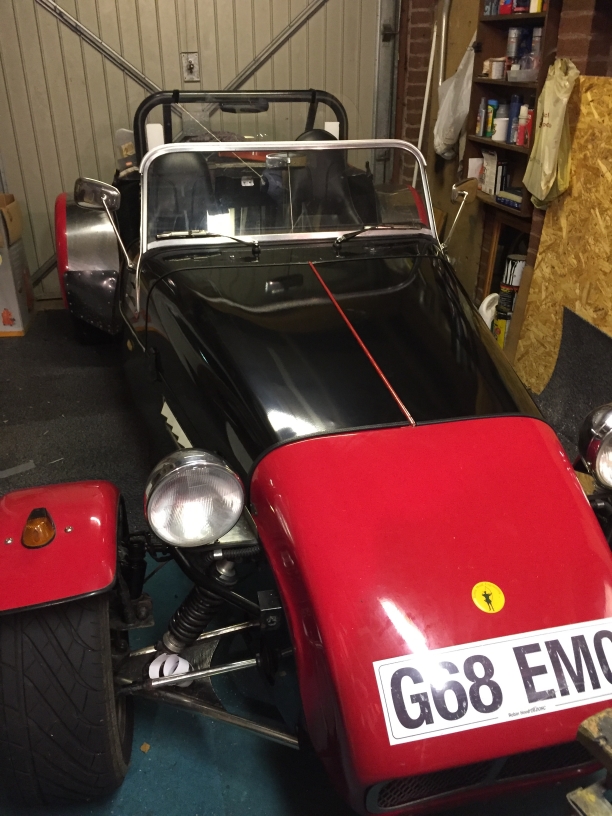
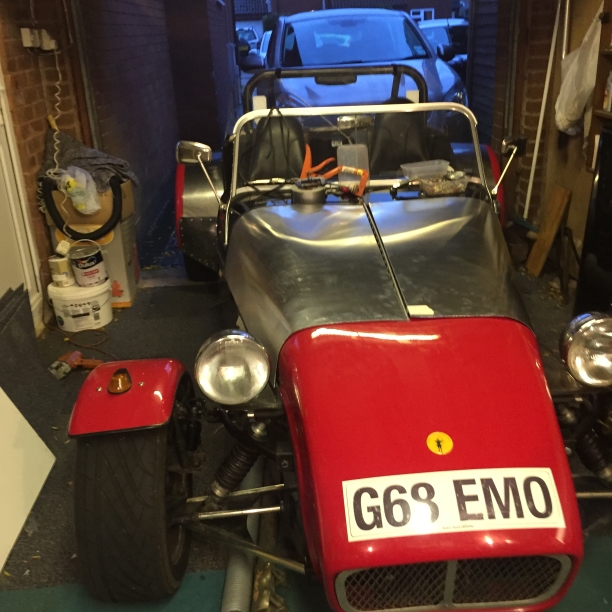
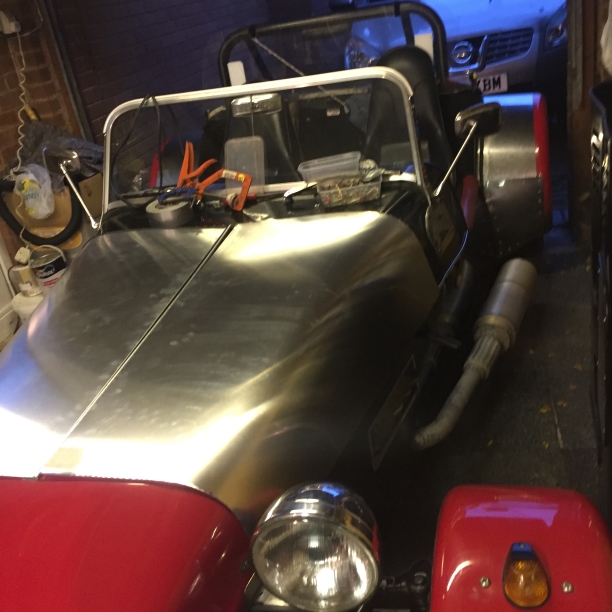
Bonnet finished in powder coat and fitted. Only 2 bolts to remove and I can use my old one if I need to. I used all the old fastenings to hold it down ( rubber over centres)
-
In the diary.
-
Happy Birthday Steve, maybe I'll get round to a meet soon.
-
Any pictues Bob, I have lots of little hose bits and pieces.--I hardly ever throw away "useful bits".
-
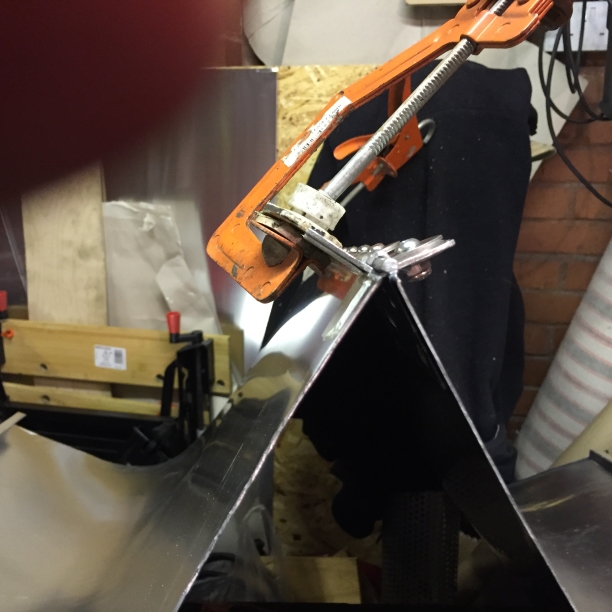
It's ***** cold out there, but progress has been made.
-
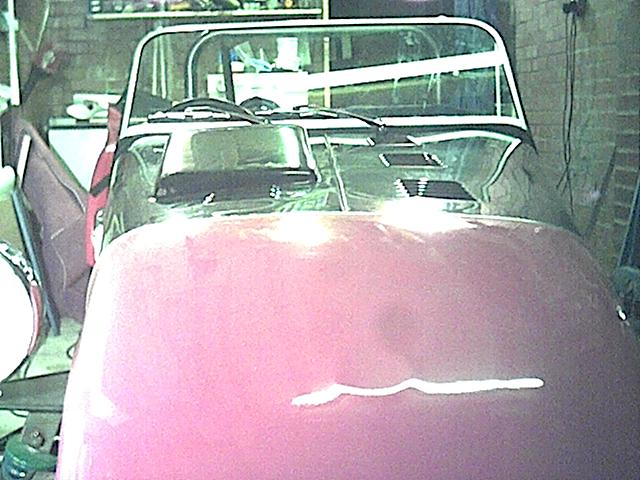
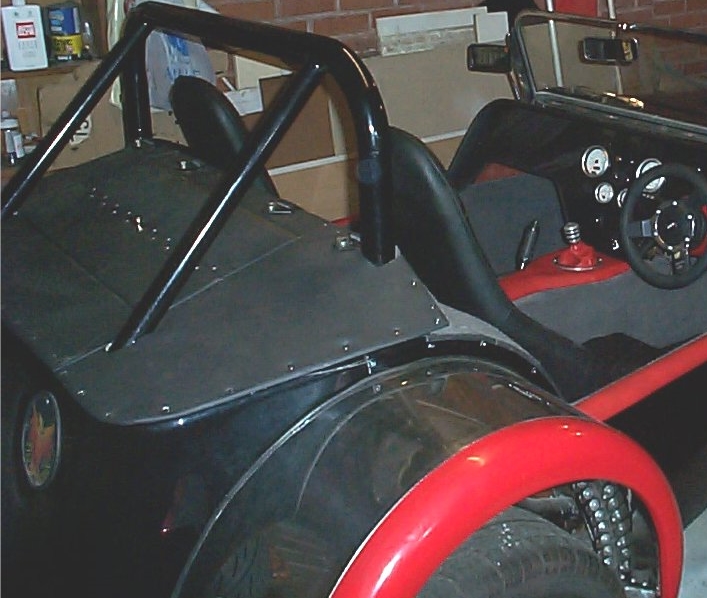
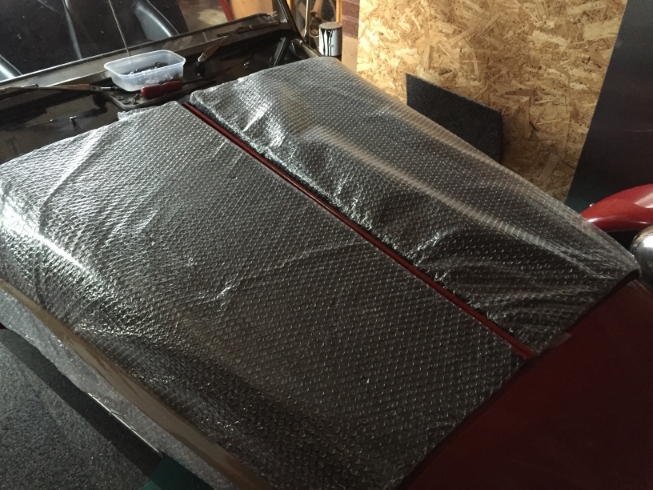
Craig, The bonnet panels have a right angle bent into them , in the centre and down the sides. I will probably post more pictures as fitting gets finalised. I am planning on getting the panels powder coated to match the rest of the Phoenix.. Its a bigger job than I thought !!!!! Graham
-
Awning rail was from my local caravan company. They keep accessories and have a workshop for repairing "broken" items. There are 2 types , 1 with holes drilled ( and appropriate clearance holes for the screw heads), and just a complete strip --2 to 2.5 metres if I remember correctly. I used the complete strip (no holes) . Filled the centre with a length of cable before I bent it to shape over the existing screen. My screen frame has the rounded corners , not the original square form. Stuck it on with sikaflex or Tigerseal --no screw used at all. Edge of hood has a pocket with aerial coax up the middle ---works just dandy... pop studs on end to fix to the A pillars.
-
Agree awning rail instead of poppers-- no Leaks over screen either!!
-
I will probably fit some chandlers vents (like I have in the side panels) on the sides, well back.
-
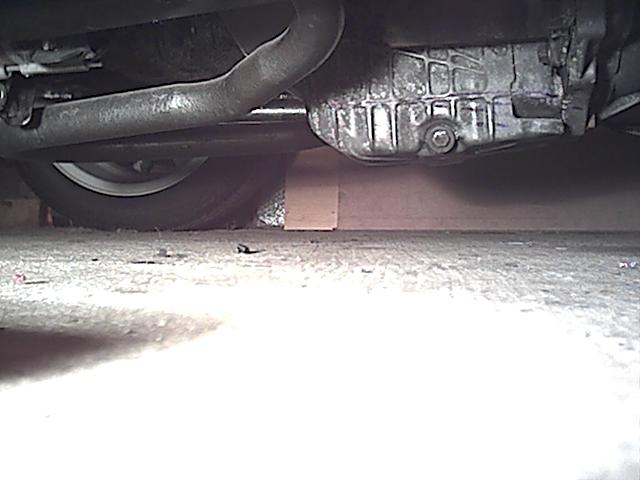
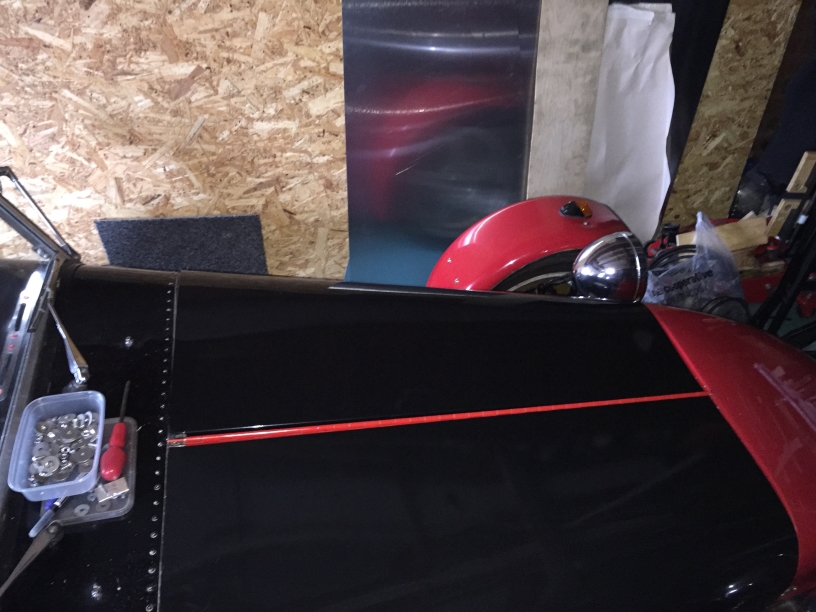
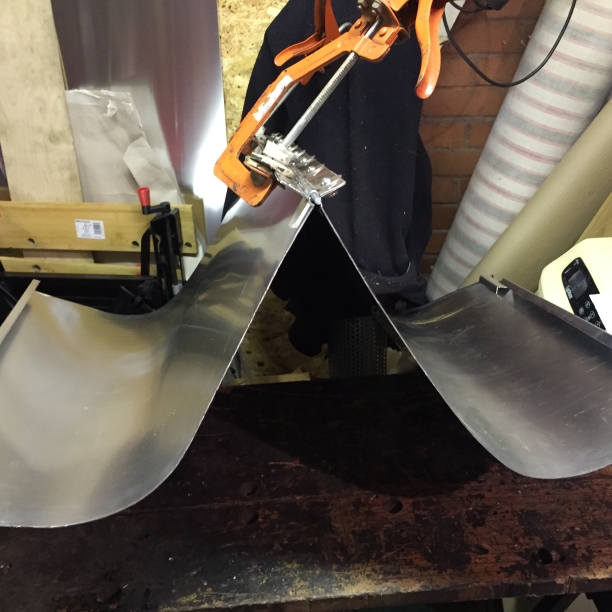
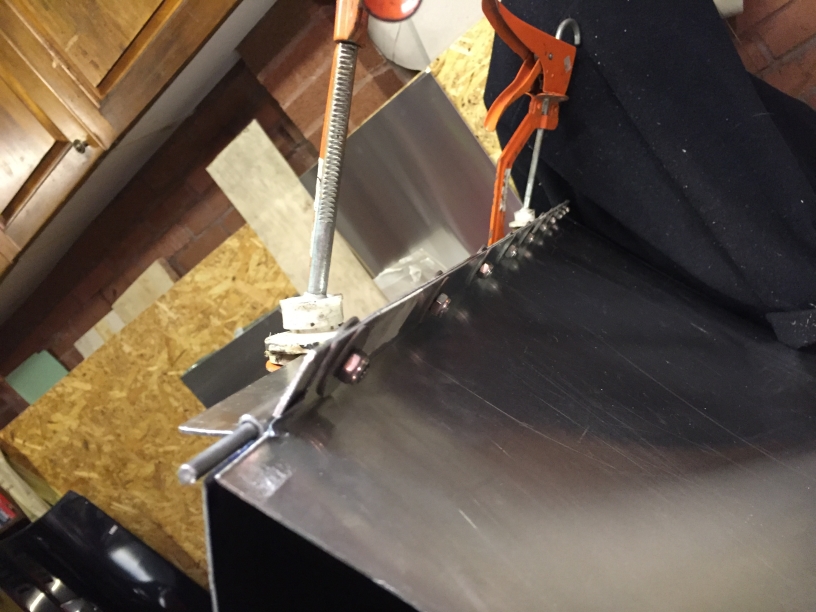
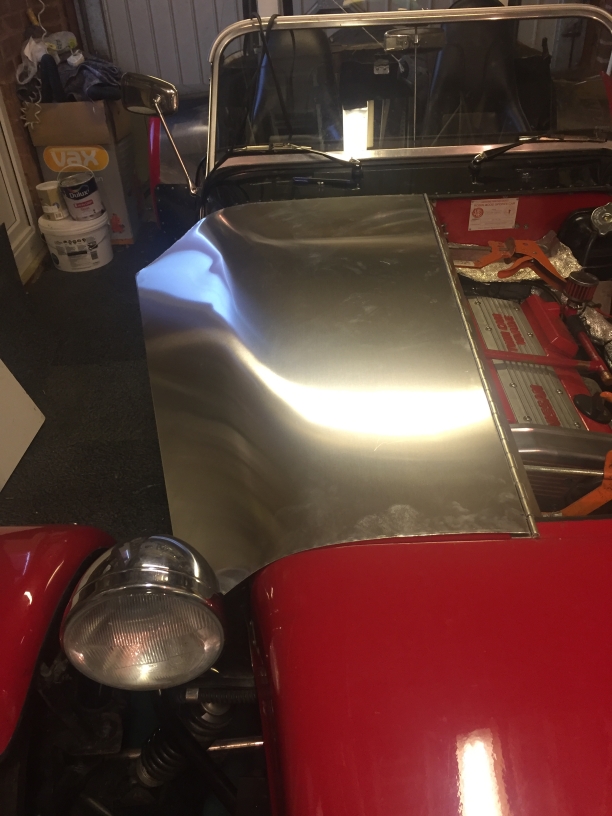
As I have had a succession of engines in my 2B chassis, the bonnet has been cut about a fair amount. The car originally had a alligator set up , as per the build Videos. ---- Modified with a scoop fitted for the I4 DOHC plenum. ---A large hole on the drivers side. After a large mishap ( another story) I chopped it up and made a fixed scuttle from a single sheet of steel and shortened the 2 halves. Changing the engine meant I no longer needed the scoop , so I covered the hole with a piece of Perspex to show the shiny new plenum on the Nissan . The 2 halves , joined together to make a removable bonnet panel are quite heavy !! Project: Make a new bonnet in Aluminium... Simples , Yes No.. ------- 8x4 sheet 1.2mm not expensive I was going to make it one piece but a cutting error gave me the idea of making it 2 part with a central hinge. -------- 4 ft. of aluminium piano hinge from e-bay. Local panel firm cut the pieces to a paper template I have made and put some nice tight 90 deg bends in. Fitting the hinge was not a problem, much easier than I had thought. Single screw fixings either end to make it easily removable. Progress so far:--
-
Well done Bob !!!! Fame at last...
-
Post is a bit quiet from points north. Looks like a possible run again today .!!!!
-
I gave up on the mods , fitted old parts and went for s blast. Sorry to those in the north with water up to their armpits, it was a glorious day darn sarth!! Graham
-
Very festive. Happy Xmas to you both. See you in the new year I guess. Graham B
-
No, Graham B put one in his 2B ---- very unstable over 120...
-
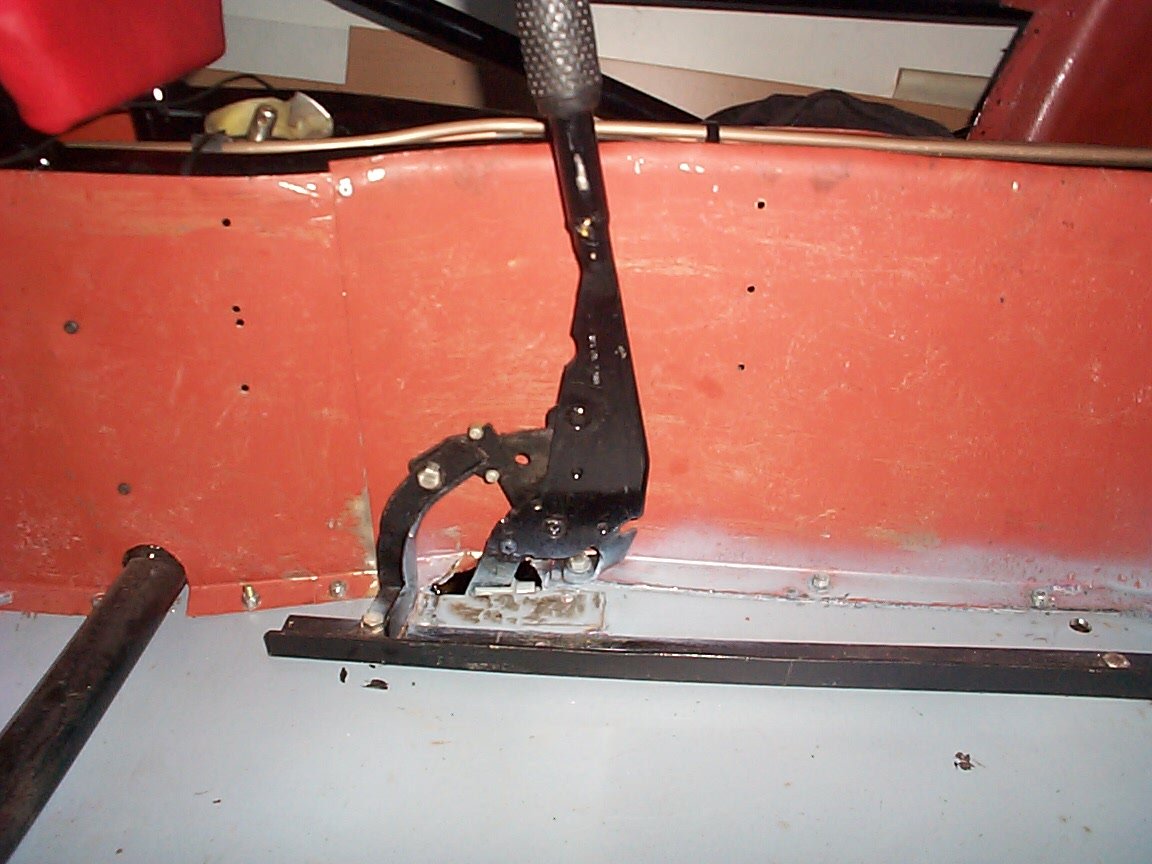
handbrake done just as you envisaged - passed SVA.
-
You set your rear ride height by how far you insert the tubes into the roll bar. Drill through and fix with nut&bolt. No an easy job with the bodywork on. Give it some thought first. or make sure the roll bar ends are the same length from the top. ( Grinder , recip saw !) fit tubes in fully, drill and self tap to secure ( the weight of the car should stop them ever coming out). . make up the lower U - adjust shock mounting hole to set ride height. 7" in front of rear wings. The gap over the rear wheel is not constant --probably about 4-5 inches...!!! at top and 1-2 to the rear.